You don’t need a full renovation (or a contractor) to make your place feel better built, better organized, and easier to live in. With a few basic tools and some clear steps, you can tackle practical upgrades that actually change how your home works day to day. This guide walks you through five useful DIY projects with step-by-step instructions, plus tips to avoid the most common mistakes.
Project 1: Install a Strong, Level Floating Shelf
Floating shelves are perfect for adding storage without eating up floor space—but only if they’re solid and level. Here’s how to do it right so they don’t sag, tilt, or rip out of the wall.
Step 1: Plan the location and measure
Decide what the shelf will hold: books and plants are heavier than picture frames and candles. Measure the wall space, mark the shelf height with painter’s tape, and step back to see how it looks compared to furniture and nearby wall art. Check that the shelf won’t block light switches or outlets and that doors can still open fully.
Step 2: Find studs and mark anchor points
Use a stud finder to locate studs along the wall. Mark their positions lightly with a pencil. If your shelf bracket has multiple screw holes, plan to hit at least one stud for maximum strength. For holes that don’t land on a stud, you’ll use proper wall anchors rated for the load you need.
Step 3: Level and pre-drill
Hold the bracket or shelf mounting rail up to the wall, aligning it with your painter’s tape line. Place a level on top to ensure it’s perfectly straight. Mark each screw hole on the wall. Use a drill bit sized for your screws or wall anchors and pre-drill the holes—this helps prevent wall damage and makes installation smoother.
Step 4: Install anchors and attach the bracket
For holes not in studs, install drywall anchors according to the package directions. For stud locations, you can drive wood screws directly into the stud. Hold the bracket in place and drive the screws through the bracket into the anchors and studs. Re-check with a level after tightening—if it’s off, loosen slightly and correct before fully securing.
Step 5: Mount the shelf and test the load
Slide the shelf onto the bracket or attach it with the included hardware. Press down gently across the length of the shelf to check for movement. Start with lighter items and watch for any shifting or sagging. If anything feels loose, remove the items, tighten the screws, or upgrade to stronger anchors before loading it fully.
Project 2: Replace an Old Thermostat With a Programmable Model
Upgrading to a programmable (or smart) thermostat can cut energy use and make your home more comfortable. The key is safe, careful wiring and labeling.
Step 1: Turn off power and remove the old thermostat cover
Switch off power to your HVAC system at the breaker panel—not just the thermostat itself. At the thermostat, pop off the front cover. Take a clear photo of the existing wiring and note where each color wire is connected (e.g., R, W, Y, G, C). This photo is your backup if labels fall off later.
Step 2: Label and disconnect wires
Use the small labels that come with most new thermostats or make your own with tape and a pen. Label each wire according to the terminal it’s connected to. Loosen the terminal screws and gently pull each wire free. Make sure the wires don’t fall back into the wall—wrap them around a pencil or tape them to the wall temporarily.
Step 3: Remove the mounting plate and install the new one
Unscrew the old thermostat’s mounting plate and remove it. Hold the new thermostat’s base or mounting plate up to the wall and check it with a level. Mark screw locations, drill pilot holes if needed, and use the included anchors if the holes don’t land on a stud. Pull the wires through the opening in the new plate, then screw the plate securely to the wall.
Step 4: Connect the wires to the new thermostat
Match each labeled wire to the corresponding terminal on the new unit. Refer to the included wiring diagram from the manufacturer instead of relying solely on wire colors, since older systems are sometimes wired inconsistently. Tighten each terminal screw snugly so no bare copper is exposed beyond the terminal.
Step 5: Attach the thermostat, restore power, and program
Snap the thermostat onto the mounting plate. Turn the breaker back on and follow the on-screen setup steps. Set basic programs for when you’re home, away, and sleeping. Let the system run for 10–15 minutes to make sure heating and cooling respond correctly. If something doesn’t work, turn power back off and double-check your wiring against the manual.
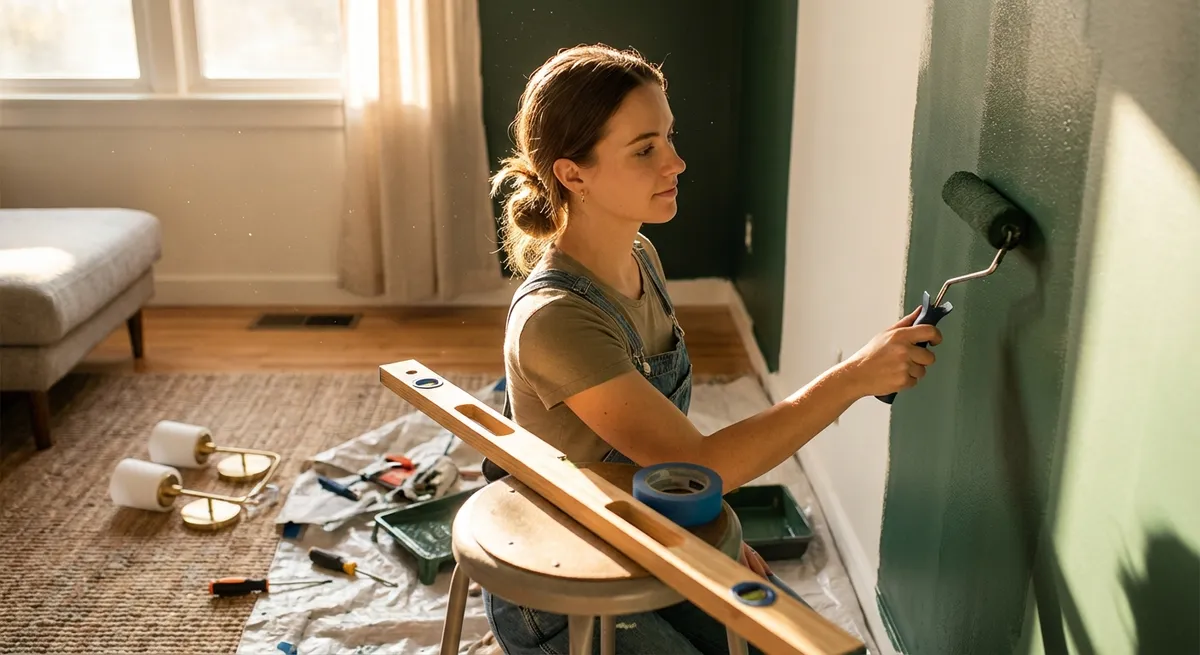
Project 3: Refresh a Room With a Crisp, Clean Paint Job
A good paint job is one of the biggest visual upgrades you can do in a weekend. The difference between “DIY disaster” and “did a pro do this?” is in the prep, not just the paint.
Step 1: Prep the room and repair surfaces
Move furniture away from walls and cover it with plastic or old sheets. Remove switch plates and outlet covers. Fill nail holes and minor dents with spackle, then sand smooth once dry. Dust and wipe the walls with a damp cloth so paint can bond properly. If you see glossy areas, lightly sand them to remove shine.
Step 2: Tape and protect edges
Use high-quality painter’s tape to mask trim, baseboards, and around window and door frames. Press the tape down firmly along the edge with a putty knife or your fingernail to prevent paint bleed. Lay down a drop cloth to protect the floor from drips and roller splatter.
Step 3: Cut in with a brush
Stir your paint well and pour some into a paint pail or small container. Using a 2–2.5 inch angled brush, “cut in” around the ceiling line, trim, and corners—this means painting a border where a roller can’t reach cleanly. Work in sections so the brushed edge stays wet when you roll the bigger areas, helping everything blend smoothly.
Step 4: Roll the walls in sections
Use a roller with the right nap for your wall texture (short nap for smooth walls, thicker for textured). Load the roller evenly and roll in a “W” pattern, then fill in without pressing too hard. Work from top to bottom and maintain a wet edge—don’t let one area dry before overlapping, or you’ll see lap marks.
Step 5: Apply a second coat and clean up properly
Let the first coat dry fully as recommended on the can (usually a few hours). Apply a second coat for even coverage and richer color. While the second coat is still slightly tacky, carefully remove painter’s tape at a 45-degree angle to avoid peeling. Clean brushes and rollers according to the paint type (water for latex, proper solvent for oil-based) and reinstall switch plates once the walls are fully dry.
Project 4: Seal Drafty Windows With Weatherstripping and Caulk
Drafty windows make rooms uncomfortable and waste energy. Sealing air gaps is a practical DIY that pays off in comfort and lower bills.
Step 1: Identify air leaks
On a breezy day, hold the back of your hand or a lit incense stick (carefully) near the edges of closed windows. If you feel air or see smoke shift significantly, you’ve got a leak. Note where the drafts come from: around the sash, between the frame and wall, or under the trim.
Step 2: Choose the right materials
Use adhesive-backed foam or rubber weatherstripping for movable parts like sashes. For stationary gaps around the outside or inside perimeter of the frame, use exterior- or interior-grade caulk (check the label). Avoid sealing any weep holes or drainage paths designed into the window—focus on obvious gaps and cracks.
Step 3: Clean and prep the surfaces
Wipe down the areas where you’ll apply weatherstripping or caulk so they’re free of dust, old adhesive, and loose paint. For old, cracked caulk, use a utility knife or scraper to remove it, then wipe clean. Dry surfaces ensure better adhesion and a longer-lasting seal.
Step 4: Install weatherstripping
Measure each section you’ll be sealing and cut weatherstripping to size with scissors. Peel off the backing and press the strip firmly into place along the sash or frame, avoiding tight corners that could block the window from closing. Test the window a few times to make sure it still opens and closes smoothly without tearing the new seal.
Step 5: Apply caulk to fixed gaps
Cut the caulk tube tip at a 45-degree angle and load it into a caulk gun. Run a steady, continuous bead along the gap between the frame and the wall or trim. Smooth the bead with a caulk tool or a damp finger for a clean finish. Let it cure fully before painting over (if paintable) or exposing it to heavy moisture.
Project 5: Upgrade a Closet With a Custom Hanging and Shelf System
A cluttered closet wastes space. Building a simple hanging and shelf system gives you more usable storage without custom cabinetry.
Step 1: Empty and measure the closet
Remove everything from the closet, including any loose rods or shelves you plan to replace. Measure the width, depth, and height. Note any obstructions like vents, outlets, or access panels. Decide whether you want single hanging (long items), double hanging (shirts and pants), shelves, or a mix.
Step 2: Sketch a simple layout
On paper or a notes app, sketch the back wall and side walls. Mark where hanging rods and shelves will go, with heights: for example, double hanging at around 40 inches and 80 inches from the floor; single hanging around 66–70 inches. Leave space above for a top shelf and below for baskets or shoe storage.
Step 3: Install support cleats or a track
Most closet systems rely on horizontal support cleats or a hanging track screwed into studs. Use a stud finder to locate studs along the back wall. Mark them, hold your cleat or track level, and screw it into as many studs as possible. Where you can’t hit a stud, use heavy-duty wall anchors rated for your expected load.
Step 4: Add shelves and rods
Attach vertical supports or brackets according to your system’s instructions. Install rods at your planned heights, checking with a level to avoid sagging. Add shelves above rods and in any open areas, using brackets spaced according to the shelf material’s recommendations to prevent bowing. Tighten all hardware snugly.
Step 5: Load and adjust for real-world use
Put items back in by category: long items on single hang, shorter items on double hang, frequently used items at eye level, and rarely used items up high. Pay attention to any flexing or movement when loaded—if something feels weak, add another bracket or upgrade to stronger hardware. Adjust the layout as needed after a week of real use.
Conclusion
These five projects don’t require a fully stocked workshop or renovation experience—just basic tools, patience, and a willingness to measure twice before you drill. Each upgrade makes your home a little more efficient, more comfortable, and more tailored to how you actually live. Start with the project that solves your most annoying daily problem, work methodically through the steps, and you’ll finish the weekend with a home that looks and feels more “ready” every day.
Sources
- [U.S. Department of Energy – Energy Saver: Thermostats](https://www.energy.gov/energysaver/thermostats) - Guidance on programmable thermostats and how they improve efficiency
- [U.S. Department of Energy – Energy Saver: Air Sealing Your Home](https://www.energy.gov/energysaver/air-sealing-your-home) - Explains where homes typically leak air and how to seal them effectively
- [Family Handyman – How to Install Floating Shelves](https://www.familyhandyman.com/project/how-to-install-floating-shelves/) - Practical tips and visual guidance on mounting floating shelves securely
- [Benjamin Moore – How to Paint Interior Walls](https://www.benjaminmoore.com/en-us/interior-exterior-paints-stains/how-to-advice/interior-painting-how-to/painting-interior-walls) - Step-by-step instructions and best practices for interior painting
- [Lowe’s – Closet Organization Ideas & Installation Tips](https://www.lowes.com/n/how-to/closet-organization-ideas) - Examples and advice for planning and installing closet storage systems
Key Takeaway
The most important thing to remember from this article is that this information can change how you think about DIY Projects.


