You don’t need a full renovation (or a contractor) to make your place work better and look sharper. With a few well-chosen DIY projects, you can boost comfort, storage, and style in a single weekend. This guide walks you through five practical upgrades you can realistically tackle with basic tools, clear steps, and minimal stress.
Project 1: Add a Wall-Mounted Coat Rack That Actually Handles Real Life
A sturdy, well-placed coat rack near the entry keeps bags, jackets, and keys from piling up on chairs and counters. This is an ideal starter project that teaches you measuring, leveling, and anchoring to a wall—skills you’ll reuse constantly.
Step-by-Step
Choose the right location and hardware
Decide where people naturally drop their stuff—near the main door, not the “formal” entry nobody uses. Measure the space and plan for hooks at about 60–66 inches from the floor for adults. Buy a pre-made hook rail or loose hooks plus a board. If mounting on drywall without studs, get appropriate wall anchors rated for the weight you expect (coats + bags = real load).
Find studs or commit to anchors
Use a stud finder to locate studs along the area. Lightly mark stud locations with a pencil. If you can land at least two screws into studs, your rack will be rock-solid. If not, mark where you’ll use heavy-duty drywall anchors—avoid mounting only into thin trim.
Pre-drill and level your mounting points
Hold the rack or mounting board where you want it and use a level to get it straight. Lightly mark the top edge and screw hole placements. Pre-drill pilot holes for wood screws into studs, or the proper-size holes for your anchors into drywall. Double-check level before committing—it’s easier to adjust pencil lines than patched holes.
Install anchors and secure the rack
Insert drywall anchors according to the package instructions (usually tap them flush and drive the screw to expand them). If going into studs, drive wood screws snug but not so hard that you warp the rack or board. Tug on the rack firmly; you shouldn’t feel any movement.
Stress test and organize
Load it up gradually—start with lighter items (hats, scarves, empty bags), then add heavier coats and backpacks. If anything feels loose, tighten screws or upgrade anchors. Add a small tray or shelf underneath for keys and mail so the whole drop zone actually works together.
Project 2: Install Peel-and-Stick Backsplash for an Instant Kitchen Upgrade
Peel-and-stick backsplash tiles give you a big visual upgrade with no mortar, grout, or tile saw. Done right, they look clean and intentional—and peel off later if you change your mind or move.
Step-by-Step
Prep the wall like it’s paint day
Clean the wall with a degreaser or a mix of warm water and a small amount of dish soap. Grease and dust are adhesion killers. Rinse with clean water and let fully dry. Remove outlet covers and switch plates. If your wall is glossy, lightly scuff with fine-grit sandpaper and wipe it down so the tiles have some “tooth” to grip.
Plan your layout before peeling anything
Measure the width and height of your backsplash area. Dry-fit a row of tiles along the countertop with spacers (or just a thin gap) to test how they’ll land at the edges. Aim to avoid tiny slivers of tile at visible ends—shifting your starting point a bit can help. Mark a level horizontal line as a guide; don’t trust your countertop to be perfectly level.
Cut your first tile with patience, not speed
Use a sharp utility knife and straightedge to cut tiles. Make repeated light passes instead of trying to slice through in one go. For outlets, measure carefully and cut out the opening on a flat surface, not on the wall. Keep track of pattern orientation so the design lines up from tile to tile.
Stick tiles from the most visible corner outward
Start in a spot you see first when you walk into the room (often near the sink or range), not in an obscure corner. Peel back a small section of the backing at first, align the tile with your level line, and press lightly so you can still adjust. Once you’re happy, remove the rest of the backing and press firmly, smoothing from the center outward to avoid bubbles.
Finish edges and reinstall outlets safely
Where tile ends without a cabinet, use finishing trim if the manufacturer offers it, or cut a clean, straight edge. Reinstall outlet and switch covers using slightly longer screws if needed, since the wall surface is now thicker. Make sure the power is off at the breaker while working around electrical boxes, and confirm the devices sit snug and not crooked.
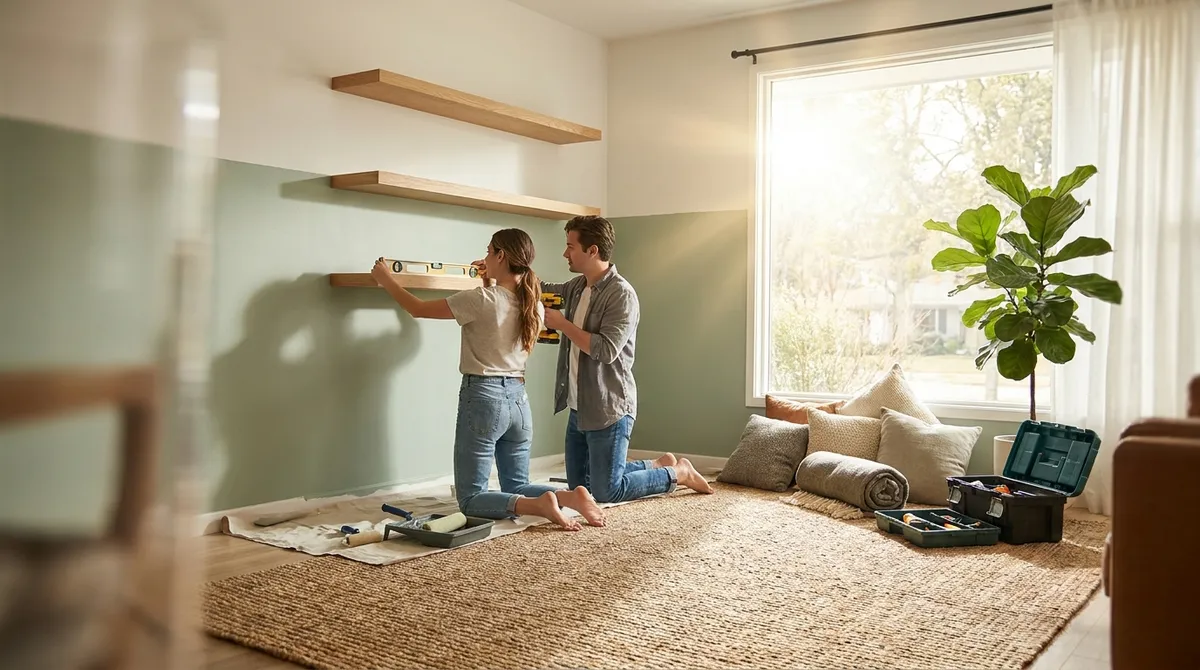
Project 3: Build a Simple Floating Shelf for Flexible Storage
Floating shelves give you storage and display without bulky brackets. They’re perfect for bathrooms, hallways, or over desks—and they teach you repeatable skills: measuring, drilling, and securing hidden hardware.
Step-by-Step
Pick a practical size and safe load
Decide what will live on the shelf: towels and decor weigh less than stacks of books. A common and manageable size is 24–36 inches long and 6–10 inches deep. Check the hardware or bracket rating so your design matches the weight it can safely support.
Locate solid backing (studs are your friend)
Use a stud finder to mark studs along the wall, then verify by driving a small test nail where marks are hidden by the shelf later. Plan your bracket or cleat so at least two fastening points land solidly in studs. If you must span areas without studs, use heavy-duty toggle or sleeve anchors rated for your expected load.
Mount the bracket or cleat dead level
Hold the bracket or a wood cleat (a 1x2 or 1x3 board) against the wall and rest a level on top. Mark screw holes, pre-drill, and then drive screws into studs first, then anchors if used. Check level again after tightening; adjust if needed before moving on.
Attach the shelf to the hidden support
If using a store-bought floating shelf kit, slide the shelf onto the rods or bracket per the instructions and secure with included set screws. If you built a hollow shelf box, slide it over your cleat and drive screws from the top or bottom into the cleat, where they won’t be visible. The shelf should feel rock-solid with no wobble.
Seal, finish, and load thoughtfully
If wood is unfinished, sand lightly and seal with a clear coat, stain, or paint suited for the room (bathrooms need moisture-resistant finishes). Let it cure fully before loading. Place heavier items closer to the wall and near stud locations, with lighter decor toward the front edge.
Project 4: Replace a Wiggly Interior Door Handle for Smoother Living
Loose, sticky, or mismatched interior door handles make a house feel more worn out than it is. Swapping one out is a fast project that demystifies basic hardware replacement—and improves daily use, every time a door closes properly.
Step-by-Step
Identify your existing latch style
Look at your current knob or lever from both sides. Most modern interior doors use a standard tubular latch with two screws on the interior side. Note if your door uses a privacy set (with lock), passage set (no lock), or a closet set. Measure the “backset” (distance from door edge to the center of the handle hole)—usually 2-3/8" or 2-3/4"—to match the new hardware.
Remove the old handle and latch
Unscrew the two visible screws on the interior side of the handle. Pull both sides of the handle apart and set aside. On the door edge, remove the two screws holding the latch plate and slide the latch out. Finally, remove the strike plate from the door frame if you’re replacing that too.
Test-fit the new latch and plate
Slide the new latch into the door edge, ensuring the beveled side of the latch faces the direction the door closes. Check if the latch plate fits your existing mortise (the recess in the door). If it doesn’t, carefully chisel or sand to adjust, or use a conversion plate if the new hardware includes one.
Install the new handle set in the correct orientation
Insert the exterior side of the handle (often the locking side for privacy sets) through the latch mechanism, aligning the spindle or square rod. Add the interior handle side and line up the screw holes. Tighten the screws evenly, alternating between them to keep the handles aligned. On a locking set, test the lock and release while the door is still open.
Adjust for smooth latch and closing
Reinstall or replace the strike plate on the door frame. Close the door slowly to see how the latch engages the strike. If the latch hits too high or low, adjust the strike plate position slightly. For minor misalignment, loosening the screws and shifting the plate usually works; for significant issues, you may need to enlarge the mortise and reposition the plate.
Project 5: Refresh a Room with Sharp, Repainted Trim
Crisp trim can make old walls and floors look intentional and cared for, even if you don’t repaint the entire room. This project trains your masking, cutting-in, and finish-work skills—key for almost every future paint job.
Step-by-Step
Choose the right paint and sheen
Use a trim-specific or interior enamel paint (often labeled “trim & door”) in semi-gloss or satin; it’s easier to wipe and more durable than flat wall paint. Match existing color or choose a contrasting white/neutral that works with your walls and flooring. Buy a quality angled sash brush (2" is a workhorse size) for clean lines.
Prep trim for adhesion, not perfection
Wipe all trim with a mild cleaner to remove dust, grease, and hand oils, then rinse and dry. Lightly sand glossy or old painted trim with fine-grit sandpaper to scuff the surface. Fill nail holes and small dings with wood filler or spackle, let dry, and sand smooth. Vacuum or wipe off dust thoroughly.
Mask carefully and protect floors
Apply painter’s tape where trim meets walls and flooring, pressing edges firmly with a putty knife or fingernail to prevent bleed-through. Lay down drop cloths or rosin paper along the baseboards. Masking properly takes time but saves you even more time (and frustration) avoiding touch-ups later.
Prime if needed, then apply thin, even coats
If you’re covering dark or glossy trim, use a bonding primer or stain-blocking primer first. Let it dry fully. Then, load your brush about halfway up the bristles, tap off excess, and apply paint in long, smooth strokes with the grain of the wood. Don’t overwork it—brush it out and move on. Two thin coats are better than one thick, drippy coat.
Remove tape at the right moment and inspect
Once the final coat is dry to the touch but not fully hardened, carefully remove painter’s tape by pulling it back on itself at a 45-degree angle. This timing helps prevent peeling. Check for any small misses or light spots and touch up with a small artist brush. Let the trim cure fully before heavy cleaning or dragging furniture against it.
Conclusion
Small, focused DIY projects like these add up fast. You learn core skills—measuring, leveling, fastening, painting—while making your home more functional and pulled together. Start with one project that solves a daily annoyance (clutter at the door, sticky handle, bare wall), finish it, and then move to the next. The goal isn’t perfection; it’s steady improvement and getting comfortable tackling the next repair or upgrade with confidence.
Sources
- [U.S. Consumer Product Safety Commission – Tip-Over & Anchor Information](https://www.cpsc.gov/Safety-Education/Safety-Education-Centers/Tipover-Information-Center) - Guidance on anchoring and weight safety that applies to wall-mounted items like shelves and racks
- [Family Handyman – How to Install a Backsplash](https://www.familyhandyman.com/project/how-to-install-a-tile-backsplash/) - Detailed backsplash installation techniques and planning tips
- [This Old House – How to Install a Door Knob](https://www.thisoldhouse.com/doors/21016489/how-to-install-a-doorknob) - Step-by-step reference for replacing interior door handles and latches
- [Benjamin Moore – How to Paint Trim](https://www.benjaminmoore.com/en-us/interior-exterior-paints-stains/how-to-advice-and-inspiration/interior-painting-ideas/how-to-paint-trim) - Professional recommendations for prepping and painting interior trim
- [Lowe’s – How to Install a Floating Shelf](https://www.lowes.com/n/how-to/install-floating-shelves) - Additional guidance on hardware types, weight limits, and installation methods for floating shelves
Key Takeaway
The most important thing to remember from this article is that this information can change how you think about DIY Projects.


