When something breaks at home, most people either ignore it or panic and call a pro. There’s a smarter middle ground: learn a few reliable repairs you can do safely yourself. You don’t need a full workshop, just basic tools, a methodical approach, and the patience to do it right once instead of rushing twice. This guide walks through five common fixes—each broken into clear, step-by-step instructions you can follow even if you’re not “handy.”
Step 1: Stop a Dripping Faucet the Right Way
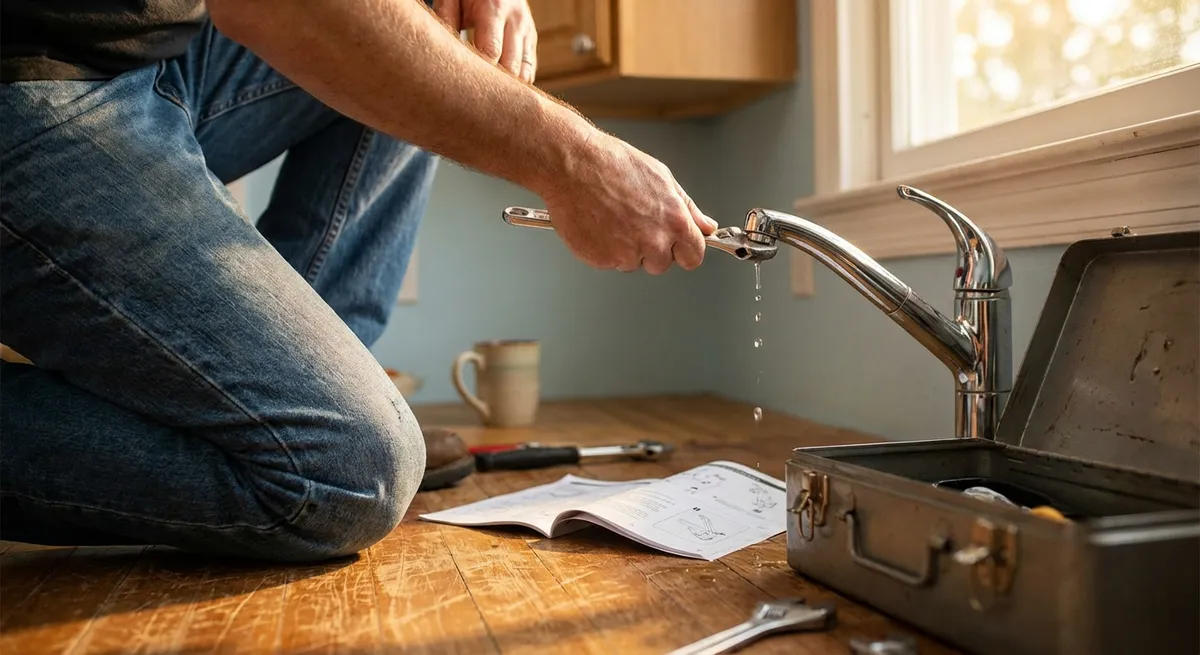
A dripping faucet wastes water, raises your bill, and is usually easy to fix with a few basic tools.
What you’ll need:
Adjustable wrench, screwdriver, replacement cartridge or washers/O‑rings (specific to your faucet), plumber’s grease, towel.
1. Turn off the water and prep the area
- Locate the shutoff valves under the sink and turn them clockwise until fully closed.
- Open the faucet to release any remaining pressure.
- Plug the sink drain with a stopper or rag so you don’t lose small parts.
- Lay a towel in the sink to protect it from dropped tools.
2. Identify your faucet type
- Look at how the faucet operates: single handle, two handles, or a pull-out style.
- Common types: cartridge, compression (older, with separate hot/cold), ball, and ceramic disk.
- Search your faucet brand and model online (often printed on the faucet body) to confirm parts needed.
3. Disassemble the handle carefully
- Pry off the decorative cap (if present) with a small flat screwdriver.
- Remove the screw holding the handle and lift the handle off.
- Keep parts in order on a towel in the sequence you remove them—take photos as you go for reference.
- Remove any decorative collars or retaining nuts with an adjustable wrench.
4. Replace the worn internal parts
- For cartridge faucets: pull the cartridge straight up (you may need pliers); match it at the hardware store or replace with the same model you bought in advance.
- For compression faucets: remove the stem and replace the rubber washer and O-ring.
- Lightly coat new O-rings and rubber parts with plumber’s grease to help them seal and move smoothly.
- Reinsert the cartridge or stem in the same orientation you removed it.
5. Reassemble and test
- Reinstall any retaining nuts and collars snugly (not over-tight).
- Put the handle back on and tighten the handle screw.
- Turn the shutoff valves back on slowly while watching for leaks.
- Open the faucet fully, then close it and check for drips over several minutes.
Pro tip: If your faucet still drips after a careful rebuild, the valve seat or faucet body may be damaged. That’s the point where calling a plumber or replacing the whole faucet is more efficient than more tinkering.
Step 2: Fix a Running Toilet Without Replacing the Whole Tank
A constantly running toilet is noisy, wastes a lot of water, and usually comes down to a few simple parts inside the tank.
What you’ll need:
Replacement flapper and/or fill valve kit (universal type works for most toilets), adjustable wrench, towel, bucket.
1. Diagnose where the water is escaping
- Remove the tank lid and set it somewhere safe.
- Flush and watch the water movement:
- If water trickles into the bowl after the tank refills, suspect the flapper.
- If water keeps entering the tank and spilling into the overflow tube, suspect the fill valve or water level setting.
- Add a few drops of food coloring to the tank and wait 10–15 minutes (don’t flush). If colored water appears in the bowl, the flapper is leaking.
2. Turn off the water and empty the tank
- Turn the shutoff valve beside the toilet clockwise until it stops.
- Flush and hold the handle down to drain as much water as possible.
- Use a sponge or towel to soak up any remaining water in the tank if needed.
3. Replace the flapper
- Unhook the flapper chain from the flush handle arm.
- Detach the flapper from the overflow tube (it usually clips on both sides).
- Take the old flapper to the store for matching or use a universal adjustable flapper.
- Clip the new flapper onto the overflow tube and hook the chain to the handle arm with a slight slack: the flapper should fully close when the handle is at rest but lift freely when you flush.
4. Adjust or replace the fill valve
- If water kept running into the overflow, lower the float height using the adjustment screw or clip on the fill valve until the water stops about 1 inch below the top of the overflow tube.
- If the fill valve is old, corroded, or won’t adjust properly, replace it with a universal fill valve kit.
- Follow the kit instructions: typically, you’ll remove the old valve nut under the tank, lift the valve out, insert the new one, and reconnect the water supply.
5. Restore water and check for a quiet, clean shutoff
- Turn the shutoff valve back on slowly.
- Let the tank fill, then watch and listen: the water should stop, and the tank should stay full without trickling into the bowl.
- Flush several times to confirm the flapper seals well and the water level stops in the right spot.
Pro tip: Don’t overtighten plastic tank parts. Snug and leak-free is enough; too much force can crack the porcelain.
Step 3: Patch a Small Drywall Hole So It Disappears
Small holes from doorknobs, wall anchors, or accidents can be patched cleanly without calling a pro—if you build the repair in thin layers.
What you’ll need:
Spackle or joint compound, putty knife (2–4"), sanding sponge or 120–220 grit sandpaper, primer, matching wall paint, small paintbrush or roller, optional adhesive mesh patch for larger holes (1–4").
1. Clean and prep the damaged area
- Remove any loose paper or crumbling drywall around the hole by gently scraping with a putty knife.
- Wipe away dust with a dry cloth.
- For holes larger than a nail hole (say, up to a few inches), place an adhesive mesh patch over the hole so it extends at least 1 inch past the damage on all sides.
2. Apply the first coat of compound
- Scoop a small amount of spackle or joint compound onto your putty knife.
- Press the compound firmly into the hole to fill it completely.
- Smooth the surface by pulling the knife across the patch at a shallow angle, feathering the edges so they’re thin at the outer edges and slightly raised in the center.
- Let it dry fully—check the product label, but expect at least an hour for light patches, longer for thicker layers.
3. Sand and add a second coat
- Lightly sand the patched area until it’s smooth and flush with the surrounding wall, wiping away dust.
- If the patch has shrunk or is slightly indented, apply a second, thinner layer of compound, extending it an inch or two beyond the first to blend the transition.
- Feather the edges carefully; the better you blend now, the less sanding later.
- Let the second coat dry completely.
4. Finish sanding and check with a light
- Sand again with fine-grit paper or a sanding sponge until the patch feels smooth and level.
- Shine a flashlight across the wall at an angle—raking light will reveal lumps or edges you might not feel.
- If needed, add a very thin skim coat, let dry, and sand once more.
5. Prime and paint for a seamless repair
- Apply a coat of primer over the patched area to seal the compound and help paint adhere evenly.
- Once dry, paint over the primed area with your wall color, feathering into the surrounding area. Two thin coats usually blend better than one thick coat.
- Let dry and inspect; from a normal viewing distance, the repair should disappear.
Pro tip: If your wall has texture, use a small texture spray can (for orange peel or knockdown) or lightly dab with a slightly crumpled, paint-covered rag to mimic the existing pattern before priming and painting.
Step 4: Secure a Loose Towel Bar or Wall Anchor So It Actually Holds
Towel bars, hooks, and small shelves often pull away from the wall because they’re anchored only in drywall. Fixing them means creating a solid anchor point that can handle real-world use.
What you’ll need:
Stud finder, drill, drywall anchors (toggle or self-drilling style), screws, screwdriver, level, pencil.
1. Remove the loose fixture and inspect the damage
- Loosen the set screws (usually on the underside) to remove the towel bar or bracket.
- Check the existing holes: if the drywall is crumbled or the holes are enlarged, they won’t hold screws securely again.
- Decide whether to reuse the same location or move slightly up/down to hit solid material.
2. Locate studs or plan for heavy-duty anchors
- Run a stud finder along the wall to see if any mounting points can hit a stud.
- If you can align at least one side of the fixture with a stud, that’s ideal for strength.
- If no stud is reachable, plan to use proper drywall anchors rated for the load (look for toggles or heavy-duty self-drilling anchors).
3. Mark and drill new, solid attachment points
- Use a level and pencil to mark where the bracket or bar will go, checking that both sides align.
- For stud locations, pre-drill a small pilot hole slightly smaller than your screw diameter.
- For anchor locations, drill or start the hole according to the anchor manufacturer’s instructions (some anchors self-drill without pre-drilling).
4. Install anchors and re-mount the brackets
- Insert drywall anchors and tighten them until they’re snug and flush with the wall.
- Hold the bracket or mounting plate in position and fasten it using the provided screws into the stud or anchors.
- Make sure the bracket is firm with no movement when you apply moderate pressure.
5. Reattach the bar or fixture and test
- Slide the towel bar or accessory back into the brackets and tighten the set screws.
- Gently pull down, sideways, and up to check stability; a properly anchored fixture shouldn’t wobble or pull away.
- If it shifts, remove and confirm the anchors are correctly expanded or that you’re not overtightening into damaged drywall.
Pro tip: For very damaged areas, consider spanning the space with a decorative backer board (like a painted wood strip) screwed into studs, then mounting hooks or a towel bar to that board for extra strength.
Step 5: Silence a Squeaky Door Without Making a Mess
Squeaky doors are annoying but usually simple to fix. The key is to clean and lubricate the hinge correctly instead of just spraying random oil and hoping for the best.
What you’ll need:
Hammer, small nail or punch, rag, light lubricant (silicone spray, white lithium grease, or a purpose-made hinge lubricant), optional pliers.
1. Confirm the squeak location
- Slowly open and close the door while listening carefully.
- If the sound is clearly from the hinges, proceed.
- If the squeak seems to come from the latch, you may need to lightly lubricate the latch bolt instead.
2. Safely remove one hinge pin at a time
- With the door closed, place a rag at the base of the hinge to catch drips and debris.
- From the bottom of the hinge, gently tap the underside of the hinge pin with a nail or punch and hammer until it pops up.
- If it’s stuck, wiggle it with pliers while gently tapping.
- Remove only one pin at a time so the door stays in place.
3. Clean the hinge pin and hinge sleeve
- Wipe old, dirty grease and dust from the pin with a rag.
- Clean the inside of the hinge sleeve (the barrel on the door and frame) as best as you can.
- If the pin is rusty or rough, lightly sand it with fine-grit sandpaper before wiping clean again.
4. Apply lubricant correctly
- Apply a thin coat of lubricant along the length of the pin. Avoid heavy petroleum oils that can drip and stain over time; silicone or white lithium are cleaner choices.
- Insert the pin back into the hinge while gently moving the door back and forth to help the lubricant spread.
- Tap the pin fully back into place with the hammer.
5. Test and repeat for other hinges
- Open and close the door several times. If it’s still squeaky, repeat the process for the remaining hinges, one at a time.
- If a squeak persists after all hinges are cleaned and lubricated, check that the door isn’t sagging and rubbing against the jamb or strike plate.
Pro tip: If the door is rubbing, tightening hinge screws or slightly shimming the lower hinge with a thin piece of card or wood can help realign it without planing or trimming the door edge.
Conclusion
You don’t need to renovate your whole house to feel more in control of it. Fixing a drip, silencing a hinge, repairing a wall, or securing loose hardware are all small wins that add up to a better, more reliable home—and more confidence in your own skills. Start with one of these repairs, take it step by step, and document what you do. The next time something similar goes wrong, you’ll already know the fix, and your home will feel a lot less mysterious and a lot more manageable.
Sources
- [U.S. Environmental Protection Agency – Fix a Leak](https://www.epa.gov/watersense/fix-leak-week) - Information on water waste from leaks and the importance of repairing dripping faucets and running toilets
- [Family Handyman – How to Fix a Leaking Faucet](https://www.familyhandyman.com/project/how-to-fix-a-leaking-faucet/) - Detailed walkthroughs of different faucet types and repair steps
- [This Old House – How to Fix a Running Toilet](https://www.thisoldhouse.com/plumbing/21016726/how-to-fix-a-running-toilet) - Visual and written guidance on diagnosing and repairing common toilet tank issues
- [The Home Depot – How to Patch and Repair Drywall](https://www.homedepot.com/c/ab/how-to-patch-and-repair-drywall/9ba683603be9fa5395fab901d6fa50c) - Step-by-step instructions and material recommendations for drywall repairs
- [Bob Vila – How to Fix a Squeaky Door](https://www.bobvila.com/articles/how-to-fix-a-squeaky-door/) - Practical methods and lubricant options for quieting door hinges
Key Takeaway
The most important thing to remember from this article is that this information can change how you think about Home Repair.


