When something breaks at home, most people either ignore it or jump straight to calling a pro. There’s a smarter middle ground: knowing what to do in the first 15 minutes. These first-response fixes won’t turn you into a contractor, but they will help you stop damage, stay safe, and handle the most common problems with confidence.
This guide walks through five practical, step‑by‑step fixes DIY‑minded homeowners can actually use. Each one focuses on what to do right away, what to check, and when to stop and call in help.
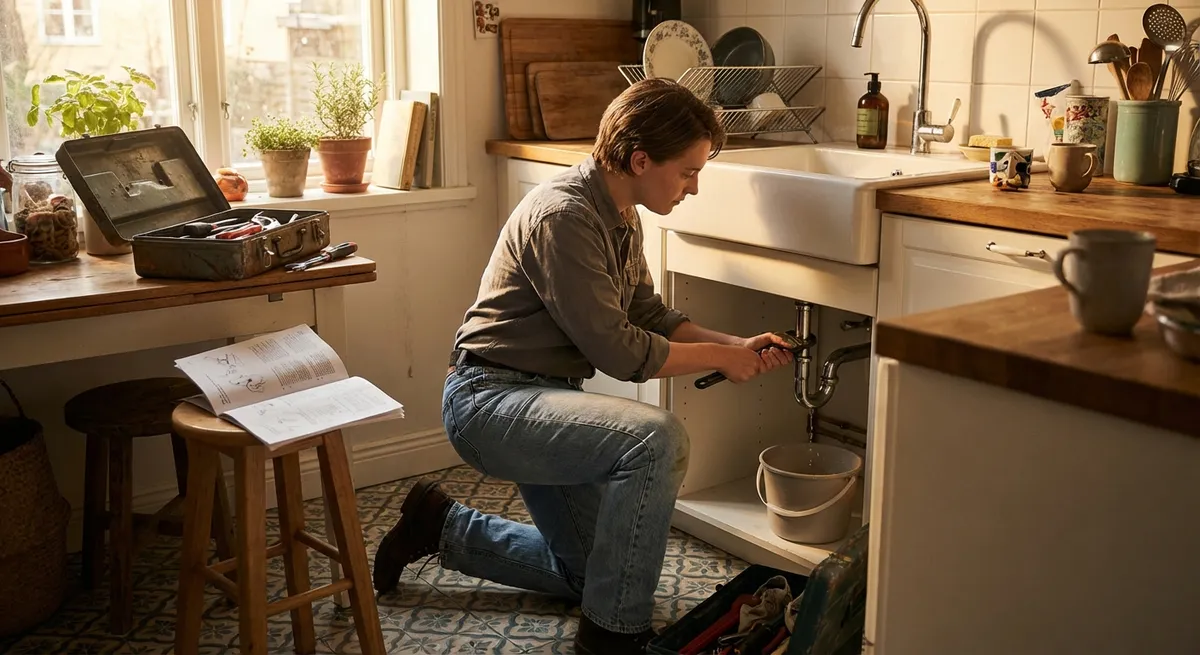
Step 1: Stop a Leaky Sink or Pipe Before It Gets Worse
Water damage gets expensive fast. The goal isn’t to rebuild plumbing—it’s to stop the leak, protect your home, and buy time for a proper repair.
What you’ll need: Bucket or bowl, towels/rags, flashlight, adjustable wrench or slip‑joint pliers, Teflon (plumber’s) tape, old toothbrush or small brush.
1. Kill the water source
- Look under the sink for the small shut‑off valves on the hot and cold lines (usually oval or round handles).
- Turn both valves clockwise until they stop.
- If there’s no local shut‑off, find the main shut‑off for the house (often near the water meter, basement, utility room, or outside wall) and turn it off.
- Open the faucet to relieve pressure and drain any remaining water.
2. Contain the leak
- Place a bucket or bowl under the leak (P‑trap, supply line, or valve).
- Use towels or rags to soak up standing water in the cabinet or floor.
- Move cleaners, paper goods, or anything that can soak up water out of the area.
3. Find the leak location
- Dry everything off with a towel so you can see fresh drips.
- Turn the water back on slightly at the shut‑off valve (just a quarter turn).
Watch closely with a flashlight:
- Is water seeping from a joint? - Dripping from a supply line? - Coming from a crack in plastic or metal? 4. Turn water off again once you’ve identified the source.
4. Tighten and reseal basic connections
Only do this if the part isn’t cracked and the leak is clearly from a threaded joint.
For a threaded connection (like a flexible supply line to a shut‑off valve):
- Use one hand or wrench to hold the valve body steady. - Use a second wrench or pliers to snug the nut—only a quarter turn at a time.
If it still leaks:
- Turn water off. - Unscrew the connection. - Wrap the male threads with 3–4 wraps of Teflon tape, in the same direction the nut turns (clockwise). - Reattach and tighten snugly—not so hard that you crush threads. 3. Turn water on slowly and check again.
5. Know when to stop and call a plumber
Stop DIY and call a pro if:
- The leak is from a cracked valve, pipe, or plastic P‑trap.
- The shut‑off valve itself is leaking at the stem or handle.
- You see corrosion, green/white crust, or rust all over the fittings.
- Tightening makes the leak worse.
You’ve already done the important part—stopping active damage and documenting the issue. Take pictures to show the plumber exactly what’s going on.
Step 2: Safely Reset a Tripped Breaker (And When Not To)
Losing power to part of the house is annoying—and potentially dangerous if handled wrong. Resetting a breaker is simple, but only if you do it safely and pay attention to what caused the trip.
What you’ll need: Flashlight, clear path to your electrical panel.
1. Turn off and unplug what you were using
- Switch off or unplug anything that lost power (space heaters, microwaves, toasters, power strips).
Check if the outage is:
- Only one outlet or room → likely a breaker or GFCI issue. - Whole house or half the house → check the main breaker and your utility’s outage info.
2. Find and inspect your breaker panel
- Locate the electrical panel (often in a basement, garage, closet, hallway, or exterior wall box).
- Use a flashlight if needed—don’t rely on your phone flashlight alone near an open panel.
Open the door and look for:
- Burn marks or scorching. - Strong burning smell. - Loose or broken cover plates. If you see any of these, do not touch anything. Call an electrician immediately.
3. Identify the tripped breaker
- Look for a breaker handle that’s not fully in the ON or OFF position—it will often sit in the middle.
- Some panels have breakers labeled “OFF/ON/TRIPPED” or show a small colored window when tripped.
- Use the legend on the panel door to see what area that breaker controls (e.g., “Kitchen outlets,” “Bedroom 2”).
4. Reset the breaker correctly
- Stand to the side of the panel (not directly in front) as a basic safety habit.
- With one hand, push the tripped breaker fully to the OFF position.
- Then push it firmly back to ON.
- If it stays ON, go test your outlets and lights.
- If it immediately trips again, leave it OFF.
5. Prevent repeat trips and know when to call a pro
If it tripped once:
- You may have simply overloaded the circuit (too many high‑draw devices at once).
- Spread out loads—move space heaters, air fryers, and toasters to different circuits.
Call an electrician if:
- The same breaker keeps tripping with normal use.
- A breaker feels hot to the touch.
- Lights flicker or dim when appliances start.
- You see or smell anything burned in or around the panel.
Never replace a breaker with a higher‑amp one “to stop it from tripping.” The breaker is supposed to trip—that’s what keeps wires from overheating.
Step 3: Quiet a Squeaky Door the Right Way
Squeaky doors aren’t an emergency, but they’re an easy “win” that builds DIY confidence. A proper fix lasts longer than a quick spray and helps protect the hinge from wear.
What you’ll need: Lubricant (silicone spray or white lithium grease), rag, small flathead screwdriver or nail, hammer.
1. Choose a better lubricant than cooking spray
Avoid:
- Cooking oils (attract dust, go gummy).
- WD‑40 as the only solution—it’s more of a cleaner than a long‑term lubricant.
Use:
- Silicone spray for light, clean lubrication.
- White lithium grease for a longer‑lasting fix in high‑use doors.
2. Test the door and locate the worst hinge
- Open and close the door slowly.
- Listen for where the squeak is loudest—top, middle, or bottom hinge.
- Plan to start with that hinge; often fixing one will help the others.
3. Work the lubricant into the hinge without making a mess
Option A: Quick surface fix
- Hold a rag under the hinge to catch drips.
- Spray a small amount of lubricant into the gap between the hinge knuckles.
- Open and close the door 10–15 times to work it in.
- Wipe off any excess.
- Close the door.
- Place a small flathead screwdriver or nail under the hinge pin head.
- Lightly tap upward with a hammer until the pin lifts enough to pull it out by hand.
- Wipe the pin clean.
- Apply a thin coat of lubricant (or petroleum jelly in a pinch).
- Reinsert the pin and tap it gently back down.
- Open and close the door repeatedly.
Option B: Deeper fix (for stubborn squeaks)
4. Check for alignment issues
If it’s still noisy or hard to close:
Look at the gap between door and frame:
- Is it tighter at the top or bottom? - Does the latch side rub against the frame? 2. Tighten loose screws on hinges with a screwdriver. 3. If screws just spin, the holes may be stripped—use slightly longer screws or fill the hole with wooden toothpicks + wood glue, then reinsert the screw.
5. Maintain to prevent future squeaks
- Wipe hinges clean every few months and reapply a small amount of lubricant.
- Avoid slamming doors—this loosens hardware over time.
- If a door suddenly starts rubbing or sticking, check for moisture issues in the home (humidity can swell doors and frames).
Step 4: Patch a Small Drywall Hole So It Actually Disappears
Small holes and dings are almost unavoidable—doorknobs, picture hooks, angry movers. A clean patch is about layering thin and sanding smart, not slapping on a giant blob of spackle.
What you’ll need: Lightweight spackle or joint compound, putty knife (2–4"), sanding sponge or fine sandpaper (120–220 grit), damp cloth, primer and touch‑up paint.
1. Prep the damaged area
- Lightly scrape around the hole with the putty knife to remove loose paint and crumbs.
- Widen very tiny nail holes slightly with the knife tip so the spackle has something to grip.
- Wipe with a damp cloth to remove dust; let dry.
2. Fill the hole in thin layers
For nail or screw holes (smaller than a pencil eraser):
- Scoop a small amount of spackle onto the putty knife.
- Press it firmly into the hole.
- Scrape off excess so it’s flush with the wall.
- Let it dry according to the package instructions.
For small holes up to ~2" (no big chunks missing):
- Apply spackle with firm pressure to fill, then feather outward 1–2" around the hole.
- Aim to leave it just slightly raised above the wall surface.
- Let dry completely—rushing this step leads to cracks and divots.
3. Sand smooth without overdoing it
- Use a sanding sponge or fine sandpaper.
- Sand lightly in a circular motion, blending edges into the surrounding wall.
- Run your fingers across the area with your eyes closed—you’ll feel bumps and ridges you might not see.
- If you sand through and re‑expose the hole, wipe clean and apply a second thin coat of spackle.
4. Prime before painting (even small spots)
- Apply a small amount of primer over the patched area.
- Let it dry fully.
- This prevents “flashing,” where the patch shines through differently from the rest of the wall under light.
5. Touch up paint to blend the repair
- Use the original wall paint if you have it; if not, cut a small chip from a hidden area (behind a switch plate) and have it color‑matched at a paint store.
- Feather the paint slightly beyond the patch edge rather than painting just a tiny bullseye spot.
- For larger areas, use a small roller to match the wall texture better than a brush.
Done right, you shouldn’t be able to find the patch once it’s dry—especially in normal room lighting.
Step 5: Restore Weak Water Pressure at a Faucet or Shower
If water pressure suddenly drops at just one fixture, the problem is often local, not your whole plumbing system. Minerals and debris can clog aerators and showerheads, and you can usually fix this without opening walls.
What you’ll need: Adjustable wrench or pliers, old toothbrush, white vinegar, small bowl or plastic bag, rubber band or twist tie, rag.
1. Confirm it’s not a whole‑house issue
Test multiple faucets:
- If all are weak → possible main supply, pressure regulator, or municipal issue; call your water provider or a plumber. - If only one faucet or shower is weak → likely a local clog.
2. Clean a clogged faucet aerator
- Look at the tip of the faucet spout—you should see a small screen insert (the aerator).
- Wrap the aerator with a rag to protect the finish.
- Use fingers or pliers to unscrew it counterclockwise; note the order of parts (you can snap a quick photo).
- Rinse parts under running water.
- Soak metal pieces in white vinegar for 15–30 minutes to dissolve mineral deposits.
- Scrub gently with an old toothbrush.
- Rinse thoroughly, reassemble in the original order, and screw back on.
- Run water—start slow in case debris is still in the line.
3. Clean a showerhead without removing it
If you can’t or don’t want to unscrew it:
- Fill a small plastic bag with white vinegar about halfway.
- Place the bag over the showerhead so the nozzles are submerged.
- Secure with a rubber band or twist tie.
- Let soak for 1–2 hours (check manufacturer instructions for plated finishes).
- Remove the bag, run hot water, and gently scrub nozzles with a toothbrush.
4. Clean a removable showerhead more thoroughly
- Unscrew the showerhead (wrap threads with a rag and use pliers if tight).
- Remove any internal screen or filter.
- Soak parts in vinegar for 30–60 minutes.
- Scrub away buildup, then rinse very well.
- Wrap the shower arm threads with Teflon tape before reattaching.
- Tighten snugly, then test for both pressure and leaks.
5. Watch for signs of a larger plumbing issue
Even after cleaning, call a pro if you notice:
- Discolored water (brown, yellow, or cloudy).
- Sudden changes in water temperature or pressure throughout the house.
- Banging or hammering noises in pipes.
- Wet spots on walls, ceilings, or floors.
You’ve ruled out the simple fixes; now a licensed plumber should check for failing valves, pressure regulators, or hidden leaks.
Conclusion
Most home problems don’t require panic or a full toolbox—just a calm, clear first response. If you can:
- Shut off water before it ruins cabinets and floors,
- Reset a breaker safely and recognize when something’s wrong,
- Tackle small noise, wall, and water‑flow issues,
you’ll prevent minor issues from snowballing into major repairs.
You don’t have to do everything yourself. The real skill is knowing what you can handle, what you should stabilize and hand off, and when to pick up the phone. These five first‑response fixes give you a practical starting point so your next home problem feels manageable, not overwhelming.
Sources
- [U.S. Environmental Protection Agency – Water Damage and Mold](https://www.epa.gov/mold/mold-cleanup-your-home) - Guidance on cleanup and why quick response to leaks matters
- [U.S. Consumer Product Safety Commission – Home Electrical Safety Checklist](https://www.cpsc.gov/s3fs-public/electrical_safety_in_the_home.pdf) - Official advice on safely dealing with electrical panels and circuits
- [Family Handyman – How to Fix a Leaky Shutoff Valve](https://www.familyhandyman.com/project/how-to-fix-a-leaky-shutoff-valve/) - Practical walk‑through for common small plumbing leaks
- [Lowe’s – How to Patch and Repair Drywall](https://www.lowes.com/n/how-to/patch-repair-drywall) - Step‑by‑step reference for drywall patching techniques
- [The Spruce – How to Fix Low Water Pressure in Your Home](https://www.thespruce.com/fixing-low-water-pressure-4125626) - Detailed breakdown of causes and fixes for low water pressure
Key Takeaway
The most important thing to remember from this article is that following these steps can lead to great results.


