When something goes wrong at home—a leak, a crack, a door that suddenly won’t close—it’s easy to panic or ignore it. But what you do in the first hour often decides whether a problem stays small or turns into a major repair. This guide focuses on practical, first-response home fixes you can do safely, with basic tools, to stabilize the situation and buy time for a full repair later.
Before You Start: Safety, Tools, and Limits
Before jumping into any fix, take a minute to think about safety and scope.
Prioritize shutting things off. For water issues, know where your main shutoff valve is (usually near the perimeter of your home, basement, crawlspace, or where the main line enters). For electrical issues, know how to flip breakers at your main panel. For gas concerns (smell of sulfur/rotten eggs), get everyone outside and call your gas company or emergency services—do not try DIY fixes around gas.
Build a basic “first-response” kit. Keep it in one tote or bag you can grab quickly. Useful items include: a flashlight or headlamp, adjustable wrench, pliers, screwdrivers, utility knife, duct tape, painter’s tape, zip ties, plumber’s tape (Teflon), pipe repair tape/epoxy putty, super glue/gel CA glue, wood filler or spackle, sandpaper, a small pry bar, safety glasses, work gloves, masks, and some rags or old towels. Even if you’re not “handy,” having these on hand lets you stabilize a lot of problems quickly.
Know when to stop. If a problem involves structural movement (big cracks, sagging floors, bowing walls), major electrical work (hot wires, burning smells, repeated breaker trips), or anything with gas lines, your “fix” should be to make the area safe and then call a professional. Your goal with first-response repairs is to control damage—not to tackle every job on your own.
Step 1: Stop an Active Water Leak Fast
Water damage is one of the most expensive home problems. Quick action can save flooring, drywall, and cabinets.
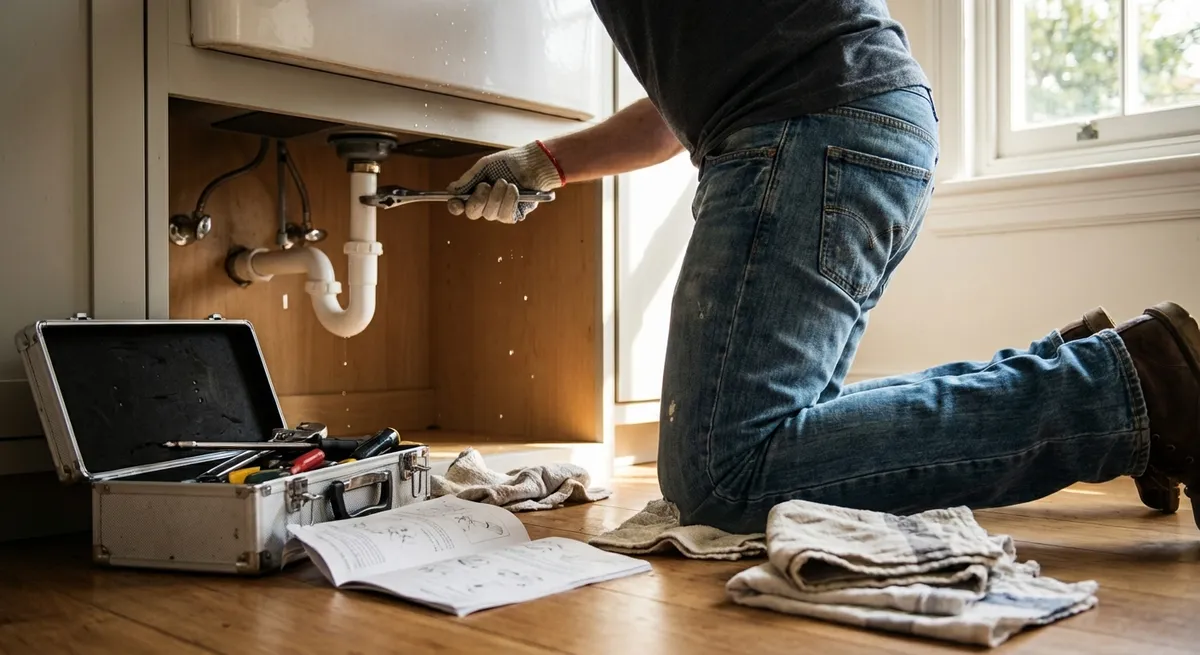
First, kill the water. If the leak is coming from a specific fixture (toilet, sink, washing machine), find the shutoff valve right behind or below it and turn it clockwise until it stops. If you can’t find a local valve or it won’t turn, shut off the main water supply to the house. Open a faucet at a lower level to relieve pressure and drain residual water.
Next, contain the leak. Place towels, buckets, or pans under the leak point. If water is dripping from a ceiling, move furniture and electronics out of the area. If you see a bulging ceiling from trapped water, place a bucket below and carefully poke a small hole in the lowest point with a screwdriver to let the water drain in a controlled way. This can prevent the entire ceiling panel from collapsing.
Perform a temporary pipe or connection patch if you can access the source. For a small pinhole leak in a copper or PVC pipe, dry the area as much as possible and wrap pipe repair tape or self-fusing silicone tape tightly around the leak, extending a few inches on either side. For a threaded connection that’s seeping, shut water off, unscrew carefully, wrap threads with plumber’s (Teflon) tape in the direction of the threads, reconnect, and snug up with a wrench—don’t overtighten.
Dry what you can, fast. Use fans and open windows if conditions allow. Lift rugs and set them upright to dry. The goal is to get surfaces dry within 24–48 hours to reduce the risk of mold. Take clear photos of everything for potential insurance claims, especially if drywall, flooring, or cabinets are visibly damaged.
Step 2: Stabilize a Sticking or Misaligned Door
A door that suddenly sticks or won’t latch can be a daily annoyance and sometimes a sign of humidity, settling, or loose hardware. A simple, step-by-step check usually fixes it.
Inspect the hinges first. Open the door and look at the hinges: are any screws loose or pulled out? Use a screwdriver to snug each hinge screw, starting with the top hinge, which carries the most weight. If a screw just spins and won’t tighten, remove it and replace it with a longer wood screw of the same diameter to grab deeper wood. In many cases, just tightening hardware restores alignment.
Check the latch and strike plate. Close the door slowly and see where the latch hits the strike plate. If it’s rubbing too high or too low, you may see shiny rub marks. Slight misalignment can often be fixed by loosening the two strike plate screws, shifting the plate up or down a millimeter or two, and retightening.
Shave only where needed if the door is rubbing. Identify the exact rub point by closing the door on a piece of painter’s tape stuck to the jamb or door edge. Where the tape wrinkles or tears is your problem area. Lightly sand or plane just that spot, then test again. Work slowly—removing too much material will create a gap you can’t undo. When done, touch up bare wood with paint or sealer to protect it from moisture.
Address seasonal swelling. In humid seasons, wood doors can swell. A temporary fix is to run a dehumidifier or use a fan to keep air moving near the problem door. If the door returns to normal in drier weather, avoid aggressive trimming; focus on keeping humidity in a normal range rather than permanently reshaping the door.
Step 3: Secure a Loose Towel Bar, Shelf, or Hook
Wall-mounted items often loosen over time, especially in bathrooms and high-use areas. Leaving them wobbly can enlarge holes and damage drywall. A careful reset can make them stronger than before.
Remove the loose hardware. Unscrew the visible brackets or hooks and gently pull them away from the wall. If the drywall around the holes is crumbling, lightly scrape away loose paper or gypsum with a utility knife. Don’t rip or tear; just clean it up so you’re working on solid material.
Decide whether you need better anchors. For light loads (small towel bars, small hooks), standard plastic expansion anchors may be enough. For heavier items (floating shelves, large towel bars, coat racks), use metal self-drilling drywall anchors or toggle bolts. If you can locate a stud with a stud finder, align at least one mounting screw into solid wood for much better strength.
Repair damaged holes if necessary. For stripped or oversized holes in drywall, push in any loose material, then fill with a setting-type joint compound or spackle. Let it dry fully, sand flush, and consider moving the bracket slightly up/down or sideways to bite into fresh drywall. Mark new screw locations with a pencil and pre-punch them with an awl or nail to prevent the drill bit from wandering.
Reinstall with proper support. Install appropriate wall anchors where needed, then screw the brackets or mounting plates firmly into place. Test by pulling down and out with moderate force before rehanging towels or objects. If anything still feels spongy or flexes the drywall, step up to stronger anchors or relocate to hit a stud.
Step 4: Patch a Small Wall Hole or Dent Cleanly
Small holes from picture hooks, doorknobs, or accidental bumps are easy to ignore, but they add up and make a room look tired. A clean patch is straightforward once you follow the right order.
Prep the surface. Use a utility knife or putty knife to lightly scrape around the hole, removing loose paint, torn drywall paper, or rough edges. For nail holes or tiny dings, this might be all the prep you need. For slightly larger holes (up to a couple of inches), undercut the edges slightly so filler can grip better.
Fill in layers, not in one blob. Load a putty knife with lightweight spackle or joint compound and press it into the hole, scraping off the excess. For deeper holes, apply in two or three thin layers, letting each dry before adding the next. This helps prevent shrinking and cracking. For thumb-sized or larger holes, consider using a small self-adhesive wall patch, pressing it flat, then covering with compound.
Feather the edges. After the compound dries, sand lightly with fine-grit sandpaper (180–220 grit). The goal is a smooth, flat surface that disappears into the surrounding wall—not necessarily perfection on the first pass. If you see low spots or ridges, apply a second skim coat and sand again. Wipe off dust with a slightly damp cloth.
Prime before painting. Exposed compound and repaired drywall can soak up paint differently than the surrounding wall, leaving visible spots. Use a small brush or roller to apply primer over the patched area. Once dry, apply matching wall paint. If you don’t have leftover paint, bring a paint chip or high-quality photo under natural light to a paint store for color matching.
Step 5: Quiet a Noisy, Loose Floorboard
Creaky or loose floorboards are annoying, but they also hint at movement that can worsen over time. You may not fix long-term structural issues with a quick response, but you can often stabilize the surface and reduce noise.
Identify exactly where the noise comes from. Walk slowly across the floor, putting weight on one foot at a time, and mark noisy spots with painter’s tape. Remove rugs and anything that could be causing friction, like debris between boards or loose nails sticking up.
For wood floors, tighten movement into a joist. If you can access the underside of the floor from a basement or crawlspace, have one person walk above while another listens from below. When you hear the squeak, look for gaps between the subfloor and joist. Drive wood shims with a bit of wood glue into small gaps—not so hard that you lift the floor, just enough to fill the space. For larger gaps, use construction adhesive between subfloor and joist.
From above, use screws designed for squeak repair if possible. There are specialty screw systems that let you drive a screw through carpet or hardwood and then snap the head off below the surface. If you’re working on exposed wood you plan to refinish later, you can use trim-head screws driven at a slight angle into a joist location. Always pre-drill near the edges of solid hardwood planks to reduce splitting.
For minor squeaks with no subfloor access, try lubrication first. For tongue-and-groove floors, sprinkling a small amount of powdered graphite or talc into seams and working it in can reduce friction squeaks. Vacuum up the excess. This doesn’t fix structural gaps but can calm noise caused by wood rubbing on wood.
Recheck after a day or two. Wood can shift slightly as screws and shims settle. Walk the area again and listen. If you still have loud squeaks in several spots or see soft/deflected areas when you step, it may indicate a wider subfloor or joist issue worth having a pro inspect.
Conclusion
You don’t need a workshop full of specialized tools to make a real difference when something goes wrong at home. By focusing on fast, smart first responses—stopping water, tightening hardware, reinforcing wall mounts, patching surfaces, and calming movement—you can keep small issues from spiraling into big repairs. Build a simple emergency repair kit, learn where your shutoffs and main panel are, and tackle each problem methodically. Over time, these small skills add up to a home that feels more solid, safe, and under control.
Sources
- [U.S. Federal Emergency Management Agency (FEMA) – Reducing Flood Damage](https://www.fema.gov/emergency-managers/risk-management/risk-reduction/floodplain-management/reducing-flood-losses) - Guidance on handling and reducing water-related damage in homes
- [U.S. Environmental Protection Agency (EPA) – Mold and Moisture](https://www.epa.gov/mold/brief-guide-mold-moisture-and-your-home) - Explains why fast drying after leaks matters and how to limit mold growth
- [This Old House – How to Fix a Squeaky Floor](https://www.thisoldhouse.com/flooring/21015036/how-to-fix-a-squeaky-floor) - Practical methods for diagnosing and repairing noisy floors from below and above
- [Family Handyman – How to Fix Holes in Drywall](https://www.familyhandyman.com/project/how-to-fix-holes-in-drywall/) - Step-by-step drywall patching techniques with tools and material recommendations
- [International Association of Certified Home Inspectors (InterNACHI) – Main Water Shutoff Valve](https://www.nachi.org/main-water-shut-off-valve.htm) - Shows typical locations and operation of residential main water shutoff valves
Key Takeaway
The most important thing to remember from this article is that following these steps can lead to great results.


