Home repairs rarely fail all at once. Most expensive issues start as small, fixable problems that are easy to ignore—until they’re not. Knowing how to handle a few core repairs can save you money, prevent damage, and give you a lot more confidence living in your own home.
This guide walks through five practical, step-by-step fixes that most DIY-minded homeowners can do with basic tools. Each one focuses on staying safe, working methodically, and knowing when to stop and call a pro.
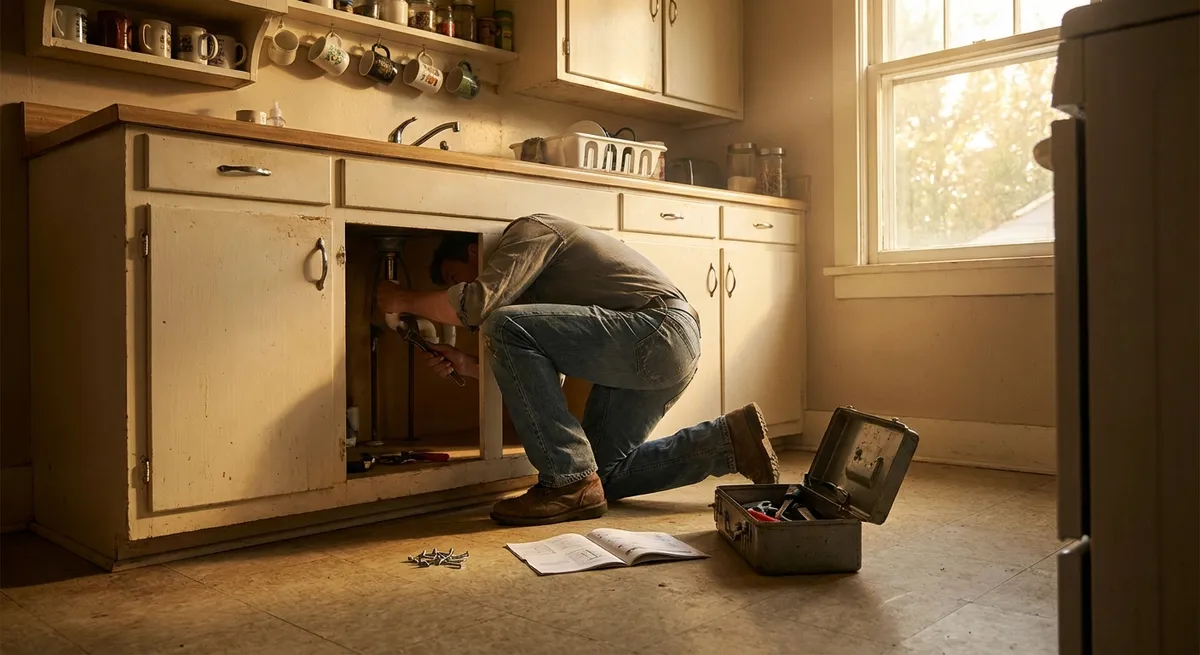
Step 1: Stop a Dripping Faucet Before It Wastes Money
A dripping faucet is more than an annoyance—it can waste gallons of water a day. Most of the time, the fix is replacing a worn-out cartridge, washer, or O‑ring.
What you’ll need:
Adjustable wrench, screwdriver, replacement parts (cartridge or washers/O-rings), plumber’s tape (optional), towel.
How to do it:
Shut off the water supply
Look under the sink for the shutoff valves and turn them clockwise until they stop. Open the faucet to release any remaining pressure. If there are no local valves, shut off the main water supply.
Plug the drain and protect the sink
Use a drain plug or a rag to keep small screws or parts from falling in. Lay a towel in the sink to prevent scratches and to give you a place to set parts down.
Disassemble the handle and faucet body
Remove any decorative caps with a flathead screwdriver, then unscrew the handle. Depending on the faucet type (single-handle cartridge, compression, or ball), remove the retaining nut or clip to access the cartridge or internal parts.
Inspect and replace worn components
Look for cracked rubber, flattened O‑rings, or mineral buildup. Take old parts to the hardware store so you can match them exactly. Install the new cartridge, washer, or O‑ring in the same orientation as the original.
Reassemble and test for leaks
Rebuild the faucet in reverse order. Turn the shutoff valves back on slowly while watching for leaks around the base and under the sink. If there’s a small seep at a threaded connection, remove it and reassemble with plumber’s tape.
When to call a pro:
If shutoff valves don’t work, pipes look corroded, or the faucet body itself is cracked, it’s safer to have a plumber handle it.
Step 2: Fix a Running Toilet That Won’t Stop Refilling
A constantly running toilet wastes a surprising amount of water. The cause is usually inside the tank: a worn flapper, poorly adjusted float, or faulty fill valve.
What you’ll need:
Adjustable wrench, new flapper or fill valve (as needed), towel.
How to do it:
Remove the toilet tank lid and diagnose the problem
Flush the toilet while watching inside the tank. Note whether water continues to flow into the bowl, or if the tank overfills and water runs into the overflow tube.
Check and replace the flapper if it’s not sealing
Turn off the water supply at the valve behind the toilet and flush to empty the tank. If the rubber flapper is warped, slimy, or cracked, unhook it from the overflow tube, disconnect the chain, and install a matching replacement. Adjust the chain so there is a little slack but it doesn’t get trapped under the flapper.
Adjust the water level if the tank is overfilling
Turn the water back on and let the tank fill. If water rises into the overflow tube, lower the float. For a float arm, gently bend the metal arm down. For a vertical float on the fill valve, use the adjustment screw or clip according to the manufacturer’s markings.
Replace the fill valve if it’s noisy or leaking
Turn water off again and flush to empty the tank. Sponge out remaining water. Disconnect the supply line under the tank and remove the locknut holding the fill valve. Install a new valve per the instructions, set the correct water height, reconnect the supply line, and check for leaks.
Test multiple flushes
Flush several times to confirm the toilet fills to the right level and stops. Listen for continued water flow; if you still hear a hiss, double-check flapper seating and float height.
When to call a pro:
If the shutoff valve leaks, the tank is cracked, or the toilet rocks at the floor, a plumber or handyman is a better choice.
Step 3: Repair a Hole or Dent in Drywall for a Clean Wall Finish
From door knobs to misplaced chairs, drywall takes a lot of abuse. Patching it yourself can give walls a fresh, finished look without hiring a contractor.
What you’ll need:
Utility knife, putty knife, sanding sponge or sandpaper (120–220 grit), joint compound or spackle, drywall patch or mesh tape (for larger holes), primer and paint.
How to do it:
Prep and clean the damaged area
Use a utility knife to remove loose paper and crumbling gypsum. Lightly scrape around the hole or dent so the surrounding area is solid and dust-free. Wipe with a dry or slightly damp cloth.
Choose the right patch method
- Nail pops or small dents: Spackle or joint compound only. - Thumb-sized holes: Self-adhesive mesh patch or mesh tape. - Larger than a few inches: Consider a drywall repair patch kit with a backing or a cut-in drywall piece.
Apply compound in thin layers
For small dents, fill slightly higher than the wall surface with compound. For patched holes, apply compound over the mesh, feathering the edges outward. Let the first coat dry completely according to the product instructions.
Sand smooth and repeat if needed
Lightly sand to level the surface and blend edges. If you can still see depressions or patch outlines, apply another thin coat, feather wider, let dry, and sand again. Avoid over-sanding down to the paper.
Prime and paint for a seamless finish
Prime the patched area to prevent flashing (shiny spots) and uneven texture. Once dry, paint the area using the same type and sheen as the surrounding wall. For best blending, paint from corner to corner or across the full wall if the color match is old or uncertain.
When to call a pro:
If the wall feels soft over a large area, is visibly bulging, or there are signs of moisture or mold, stop and have the underlying problem inspected.
Step 4: Seal Drafty Windows to Improve Comfort and Cut Bills
Drafty windows let in cold air in winter and warm air in summer, making your heating and cooling systems work harder. You can often improve comfort significantly with sealants and weatherstripping.
What you’ll need:
Caulk (exterior-grade for outside, paintable latex or silicone for inside), caulk gun, utility knife, weatherstripping, tape measure, cleaning supplies.
How to do it:
Identify where the draft is coming from
On a windy day or with fans running, hold the back of your hand or a lit incense stick around the window frame and sash. Movement in the smoke or noticeable cold spots show where air is leaking.
Clean the surfaces you’ll seal
Wipe dirt and peeling paint from the window frame and trim. Old, cracked caulk should be removed with a utility knife or scraper so new caulk can adhere properly.
Apply caulk to stationary gaps
Use exterior caulk on outside joints where the frame meets the siding, and paintable latex or silicone on interior trim gaps. Cut the caulk nozzle at a 45-degree angle, run a steady bead along the gap, and smooth it with a damp finger or tool.
Add weatherstripping to moving parts
For double-hung or sliding windows, measure the sides and bottom of the sash where you feel drafts. Install adhesive-backed foam or V-strip weatherstripping so the window closes snugly but still operates smoothly.
Check operation and re-test for drafts
Open and close the window multiple times to be sure nothing sticks. Recheck with your hand or incense stick to confirm leaks are reduced. If you still feel strong drafts, consider adding interior storm panels or upgrading the window in the future.
When to call a pro:
If you see rotted wood, water damage, or fogging between glass panes, window repair or replacement may be needed.
Step 5: Quiet a Squeaky Floor Without Tearing Up the Room
Squeaky floors often come from loose subflooring or boards rubbing against nails or each other. You can often quiet them from above or below with minimal disruption.
What you’ll need:
Drill/driver, trim screws or specialized anti-squeak screws, wood shims (for basement/accessible underside), construction adhesive (optional), stud finder or small finish nails, hammer.
How to do it:
Locate the squeak and the floor joists
Walk around to pinpoint the exact squeak. Use a stud finder to locate joists under the floor or lightly tap small finish nails in an inconspicuous area until you hit solid backing.
Tighten from below if you have access
In a basement or crawlspace, look up at the subfloor. Have someone walk above so you can see movement. Drive wood screws up through the subfloor into the underside of the flooring near the squeak. Add a thin bead of construction adhesive between joist and subfloor if there’s a visible gap.
Use shims carefully at loose joists
If you see a gap between the joist and subfloor, lightly tap in a wood shim coated with wood glue. Don’t force it; too much pressure can lift the floor and cause new noises. Trim off any excess shim with a utility knife.
Secure from above with hidden screws if needed
For carpeted floors, you can use specialty squeak-repair screws that break off below the surface. For exposed wood floors, pre-drill and drive trim screws at an angle into joists, then fill the holes with wood filler that matches the floor.
Test and repeat at nearby spots
Walk the area again. Squeaks often travel, so you may need to secure a small section rather than a single point. Work gradually, adding screws or shims near, not directly on, the noisiest spot if that’s where boards are rubbing.
When to call a pro:
If you see sagging floor sections, cracked joists, or signs of water damage, have a contractor evaluate the structure.
Conclusion
Most home problems don’t need to turn into emergencies. With a handful of tools and a methodical approach, you can stop leaks, silence noises, patch walls, and make your space more comfortable and efficient. The key is to:
- Turn off water or power before you start
- Work in small, controlled steps
- Use the right materials for the job
- Know when the issue is bigger than a simple repair
Tackle one project, learn the process, and build from there. The more familiar you are with basic repairs, the easier it becomes to keep your home safe, solid, and ready for whatever comes next.
Sources
- [U.S. Environmental Protection Agency – Fix a Leak](https://www.epa.gov/watersense/fix-leak-week) - Covers how common household leaks (faucets, toilets) waste water and basic guidance on finding and fixing them
- [Family Handyman – How to Fix a Leaky Faucet](https://www.familyhandyman.com/project/how-to-fix-a-leaky-faucet/) - Step-by-step instructions and illustrations for different faucet types
- [US Department of Energy – Air Sealing Your Home](https://www.energy.gov/energysaver/air-sealing-your-home) - Explains where drafts come from and effective methods to seal windows and other openings
- [Lowe’s – How to Repair Drywall](https://www.lowes.com/n/how-to/repair-drywall) - Practical details on tools, patch types, and finishing techniques for drywall repair
- [This Old House – How to Stop Squeaks in Floors](https://www.thisoldhouse.com/flooring/21015136/how-to-stop-squeaks-in-floors) - Demonstrates multiple techniques to quiet squeaky floors from above and below
Key Takeaway
The most important thing to remember from this article is that this information can change how you think about Home Repair.


