Doors that stick, slam, rattle, or won’t latch right can make a whole home feel off. The good news: most door problems are small mechanical issues you can fix yourself with basic tools, a little patience, and a clear plan.
This guide walks you through five practical, step‑by‑step fixes for common interior and exterior door issues—exactly the kind of projects you can handle in an afternoon and feel the difference every day.
Step 1: Diagnose What’s Actually Wrong With the Door
Before you grab a drill or plane, slow down and figure out the real cause of the problem. Guessing usually leads to extra work or the wrong fix.
- Open and close the door slowly and watch what happens.
- Does it rub at the top, side, or bottom?
- Does it bounce back after you close it?
- Does the knob feel loose or “gritty”?
- Check the gap around the door.
You’re looking for a reasonably even gap (about the thickness of a nickel) on the top and sides.
- Inspect the hinges.
- Look for loose screws, bent hinges, or hinges not sitting flush.
- Hold the door slightly open and lift up on the handle—if you feel movement, the hinge screws may be loose or stripped.
- Check the latch and strike plate.
- Close the door slowly and see if the latch lines up with the hole in the strike plate.
- If you have to pull hard for it to latch, the strike plate may be misaligned.
- Look for signs of moisture or swelling.
- On exterior doors or bathroom doors, swollen wood around the bottom edge or latch side can mean humidity is the main issue.
Once you know whether you’re dealing with sag, misalignment, or swelling, you can pick the right fix and avoid unnecessary sanding or cutting.
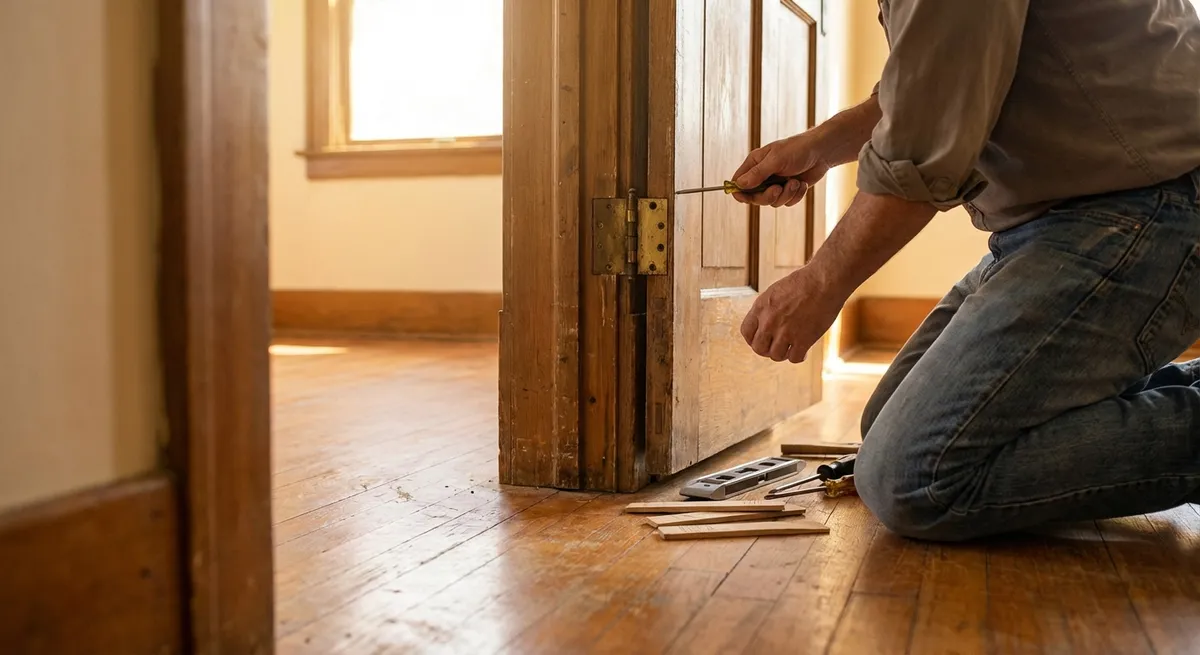
Step 2: Tighten and Repair Door Hinges for a Solid Fit
Loose or worn hinges are behind many sticking or sagging doors. Fixing them first often solves the problem without touching the door edges.
- Tighten all hinge screws.
- Use a hand screwdriver (not just a drill) to fully snug each screw on both the door side and the frame side.
- Start with the top hinge—this carries most of the door’s weight.
- Replace stripped screws with longer ones.
- If a screw just spins and won’t tighten, it’s likely stripped in the wood.
- Remove it and replace it with a longer screw (2–3 inches) of the same head style, driving it into the deeper framing behind the jamb.
- Angle one or two top hinge screws slightly toward the framing stud to pull the door back into alignment.
- Fix loose hinge mortises (the recessed area under the hinge).
If the hinge leaf rocks or sits proud of the surface:
- Replace damaged hinges.
- If the hinge pin is badly bent or the hinge is cracked, swap it out for a matching size and style.
- Replace hinges one at a time so the door stays aligned.
- Check door swing and latch again.
- After hinge work, open and close the door several times.
- If it no longer rubs and the latch lines up, you’re done with this part.
- If it still binds at one edge, move on to adjusting the door or frame.
Solid hinges often transform a “mystery” door problem into a smooth, quiet, easy swing.
Step 3: Adjust a Door That Won’t Latch or Is Out of Alignment
When the door closes but the latch doesn’t catch—or you have to yank it—your issue is usually alignment between the latch and the strike plate.
- Mark where the latch hits.
- Color the latch with a dry-erase marker or a bit of masking tape.
- Slowly close the door until the latch touches the strike plate, then open it and see where the mark transferred.
- This shows if you’re too high, too low, or too far in/out.
- Shift the strike plate slightly (minor misalignment).
- For a small tweak (1–2 mm), loosen the two screws holding the strike plate.
- Nudge the plate in the needed direction with a flat screwdriver, then retighten.
- Test the door. Repeat until the latch engages smoothly.
- Reposition the strike plate (larger misalignment).
- If it’s off by more than a couple of millimeters, remove the strike plate entirely.
- Use a chisel to carefully enlarge the mortise in the direction you need (up/down or in/out).
- Pre-drill new pilot holes so the screws don’t wander.
- Reinstall the plate and check that the latch enters the opening cleanly.
- Fill old screw holes if needed.
- Pack toothpicks or a short piece of wooden skewer coated with wood glue into old screw holes that are too close to your new location.
- Let dry, trim flush, and then drive new screws for a solid hold.
- Fine-tune with a metal file.
- If the latch barely catches or scrapes, you can lightly file the inner edge of the strike plate opening.
- Remove small amounts at a time, testing as you go, until the door latches with gentle pressure.
Getting the latch and strike plate aligned makes doors feel “right” again—no more shoulder-checking them closed.
Step 4: Plane or Sand a Door That Sticks or Scrapes
If the door is rubbing against the frame or floor after you’ve fixed the hinges, you may need to remove a small amount of material from the door edge.
- Identify the exact contact point.
- Close the door until it binds.
- Slide a thin strip of paper around the edge; where it stops is where the door is rubbing.
- Lightly mark that area with a pencil.
- Decide whether to remove the door.
- If you only need to shave a small spot at the latch edge, you may be able to do it in place with sandpaper or a block plane.
- For larger areas, take the door off the hinges: remove the hinge pins (starting with the bottom), then lift the door and lay it on a stable surface.
- Use the right tool for material removal.
- For minor adjustments: 80–120 grit sandpaper wrapped around a sanding block.
- For more material: a sharp hand plane or power planer used in controlled passes.
- Always work in the direction of the wood grain to avoid tear-out.
- Remove material gradually and re-test.
- Take off a small amount, then put the door back (or close it gently if still hung) and test.
- Aim for a consistent, small gap rather than hacking away at the tight spot.
- Repeat until the door closes cleanly with a bit of clearance.
- Seal any freshly exposed wood.
- Especially for exterior or bathroom doors, use primer and paint, or a clear sealer on the planed edge.
- This helps prevent moisture from re-swelling the wood and recreating the problem.
Careful, gradual removal is key—once wood is gone, you can’t put it back, so work slowly and keep testing.
Step 5: Improve Door Comfort With Weatherstripping and Draft Control
Once a door opens, closes, and latches properly, you can improve comfort and energy efficiency by dealing with drafts and air leaks.
- Check for air leaks.
- On a windy day or with the HVAC running, hold the back of your hand or a lit stick of incense near the gaps around the door.
- Any noticeable airflow—or smoke pulled toward a gap—marks a draft.
- Choose suitable weatherstripping.
Common options include:
- Install weatherstripping on the frame.
- Clean the surface (dust, old paint flakes, oil) so adhesive or screws hold well.
- Start at the top: apply or nail the strip so it just kisses the door when closed—not so tight that it’s hard to latch.
- Continue down the latch and hinge sides, keeping the material straight and without gaps.
- Add or adjust a door sweep.
- Measure and cut the sweep to match your door width.
- Attach it so the rubber or brush just touches the floor or threshold—enough to seal, but not drag heavily.
- Test by opening and closing the door; adjust if it grabs the floor or makes the door hard to move.
- Re-test comfort and closure.
- Close the door and check: it should still latch smoothly, without needing extra force.
- Re-check with your hand or incense for drafts around sides, top, and bottom.
- Make small adjustments where you still feel airflow.
These finishing touches don’t just make the home more comfortable—they also help reduce energy loss, noise, and dust coming through door gaps.
Conclusion
Most annoying door problems come down to a few simple issues: loose hinges, misaligned hardware, swollen wood, or poor sealing. By taking a methodical, step‑by‑step approach—diagnose, tighten, align, trim, then seal—you can turn a stubborn, squeaky, or drafty door into one that feels solid and smooth every time you use it.
These same principles apply across your home: look closely, fix the root cause first, and work in small, controlled steps. That’s how DIY repairs stay manageable, safe, and satisfying—and how you build real confidence for bigger projects down the line.
Sources
- [U.S. Department of Energy – Doors and Energy Efficiency](https://www.energy.gov/energysaver/doors) – Explains how doors affect home comfort and energy use, plus basic improvement strategies
- [Family Handyman – How to Fix a Sticking Door](https://www.familyhandyman.com/project/how-to-fix-a-sticking-door/) – Practical, illustrated guidance on diagnosing and repairing sticking interior doors
- [This Old House – Fixing Door Problems](https://www.thisoldhouse.com/doors/21017752/how-to-fix-common-door-problems) – Covers common door issues like sagging, binding, and latching problems with pro tips
- [Lowe’s – Weatherstripping Your Doors](https://www.lowes.com/n/how-to/weatherstrip-doors) – Step-by-step overview of choosing and installing door weatherstripping products
- [Home Depot – How to Adjust a Door Strike Plate](https://www.homedepot.com/c/ah/how-to-adjust-a-door-strike-plate/9ba683603be9fa5395fab901e3dbda5) – Demonstrates methods for aligning latch and strike plate for proper door closure
Key Takeaway
The most important thing to remember from this article is that this information can change how you think about Home Repair.


