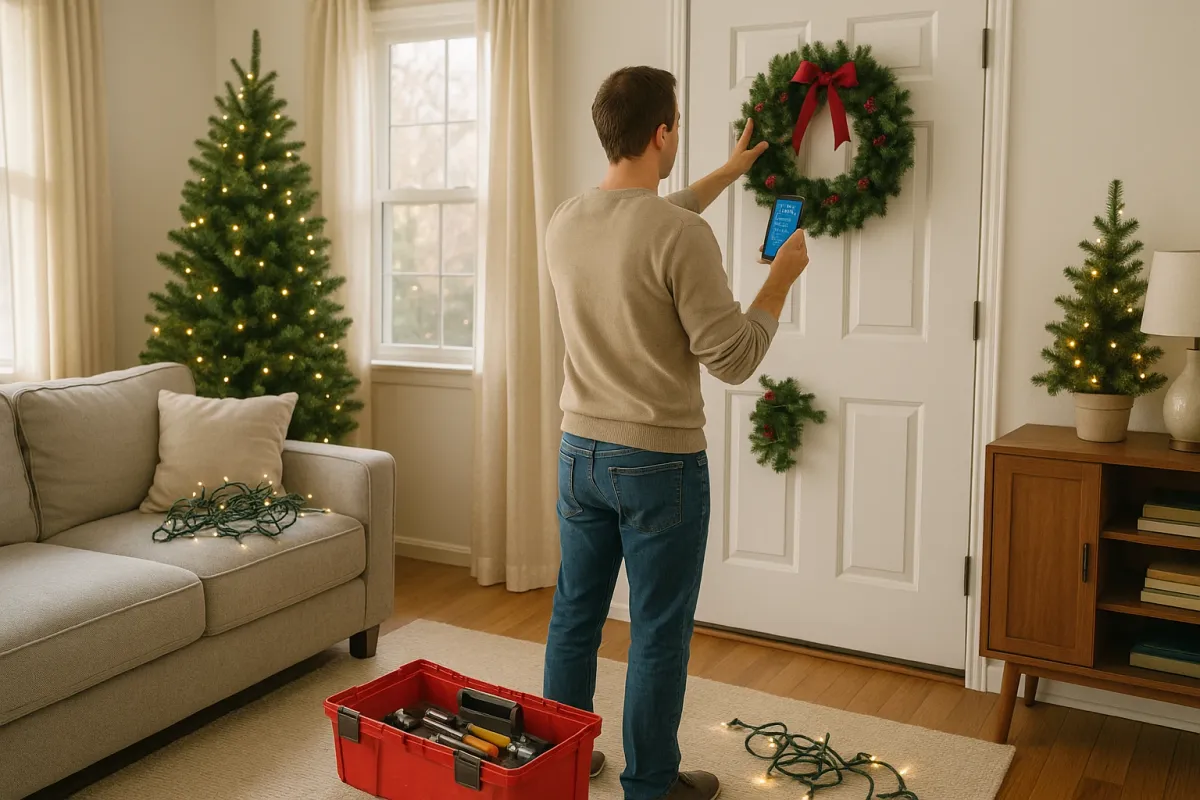
If reading about “27 Ways To Get Your House In Order Now” made you suddenly look around at the scuffed walls, squeaky doors, and mystery drafts in your home, you’re not alone. As sites like Bored Panda spotlight the annual pre-Christmas chaos—overflowing guest rooms, judgmental relatives, and zero time—millions of homeowners are realizing the same thing: tidying isn’t enough this year. Small home repairs are what really make a house feel ready.
Instead of just hiding clutter in the closet before guests arrive, this is the perfect moment to knock out a few high-impact repairs. These fixes don’t require a contractor, but they will make your place feel calmer, warmer, and more put-together—exactly what you want when holiday visitors (and their camera phones) show up.
Below are five straightforward, step-by-step projects you can finish before the season fully hits.
Fix Drafty Windows So Guests Don’t Freeze at Dinner
Nothing kills a cozy holiday vibe like a cold draft creeping across the room. With energy prices still a major concern going into winter, sealing air leaks is one of the most cost-effective repairs you can do right now.
Step 1: Find the leaks
- On a windy day, slowly move your hand around window edges, sashes, and where the frame meets the wall.
- Use the “candle test”: carefully hold a lit candle or incense stick near suspected gaps (stay clear of curtains). If the flame or smoke flickers, you’ve found a draft.
- Check older windows first; they’re usually the worst offenders.
Step 2: Clean the surfaces
- Wipe down the window frame and sill with a mild cleaner and let it dry completely.
- Scrape off any loose, cracked, or crumbly old caulk with a putty knife.
- Vacuum debris so new sealant can grab onto a clean surface.
Step 3: Seal gaps with caulk
- For gaps around the frame (between window and wall), use exterior-grade acrylic latex caulk for outside and paintable interior caulk for inside.
- Cut the caulk tube tip at a 45° angle, creating a small opening.
- Run a smooth, continuous bead along the gap, then tool it with a damp finger or caulk tool for a clean finish.
- Let it cure per the instructions before painting or exposing to heavy moisture.
Step 4: Add weatherstripping to moving parts
- If air is sneaking in where the sashes slide or the window closes, use adhesive foam or V-strip weatherstripping.
- Measure, cut to length, peel the backing, and press it firmly into place along the jambs and meeting rails.
- Open and close the window a few times to make sure it still operates smoothly.
Step 5: Add a temporary winter layer
- For older or single-pane windows, install clear window insulation film for the cold season.
- Apply the double-sided tape supplied around the frame, stick on the plastic, and shrink it tight with a hair dryer.
- This adds an almost invisible insulation layer guests will feel—even if they don’t see it.
Silence That Infamous Squeaky Door Before the First Overnight Guest Arrives
A squeaky bedroom or bathroom door becomes ten times more annoying when people are trying to sleep in a full house. The fix is quick, cheap, and very satisfying.
Step 1: Pinpoint the noise
- Slowly open and close the door while listening for the exact hinge that squeaks.
- Gently lift up on the door handle as you move it—if the sound changes, the hinges are your culprit (they almost always are).
Step 2: Protect the area
- Lay a towel under the door to catch any drips.
- If the hinge is near painted trim, have a rag handy to wipe off excess lubricant.
Step 3: Lubricate the hinges
- Use a silicone spray, WD-40, or white lithium grease.
- For a quick fix: spray directly onto the hinge pin and moving parts, then open and close the door several times to work it in.
- For a longer-lasting fix: tap the hinge pin out with a nail and hammer, coat it lightly with grease, then reinsert it and wipe off any extra.
Step 4: Tighten loose screws
- Check each hinge screw with a screwdriver and snug them up.
- If a screw just spins, remove it and insert a wooden toothpick or small dowel coated in wood glue into the hole; snap it flush and reinstall the screw. This gives it new material to bite into.
Step 5: Realign if the door still binds
- If the door rubs against the frame, loosen the hinge screws slightly and adjust the hinge position up, down, or sideways as needed.
- Retighten, then test the door again.
- Only if that fails should you lightly sand the rubbing edge of the door and touch up with paint or finish.
Refresh Beat-Up Walls in High-Traffic Areas Before Company Notices
Hallways, entryways, and around light switches take a beating—especially as people drag in luggage and coats. Instead of just hanging more decor to hide it, do a fast repair that actually makes the space look cleaner and newer.
Step 1: Clean and assess
- Wipe walls with a damp cloth and a tiny bit of dish soap to remove hand oils, dirt, and scuffs.
- Mark nail holes, dents, and cracks with a light pencil dot so you don’t lose track once the wall is clean.
- If you see hairline cracks around doors or windows, note them—they’re common and fixable.
Step 2: Fill small holes and dings
- Use lightweight spackle for nail holes and minor dents.
- Apply with a putty knife, slightly overfilling so you can sand it flush later.
- For deeper dents, apply in two thin layers rather than one thick blob that can crack.
Step 3: Repair small cracks the right way
- For thin cracks, use a flexible, paintable caulk instead of spackle—caulk can move with the wall slightly and is less likely to reopen.
- Run a tiny bead along the crack, smooth it with a damp finger, and wipe away excess from the surrounding wall.
Step 4: Sand and prime
- Once dry, sand patched areas with fine-grit (180–220) sandpaper until smooth.
- Wipe away dust with a barely damp cloth.
- Spot-prime patched areas with a primer or leftover wall paint mixed with a bit of primer, especially if the patches are bright white against a colored wall.
Step 5: Blend the paint
- If you have leftover paint in the exact same sheen and batch, you can usually touch up small sections. Feather the edges with a roller rather than a brush to avoid obvious rectangles.
- If the wall is older and faded, consider repainting from corner to corner on that wall for a seamless look.
- Always use the same sheen (eggshell, satin, etc.) you used originally; mismatched sheen is more obvious than a slight color variation.
Make Your Entryway Work Harder (And Look Less Chaotic)
The Bored Panda piece about pre-Christmas panic hit a nerve because it’s true: the second guests start piling boots, coats, and gifts in the entryway, the house can feel messy no matter how clean everything else is. A few small “repairs plus upgrades” here go a long way.
Step 1: Strengthen coat and bag storage
- Tighten any loose hooks or racks with proper wall anchors, especially if they’re in drywall and regularly overloaded.
- If existing anchors are failing, switch to heavier-duty drywall anchors or, ideally, screw into wall studs.
- Replace flimsy hooks with sturdy metal ones that can handle winter coats and bags.
Step 2: Add a real boot/shoe zone
- Inspect the floor near the door. If water has damaged baseboards or the finish, lightly sand and reseal small areas now to prevent further swelling and rot.
- Add a waterproof boot tray or low-profile mat to catch snow, salt, and mud.
- If you have tile that gets slick, consider adding non-slip pads under rugs to prevent slips as people rush in.
Step 3: Fix wobbly or loose trim
- Press on baseboards and door casing—if they move, secure them.
- Use finish nails (or a brad nailer if you have one) to snug loose trim back to the wall; fill nail holes with wood filler and touch up with paint.
- Re-caulk gaps between trim and wall for a crisp, finished look.
Step 4: Upgrade lighting without rewiring
- Replace burnt-out or dim bulbs with brighter, warm-white LEDs (2700–3000K) for a welcoming look that still feels cozy.
- Clean existing light fixtures—dust and grime can noticeably dim output.
- If hardwiring a new fixture isn’t in the cards, consider a plug-in wall sconce or a battery-powered puck light in a dark corner.
Step 5: Create a landing spot for “everything”
- Install a small shelf, console table, or wall-mounted ledge beside the door for keys, mail, and gloves.
- Secure it properly to the wall with anchors or into studs so it doesn’t loosen over time.
- Add a shallow basket or tray so stuff doesn’t roll off and onto the floor right where people are trying to step.
Prep Your Guest Bathroom So It Survives Holiday Traffic
Guest bathrooms get more use in one holiday weekend than they do in many normal weeks. A few preventative repairs now can keep you from dealing with clogs, leaks, or embarrassing “this doesn’t work” moments.
Step 1: Fix that slow or wobbly toilet
- If the toilet rocks even slightly, tighten the bolts at the base—carefully. Over-tightening can crack the porcelain.
- If it still rocks, the wax ring may be compressed unevenly. You may need to pull the toilet, install plastic shims, and reset it with a new wax ring.
- Check around the base for staining or soft flooring that could indicate a leak; deal with that early, not after more damage.
Step 2: Clear slow drains before they become clogs
- Remove visible hair and debris from sink and shower drains using a plastic drain snake or bent wire.
- Pour very hot (not boiling) water down the drain, followed by a mix of baking soda and vinegar if you prefer a mild cleaner.
- Avoid harsh chemical drain openers as a routine fix; they can damage old pipes and finishes over time.
Step 3: Stop running or dripping faucets
- If a faucet drips, identify whether it’s from the spout (cartridge/washer issue) or connections underneath.
- Turn off the water supply valves under the sink.
- For common single-handle faucets, replacing the internal cartridge is usually straightforward: remove the handle, pull the cartridge, match it at the hardware store, and install the new one.
- Check supply lines and shutoff valves for seeping; tighten connections gently and replace braided hoses that look frayed or corroded.
Step 4: Secure loose towel bars and TP holders
- If hardware pulls away from the wall, remove it and inspect the anchoring.
- Replace flimsy plastic anchors with metal toggle or molly bolts rated for more weight.
- Reinstall, ensuring the bracket is snug to the wall before attaching the bar or holder.
Step 5: Improve ventilation to fight foggy mirrors and moisture
- Clean the exhaust fan cover and blades (turn power off first) to restore airflow.
- If the fan is noisy but weak, consider replacing the entire unit—most modern fans are quieter and more effective, and many are sized to fit the same ceiling cutout.
- Remind guests with a simple sign or verbal note to run the fan during and after showers to protect paint and prevent mildew.
Conclusion
The internet is full of listicles about decluttering before guests arrive, and this year’s viral “pre-Christmas panic” posts captured how overwhelming that can feel. But the homes that actually feel calm, warm, and ready for company aren’t just tidy—they’re functioning well.
By tightening up drafts, silencing noisy doors, refreshing walls, taming the entryway, and tuning up the guest bath, you’re doing more than cosmetic touchups. You’re building a house that works better under stress, all with DIY-friendly repairs you can knock out in short sessions before the holidays hit full force.
You don’t need to fix everything. Pick one area that bothers you most, follow the steps, and get it truly Fix Ready—then move to the next when you’re ready.
Key Takeaway
The most important thing to remember from this article is that this information can change how you think about Home Repair.


