Home repairs don’t have to be expensive or overwhelming. With a few reliable techniques and the right approach, you can handle many common issues yourself—and make sure the fix doesn’t fall apart a month later. This guide walks through five practical, step‑by‑step repairs that most DIY enthusiasts can tackle with basic tools, plus tips to do them safely and correctly.
Step 1: Stop a Dripping Faucet the Right Way
A dripping faucet wastes water and slowly increases your bill. Most leaks come from worn internal parts, not the faucet body itself.
- Shut off the water supply.
Look under the sink for the hot and cold shutoff valves and turn them clockwise until they stop. If you don’t have local shutoffs, turn off the main water supply to the house.
- Plug the drain and disassemble carefully.
Put a sink stopper or rag in the drain so you don’t lose screws or small parts. Use a screwdriver or Allen key to remove the handle, then take off any decorative caps, retaining nuts, and the cartridge or stem depending on your faucet type.
- Identify your faucet type and worn parts.
Common types: compression, cartridge, ball, and ceramic disc. Look for cracked O‑rings, worn rubber washers, or damaged cartridges. Take the old parts to a hardware store so you can match them exactly.
- Clean the internal surfaces.
Wipe mineral buildup from the faucet body with white vinegar and a soft brush. Avoid scratching the metal. Clean around the valve seat so new parts can seal properly.
- Reassemble and test.
Reinstall new washers, O‑rings, or cartridge in the reverse order you removed them. Hand‑tighten first, then snug with a wrench without over‑torquing. Turn the water back on slowly and test both hot and cold. If it still drips, gently tighten the retaining nut a bit more.
Tip: Take clear photos at each disassembly step so you can refer to them when reassembling.
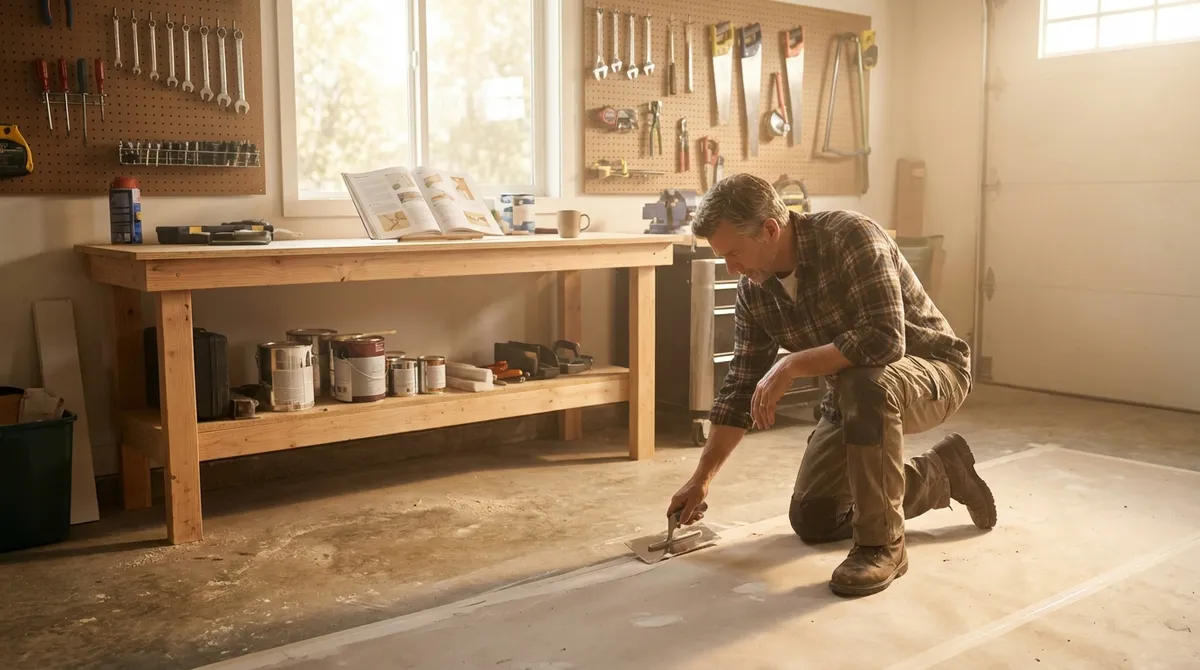
Step 2: Patch a Wall Hole So It Actually Disappears
Poor wall repairs are easy to spot—lumps, cracks, and visible patches. A clean patch blends into the wall and holds up to daily use.
- Choose the right repair method for the hole size.
- Nail pops and tiny holes: spackle alone
- Small holes (up to ~2"): mesh patch or layered spackle
- Larger holes (2–6"+): drywall patch piece with tape and compound
- Prepare and clean the damaged area.
Scrape away loose drywall and flaking paint with a putty knife. Lightly sand around the hole to remove gloss and dust with a damp cloth. Good adhesion starts with a clean surface.
- Apply backing or patch for larger holes.
For holes bigger than a coin, use a self‑adhesive mesh patch or screw a small support board behind the hole, then screw a cut piece of drywall to the support. Tape the seams with paper or mesh tape.
- Layer joint compound, don’t glob it on.
Apply a thin layer of joint compound with a wide putty knife, feathering the edges into the surrounding wall. Let it dry completely, then sand lightly. Repeat with one or two more thin coats until the repair is flush and smooth.
- Prime before painting.
Unprimed patches often show through the paint. Use a stain‑blocking or drywall primer on the repaired area, then paint the entire wall or at least corner‑to‑corner to avoid obvious touch‑up marks.
Tip: Use a work light or flashlight held at an angle across the wall to spot ridges or imperfections before you paint.
Step 3: Fix a Wobbly Interior Door That Won’t Latch
Doors that stick, sag, or won’t latch are usually a hinge and alignment issue—not a door replacement problem.
- Inspect the hinges and screws first.
Open the door and check all hinges. Loose or stripped screws often cause sagging. Tighten all screws with a screwdriver (not just a drill) so you can feel resistance and avoid stripping.
- Repair stripped hinge screw holes.
If a screw spins and won’t tighten, remove it. Fill the hole with wood glue and insert wooden toothpicks or a short piece of wooden dowel. Let it dry, then drive a new screw into the filled hole so it grips solid wood.
- Adjust the strike plate if the latch misses.
Close the door slowly and see where the latch hits the strike plate. If it’s too high or low, loosen the screws and shift the plate slightly. For larger adjustments, file the opening in the strike plate and/or move it up or down, filling old screw holes with wood and glue.
- Shave problem areas instead of forcing the door.
If the door binds at the top or side, mark the tight spots, remove the door from its hinges, and plane or sand a small amount from the edge. Work slowly and test often so you don’t remove too much.
- Check for seasonal movement.
Humidity can cause doors to swell. If the problem appears only in damp months, a light trim and good paint or sealer on all edges (especially the top and bottom) can prevent repeated sticking.
Tip: Always check hinge screws into the framing (usually the top hinge) before trying more complicated fixes—tightening those alone can solve many sagging issues.
Step 4: Replace a Broken Electrical Outlet Safely
Swapping out a damaged or loose outlet is within reach for many DIYers, but safety is non‑negotiable. If you’re unsure at any step, stop and call a licensed electrician.
- Cut power and confirm it’s off.
Turn off the correct breaker in your electrical panel. Back at the outlet, plug in a lamp or use a non‑contact voltage tester to confirm there is zero power. Test again after you remove the cover plate.
- Remove the outlet cover and outlet body.
Unscrew the cover plate, then remove the screws holding the outlet to the box. Gently pull the outlet out without stressing the wires. Note how many cables are present and where each wire is connected.
- Identify wires and connections.
Standard outlets usually have:
- Hot (black or sometimes red) → brass screws
- Neutral (white) → silver screws
- Ground (bare copper or green) → green screw
Take a photo before disconnecting anything for reference.
- Transfer wires to the new outlet correctly.
One wire per screw terminal is best; avoid push‑in “backstab” connections if possible. Loop wire ends clockwise around the screws and tighten firmly. Make sure no bare copper is exposed beyond the screw.
- Reinstall and test the outlet.
Gently fold the wires back into the box, avoiding sharp bends. Screw the outlet and cover plate back in. Restore power at the breaker and test with a plug‑in device or an outlet tester to confirm correct wiring.
Tip: If the outlet feels warm during normal use or a breaker trips repeatedly, stop using it and get a professional inspection.
Step 5: Seal Drafty Windows to Improve Comfort and Cut Bills
Drafty windows don’t always need immediate replacement. Strategic sealing can significantly improve comfort and energy efficiency.
- Find where the air is getting in.
On a windy day or with exhaust fans running, hold a lit incense stick or tissue near the window frame, sash edges, and trim. Movement indicates a draft. Mark problem areas with painter’s tape.
- Replace or add weatherstripping on operable parts.
For sliding or double‑hung windows, install adhesive foam, V‑strip, or specialty window weatherstripping along the meeting rails and sides where air leaks. Clean and dry the surfaces before applying.
- Caulk gaps around the window frame.
Use exterior‑grade caulk outside around the window frame where it meets siding, and paintable latex caulk inside along trim edges. Cut the nozzle small, move steadily, and smooth the bead with a wet finger or tool for a clean finish.
- Use temporary interior film or inserts in cold seasons.
Window insulation film kits add a clear plastic layer that reduces drafts and heat loss. Follow instructions: apply double‑sided tape, attach film, then shrink it tight with a hair dryer. For repeated issues, consider removable acrylic interior storm panels or inserts.
- Address condensation and moisture.
If you see fog or moisture between panes, the sealed glass unit has likely failed. Sealing around the frame can still help with drafts, but long‑term, plan for glass or window replacement to restore full insulation performance.
Tip: Keep records of which windows you’ve sealed and how well each method works so you can prioritize upgrades later.
Conclusion
Durable home repair comes down to three things: understanding the cause of the problem, using the right materials, and working methodically instead of rushing. By learning how to properly fix common issues—like leaky faucets, damaged walls, misaligned doors, unsafe outlets, and drafty windows—you build skills that save money, improve comfort, and keep your home in better shape over time. Start with the repair that feels most manageable, gather your tools before you begin, and work safely. Each successful fix makes the next one easier.
Sources
- [U.S. Department of Energy – Air Sealing Your Home](https://www.energy.gov/energysaver/air-sealing-your-home) - Guidance on finding and sealing air leaks around windows and doors
- [Energy Star – Window & Door Maintenance](https://www.energystar.gov/products/residential_windows_doors_and_skylights/window_door_and_skylight_basics) - Explains performance issues and basic upkeep for windows and doors
- [Family Handyman – How to Fix a Leaking Faucet](https://www.familyhandyman.com/project/how-to-fix-a-leaking-faucet/) - Step‑by‑step reference for different faucet types and repairs
- [The Spruce – How to Patch and Repair Drywall](https://www.thespruce.com/how-to-patch-and-repair-drywall-1398153) - Detailed approaches for wall repairs of different sizes
- [U.S. Consumer Product Safety Commission – Electrical Safety in the Home](https://www.cpsc.gov/safety-education/safety-guides/home) - Key safety practices for working around household electrical systems
Key Takeaway
The most important thing to remember from this article is that this information can change how you think about Home Repair.


