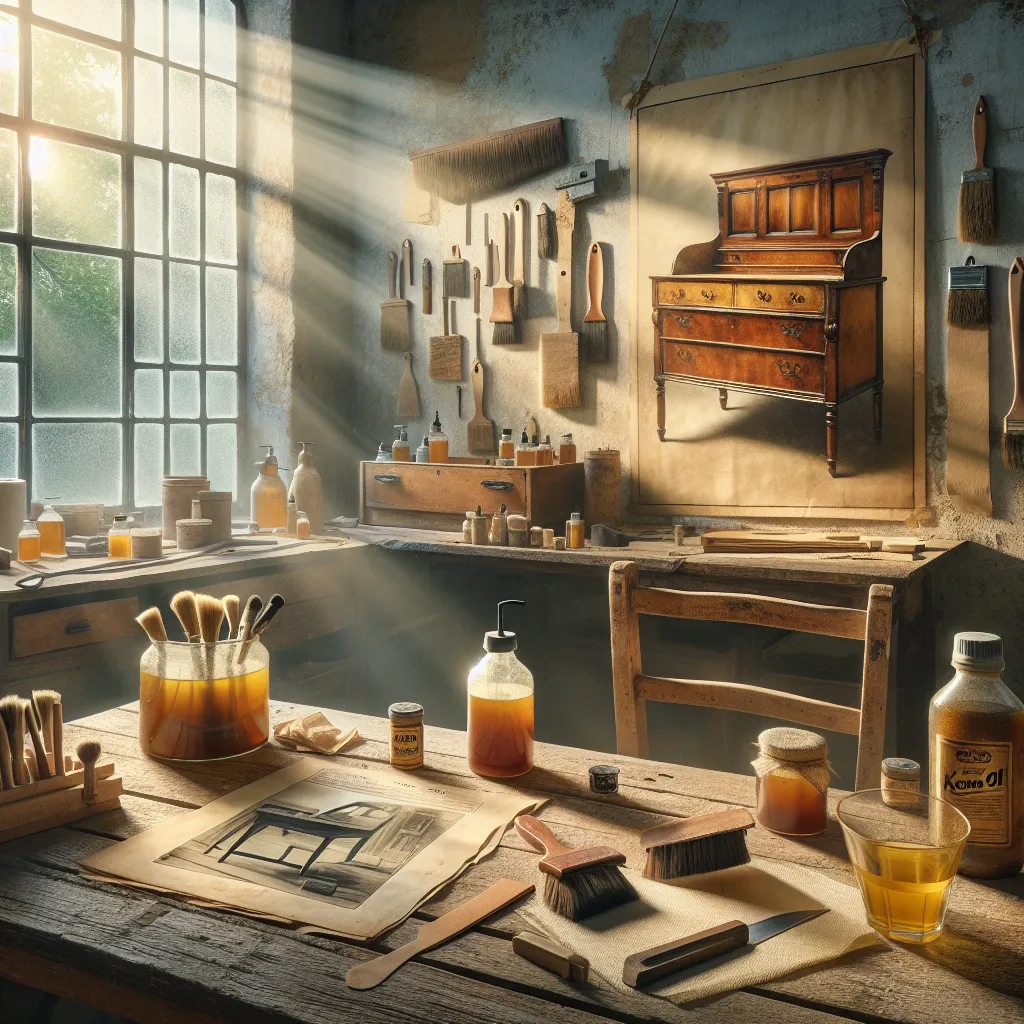
Vintage furniture holds a charm that's hard to replicate. However, time and use can take their toll, leaving these pieces looking worn and lackluster. With a little elbow grease and some basic materials, you can bring your beloved pieces back to life. Follow this simple five-step guide to restore your vintage furniture yourself and inject a breath of fresh air into your living space.
Step 1: Inspection and Cleaning
The first step in any restoration project is to thoroughly inspect the piece. Look for signs of damage, such as scratches, dents, or loose joints. Once you've identified areas that need attention, it's time to clean. Use a mild detergent and warm water to gently clean the surface of the furniture. Be careful not to soak the wood, as this can cause it to warp or discolor.
Step 2: Repairing Damages
After cleaning, you're ready to start making repairs. Tighten any loose screws or joints with a screwdriver. If there's more significant damage like cracks or missing pieces, you may need to use wood filler or epoxy to repair it. Be sure to follow the manufacturer's instructions carefully.
Step 3: Sanding
Sanding is a crucial step in the restoration process. It smoothens the surface and prepares it for staining or painting. Begin with a medium-grit sandpaper (like 120-grit) and move to a finer grit (like 220-grit) for a smooth finish. Always sand along the grain of the wood to avoid scratches.
Step 4: Painting or Staining
Once your furniture is sanded smooth, you can apply a fresh coat of paint or stain. If you want to maintain the vintage look, consider using a stain that matches the original color. Use a good quality brush and apply the paint or stain in thin, even coats, allowing each coat to dry before applying the next.
Step 5: Sealing and Polishing
The final step is to protect your hard work with a coat of sealant. This will ensure your furniture is protected from further wear and tear. Once the sealant is dry, give your piece a good polish to bring out its natural beauty. Use a soft cloth and a good quality furniture polish to add a protective layer and a beautiful shine.
Conclusion
Restoring vintage furniture can be a fulfilling DIY project, not only saving you money but also preserving a piece of history. With a little patience and a few tools, you can transform an old, worn-out piece into something beautiful and functional. Remember, the key to a successful restoration is preparation and patience, so take your time and enjoy the process.


