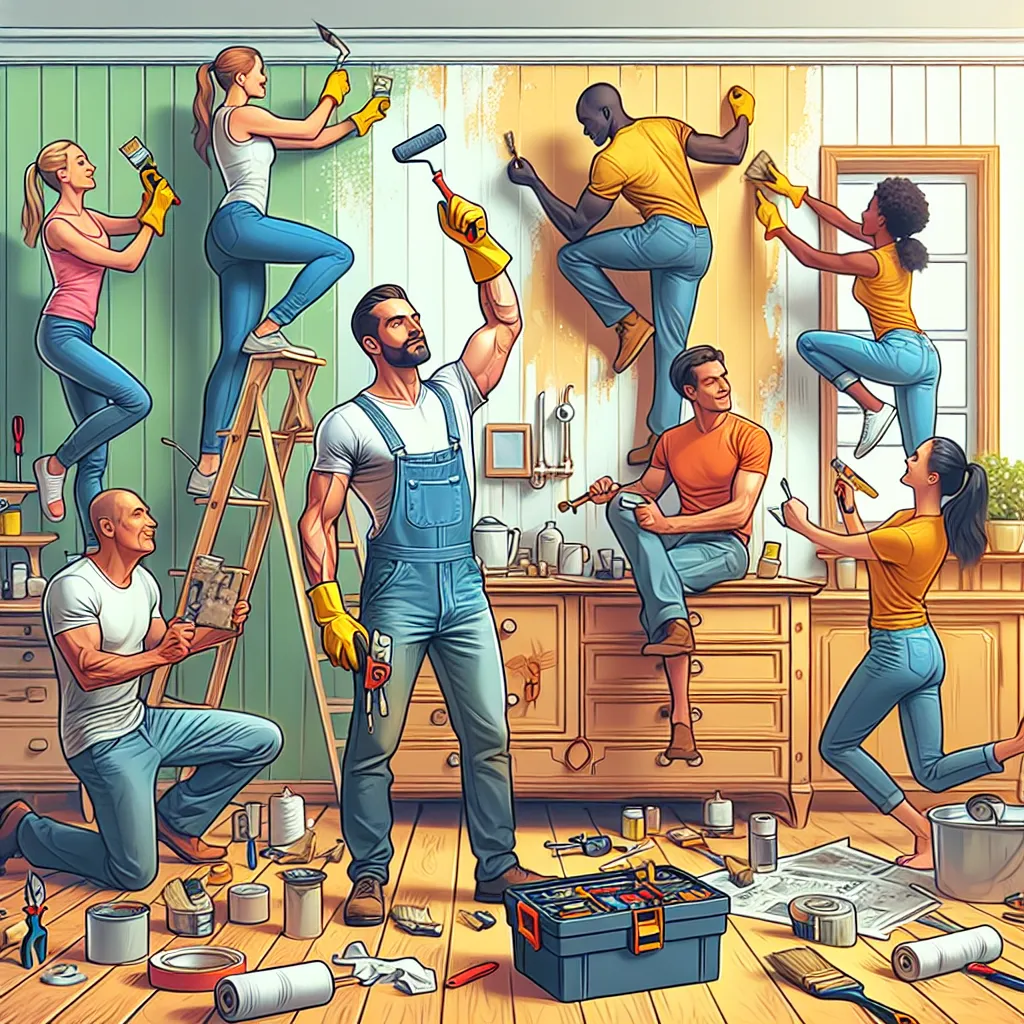
Here's a step-by-step guide to mastering DIY home repair, from identifying the problem to putting the finishing touches. Remember, every project is a learning opportunity. So, roll up your sleeves and let's get started!
Step 1: Diagnose the Problem
The first step in any repair project is identifying what needs to be fixed. This could be anything from a leaky faucet to a faulty electrical outlet. Use your senses to determine the issue. Listen for suspicious sounds, look for visible damage, and feel for temperature changes. Once you've identified the problem, research it online. Familiarize yourself with the components involved and the common causes of such issues.
Step 2: Gather Your Tools
Once you've diagnosed the problem, gather the necessary tools. This could include a screwdriver, hammer, wrench, or pliers. Remember, using the right tool for the job is critical to ensure a successful repair. Some tasks may require specific tools, so check a home improvement store or online if you don't have them on hand.
Step 3: Safety First
Before you start any repair, make sure you're taking the proper safety precautions. Turn off any power or water supply connected to the area you're working on. Use protective gear like gloves or goggles when necessary. Also, ensure your workspace is well lit and clear of any potential hazards. Safety should always be your top priority.
Step 4: Perform the Repair
Now comes the part where you roll up your sleeves and get to work. Follow the steps you've researched for addressing the problem. It may be helpful to have a tutorial or guide handy for reference. Don't rush the process. Take your time and make sure you're performing each step correctly. If you encounter unexpected issues, don't panic. Pause, reassess the situation, and research further if necessary.
Step 5: Test and Review
After you've completed your repair, it's time to test your work. Turn the power or water back on and check if the issue is resolved. If everything is working as it should, give yourself a pat on the back! If not, review your steps and see where things may have gone wrong. Don't be discouraged if you need to revisit the job - persistence is key in DIY home repair.
Conclusion
DIY home repair isn't just a way to save money, it's also incredibly rewarding. With these steps, you're well on your way to becoming a home repair whiz. Remember, patience and a willingness to learn are your most valuable tools. Happy fixing!