Gardening is a rewarding hobby that brings joy to many. Yet, forgetting to water your plants can have disastrous effects. Inspired by a recent Buzzfeed article, let's explore how you can make your own self-watering pot that will ensure your green companions get the hydration they need, even when you're busy.
Step 1: Gather Your Materials
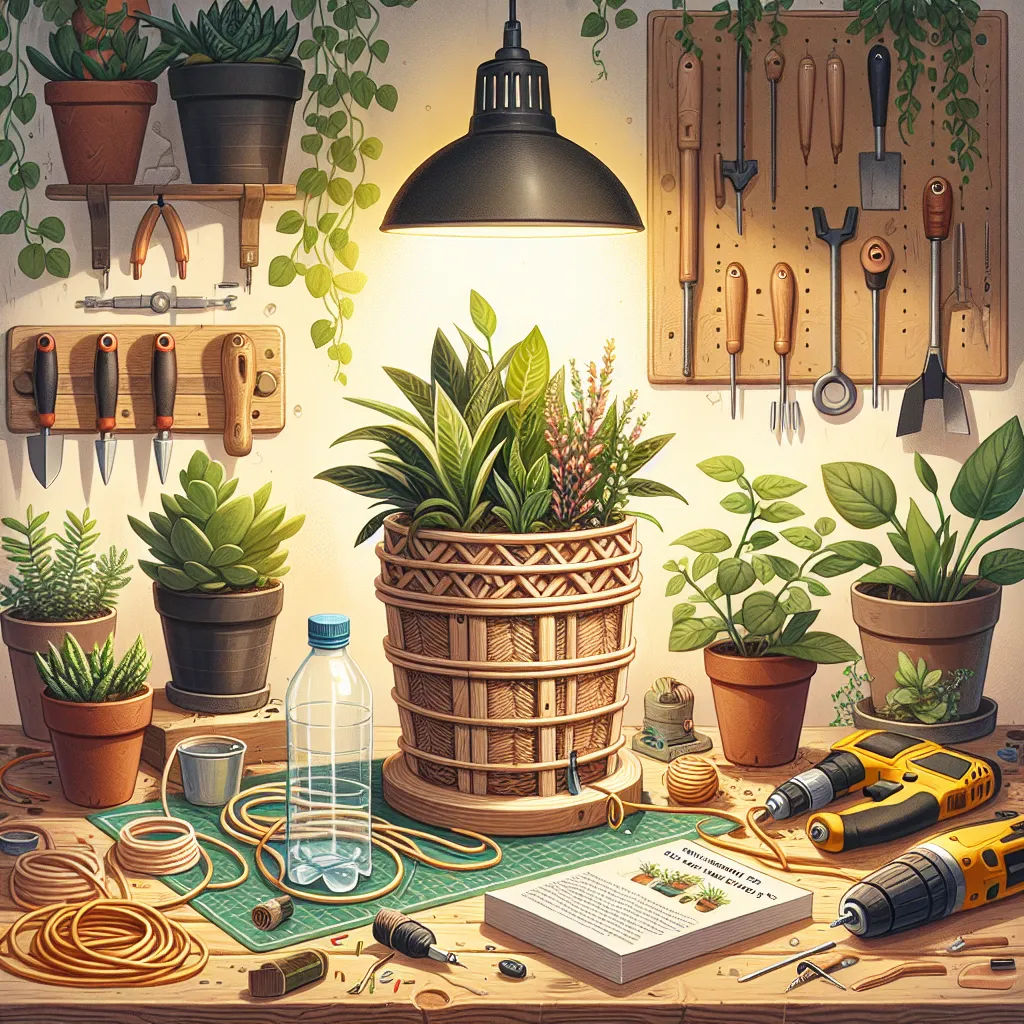
To start, you'll need two pots of different sizes, a plastic bottle, a piece of cloth or rope, and some potting soil. The smaller pot should fit inside the larger one with some space left around the sides. The plastic bottle should be tall enough to extend from the bottom of the larger pot to its top.
Step 2: Prepare the Bottle
Cut the bottom off of the plastic bottle. This will serve as a reservoir for water. Next, drill or cut a small hole in the bottle cap. Thread your piece of cloth or rope through this hole, making sure there's enough length to reach from the bottom of the bottle to the top of your smaller pot.
Step 3: Arrange the Pots
Place the prepared bottle in the center of the larger pot. This will act as your water storage. Next, position the smaller pot inside the larger one, positioning it around the water bottle. Ensure that the cloth or rope extends from the bottle into the smaller pot.
Step 4: Plant Your Plant
Fill your smaller pot with potting soil, and plant your plant as you normally would. Ensure that the cloth or rope remains buried in the soil. This wick will draw water from the reservoir into the soil, keeping your plant hydrated.
Step 5: Fill the Reservoir
Pour water into the plastic bottle, filling the reservoir. The cloth or rope will draw this water up into the soil, providing a steady source of hydration for your plant. Make sure to refill the reservoir as it empties.
Conclusion
Creating a self-watering pot is a simple yet effective way to ensure your plants get the water they need, even when you can't water them every day. It's a fun, cost-effective DIY project that can make your gardening endeavors a little bit easier. Happy planting!