Gather Your Tools
First things first, you'll need the right tools for the job. Invest in a drywall saw, a utility knife, a drywall hammer, a taping knife, and a sanding sponge. You'll also need a measuring tape, a straightedge, and a pencil for marking. Lastly, don't forget to purchase a drywall patching kit and joint compound for the actual repairs.
Assess the Damage
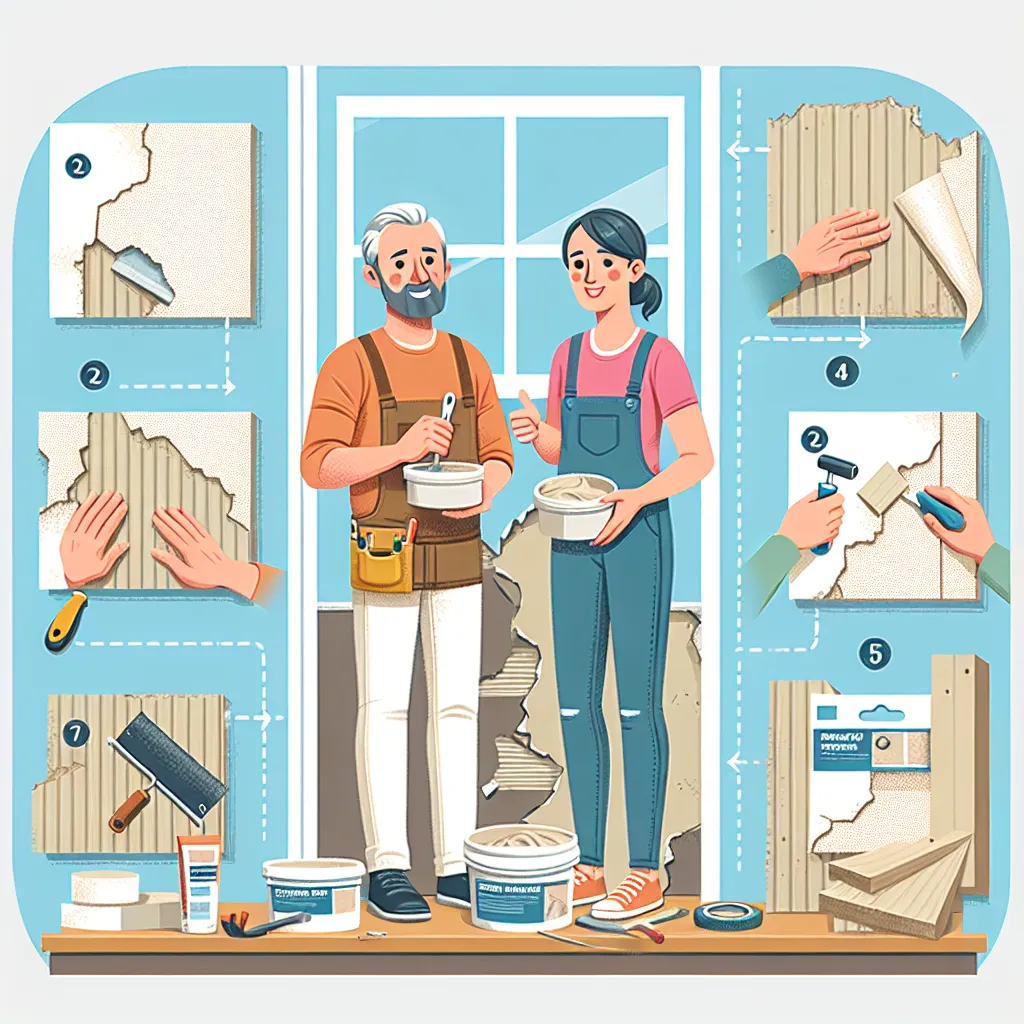
Before diving in, take a moment to assess the damage. Smaller holes, such as those caused by nails or screws, can be quickly patched with a bit of joint compound. Larger holes or cracks may require a drywall patch or a new piece of drywall.
Prep the Area
For smaller holes, apply a layer of joint compound, let it dry, then sand it smooth. For larger holes, you'll need to cut out a rectangular section around the damage using your drywall saw. Measure and cut a piece of new drywall to fit the hole, ensuring it's the same thickness as your existing drywall.
Apply the Patch
Place the new piece of drywall in the hole and secure it with drywall screws. Then, using your taping knife, apply joint compound to the seams around the patch. Place drywall tape over the compound to reinforce it, then apply another layer of compound over the tape. Feather the edges to blend the repair into the surrounding wall.
Sand and Paint
Once the compound is dry, use your sanding sponge to smooth the surface. Wipe away any dust with a damp cloth and let the area dry. Then, apply primer and paint to match the rest of your wall.
Conclusion
Drywall repair might seem intimidating, but with the right tools and a little patience, you can fix those pesky holes and cracks in no time. This DIY project not only boosts your home's aesthetic appeal but also gives you a sense of accomplishment knowing you've mastered another aspect of home maintenance.