Step 1: Safety First
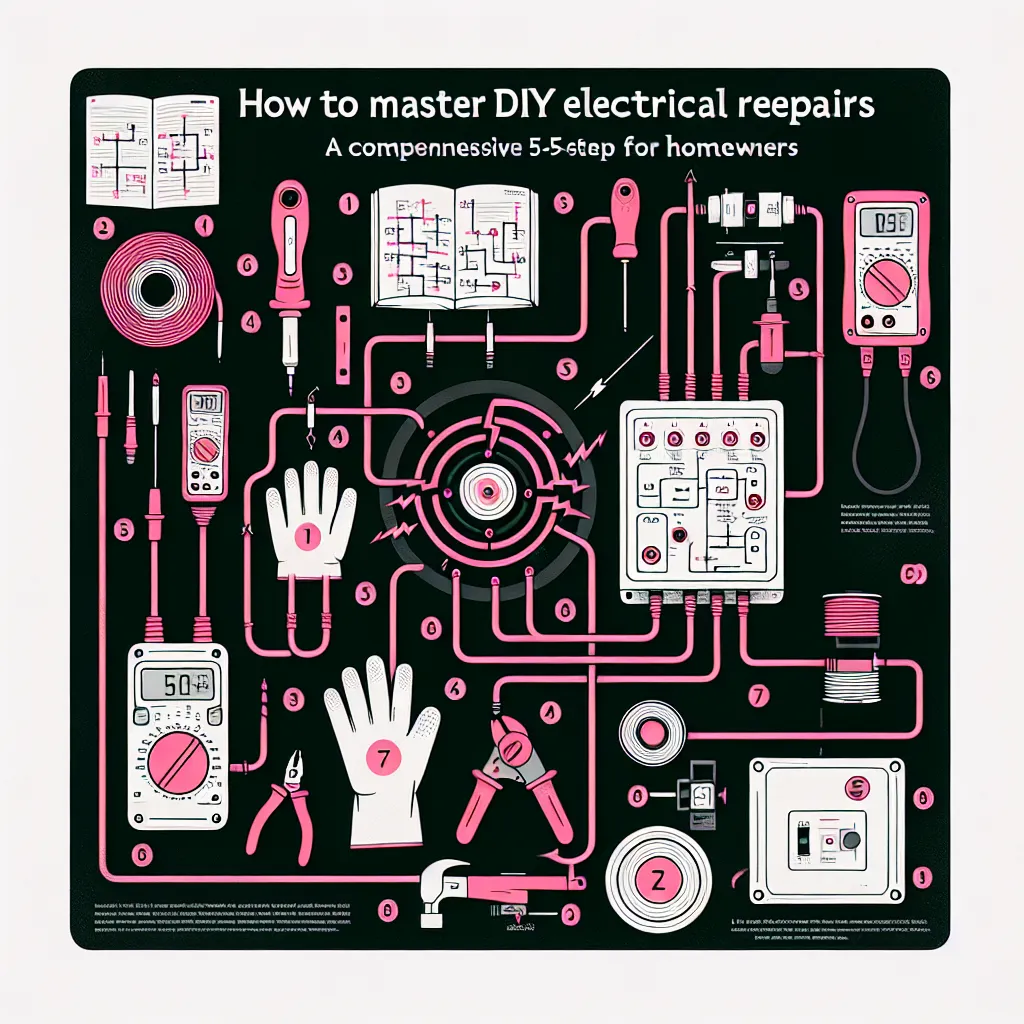
Before you dive into any electrical repair, safety should be your primary concern. Ensure you turn off the power at the circuit breaker before starting any work. Use a voltage tester to double-check that the power is off. Always wear rubber-soled shoes and use insulated tools for extra protection. Remember, if a repair seems too complex or dangerous, it’s best to call a professional.
Step 2: Understand Basic Wiring
Understanding basic home wiring is essential for successful electrical repairs. Most homes use a combination of hot (usually black, red, or blue), neutral (white), and ground (green or bare) wires. Hot wires carry the electrical current, while neutral wires return the current. Ground wires provide a safe path for electrical current in case of a fault.
Step 3: Replacing a Light Switch
Light switches are common fixtures that may need replacing over time. First, remove the switch plate and unscrew the switch from the box. Carefully remove the wires from the old switch, remembering where each wire was attached. Connect the wires to your new switch in the same configuration, then screw the switch back into the box and replace the plate.
Step 4: Fixing a Faulty Outlet
Faulty outlets are another common issue in homes. Once you've turned off the power, remove the outlet cover and unscrew the outlet from the box. Note how the wires are connected, then disconnect them. Connect the wires to your new outlet in the same pattern, tighten the screws, and replace the outlet cover.
Step 5: Installing a Ceiling Fan
Installing a ceiling fan is a more complex task, but still achievable with some patience. After turning off the power, remove the existing light fixture and disconnect the wires. Assemble your ceiling fan according to the manufacturer's instructions, then connect the fan wires to the house wires: typically, black to black, white to white, and green or bare to ground. Secure the fan to the ceiling box, turn the power back on, and test your fan.
Conclusion
While DIY electrical repairs may seem daunting, by following these steps, you can perform several common repairs safely and efficiently. Always remember to prioritize safety and don't hesitate to call a professional if a task seems beyond your skill level. With patience and practice, you'll become more confident in your DIY electrical repair abilities.


