Floors, being the foundation of your living space, can greatly influence the overall aesthetic of your home. With the right approach, you can achieve stunning results that not only enhance the appeal of your home but also increase its value.
Step 1: Choose Your Flooring Material
The first step in your DIY flooring project is choosing the right material. Hardwood is a classic choice, but it can be pricey and requires significant upkeep. Laminate and vinyl are more affordable and easier to maintain, while tile offers a durable and stylish option. Consider your budget, the wear and tear your floors will face, and the look you're going for when making your decision.
Step 2: Measure and Prepare Your Space
Before you get started, you'll need to measure the area you're flooring to determine how much material you'll need. Remember to account for waste and extras. Next, remove any existing flooring and make sure the subfloor is clean, dry, and level. This will ensure a smooth installation process and prevent future issues.
Step 3: Install the Underlayment
The underlayment is an often-overlooked but essential part of the flooring process. It provides a smooth surface, offers additional comfort underfoot, and can even help with soundproofing. Roll out your underlayment, cut it to size, and secure it with tape.
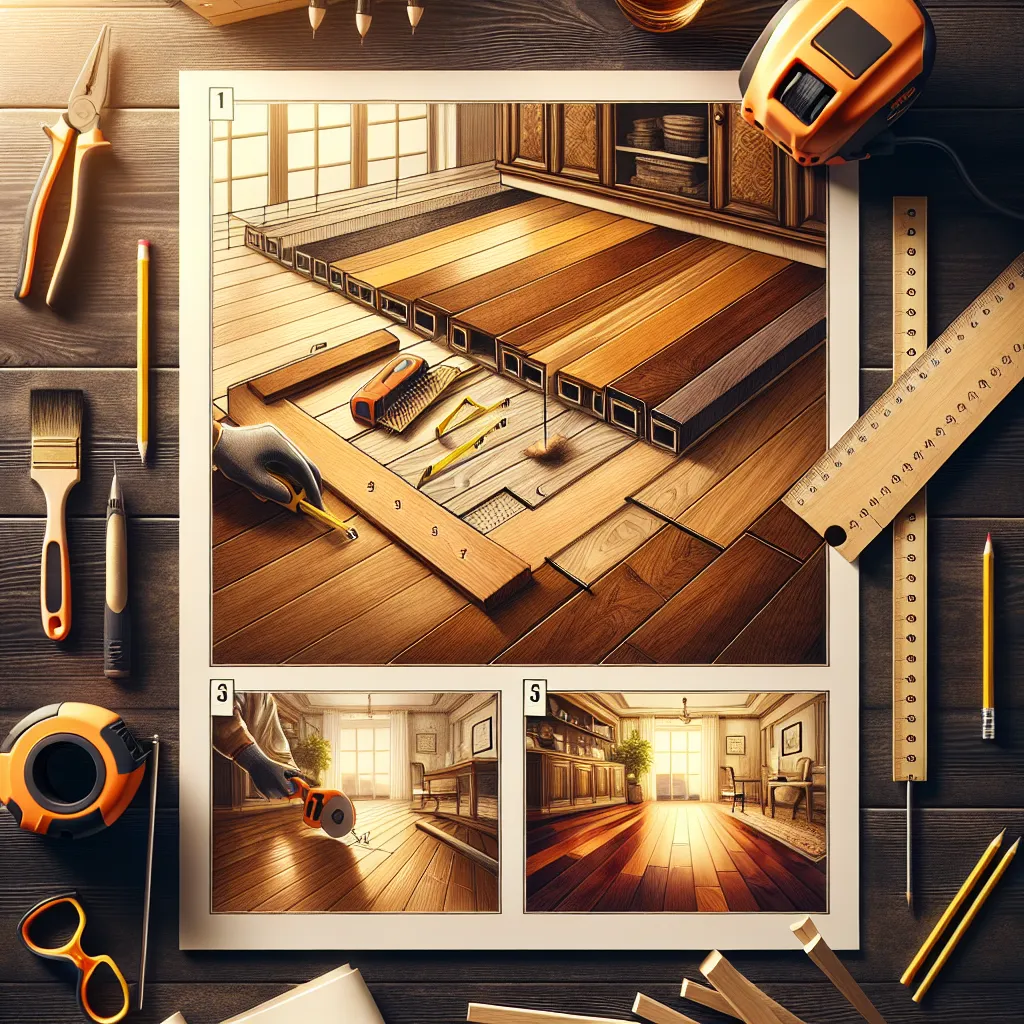
Step 4: Lay Your Flooring
Now comes the fun part: laying your flooring. Start in a corner and work your way across the room, making sure to stagger your boards to create a more natural and visually pleasing pattern. Don't forget to leave a gap around the edges for expansion.
Step 5: Add the Finishing Touches
Once your flooring is laid, it's time to add the finishing touches. Install baseboards or quarter round molding to cover the expansion gap and give your room a polished look. If you've chosen a material that needs sealing, like tile, apply your sealer as directed.
Conclusion
Mastering the art of DIY flooring might seem daunting at first, but with a little patience, the right tools, and this step-by-step guide, you're well on your way to creating beautiful, functional floors that elevate the look of your home. Whether you're aiming for a rustic charm with hardwood or a modern vibe with tile, the end result will undoubtedly be worth the effort.