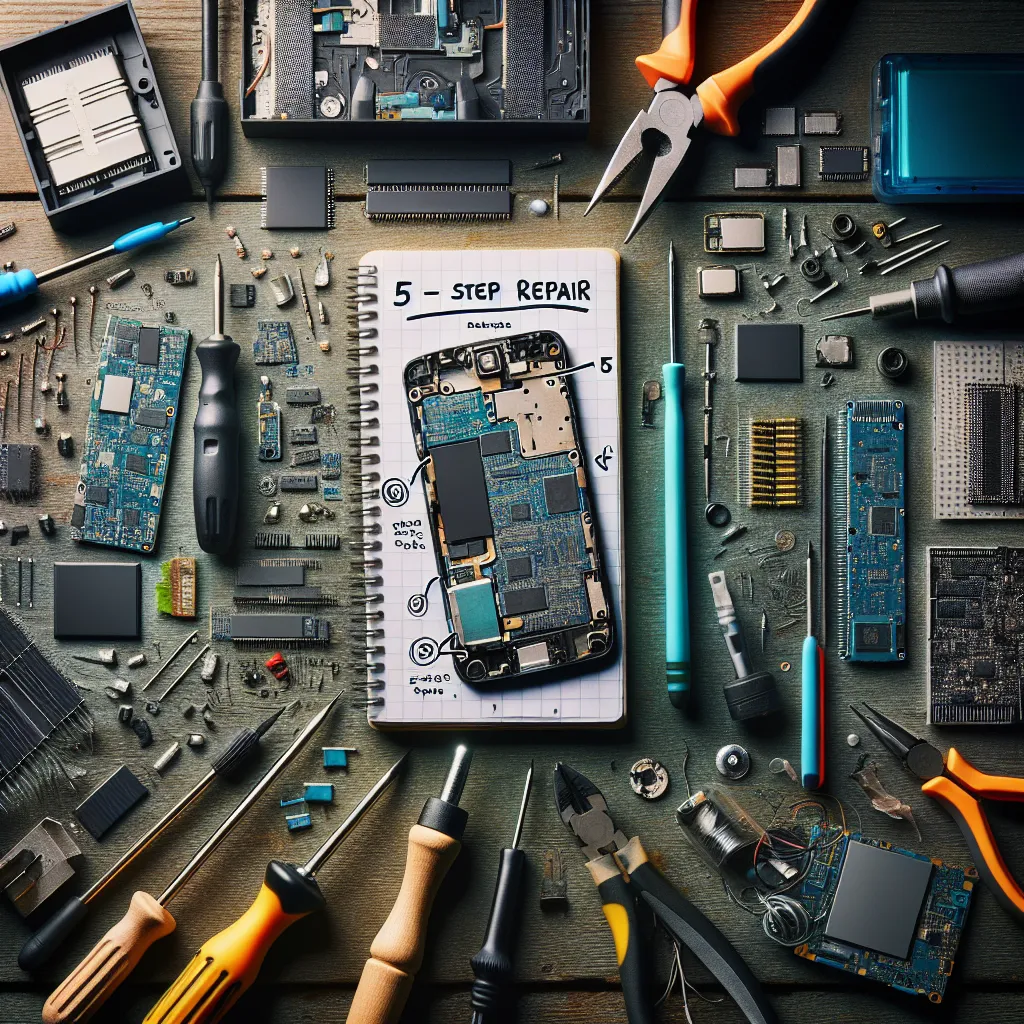
Modern homes are full of tech gadgets, from smartphones and tablets to smart home devices and game consoles. When these gadgets break down, it can be expensive to get them repaired professionally. However, with a little knowledge and the right tools, you can become your own gadget repair guru. Here's a 5-step guide to mastering DIY gadget repair.
Step 1: Diagnose the Problem
The first step in any repair process is to diagnose what's wrong. Look for obvious signs of damage, such as a cracked screen or physical damage. If the gadget is not functioning but shows no physical damage, try to troubleshoot the problem. Read the gadget's manual or look up common issues online.
Step 2: Gather Your Tools
Once you know what's wrong, gather the tools you'll need to fix it. This might include a set of precision screwdrivers, a pry tool, tweezers, and possibly a soldering iron. You may also need specific parts or components, which you can often find online.
Step 3: Take It Apart
Carefully disassemble the gadget, taking care not to cause any further damage. It can be helpful to take photos as you go, so you remember how to put it back together. Keep screws and other small parts organized in a parts tray or on a magnetic mat.
Step 4: Make the Repair
Make the necessary repair, whether that's replacing a cracked screen, soldering a loose connection, or replacing a faulty component. Be patient and work slowly to avoid making mistakes. If you're unsure about something, look up a tutorial or guide online.
Step 5: Put It Back Together
Finally, reassemble the gadget and test it to make sure it's working properly. If it's not, you may need to disassemble it again and double-check your work.
Conclusion
Repairing your own gadgets can be a rewarding and cost-saving skill. With patience and the right tools, you can keep your tech in top shape without needing to rely on expensive professional repairs. Just remember to always work safely and responsibly when dealing with electronics.