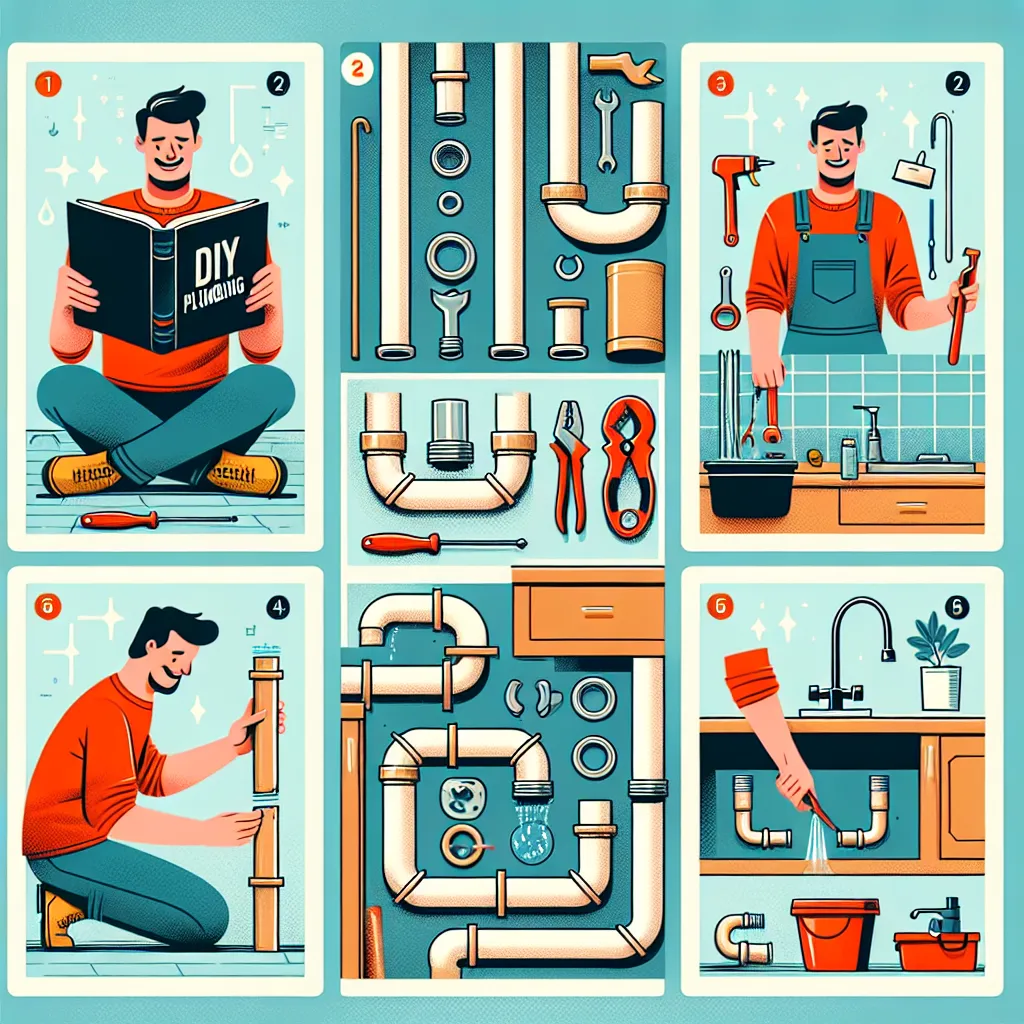
Step 1: Learn the Basics
Before you begin, familiarize yourself with the basic plumbing components in your home. This includes understanding the function of pipes, drains, valves, and faucets. Browse through online resources, purchase a beginner’s guide to plumbing, or watch instructional videos to gain a foundational knowledge of how your home's plumbing system works.
Step 2: Gather Essential Tools
Every DIY plumber needs a set of essential tools. These include a pipe wrench, plunger, plumber's snake, toilet auger, and pliers. Also, consider investing in a good quality flashlight to illuminate dark spaces beneath sinks and behind walls.
Step 3: Start Small
Begin with simple tasks like fixing a leaky faucet or unclogging a drain. These jobs will give you a good understanding of basic plumbing principles without the risk of causing significant damage. As you gain confidence, you can gradually take on more complex tasks like replacing a faucet or installing a new shower head.
Step 4: Safety First
Always prioritize safety when dealing with plumbing projects. This means turning off the water supply before starting any work, wearing safety goggles to protect your eyes from flying debris, and using tools correctly to avoid injury. Remember, if a job seems too dangerous or complicated, it’s best to call in a professional plumber.
Step 5: Understand When to Call a Professional
While DIY plumbing can save you money and offer a sense of satisfaction, it’s important to know your limits. Some tasks, like fixing a major pipe leak or installing a new water heater, require the expertise of a professional plumber. Trying to handle these tasks on your own can lead to costly mistakes and even more damage.
Conclusion
Mastering the art of DIY plumbing doesn’t happen overnight. It requires patience, practice, and the willingness to learn. With these five steps, you’re well on your way to becoming your own handyman, capable of tackling minor plumbing issues in your home with confidence and ease.