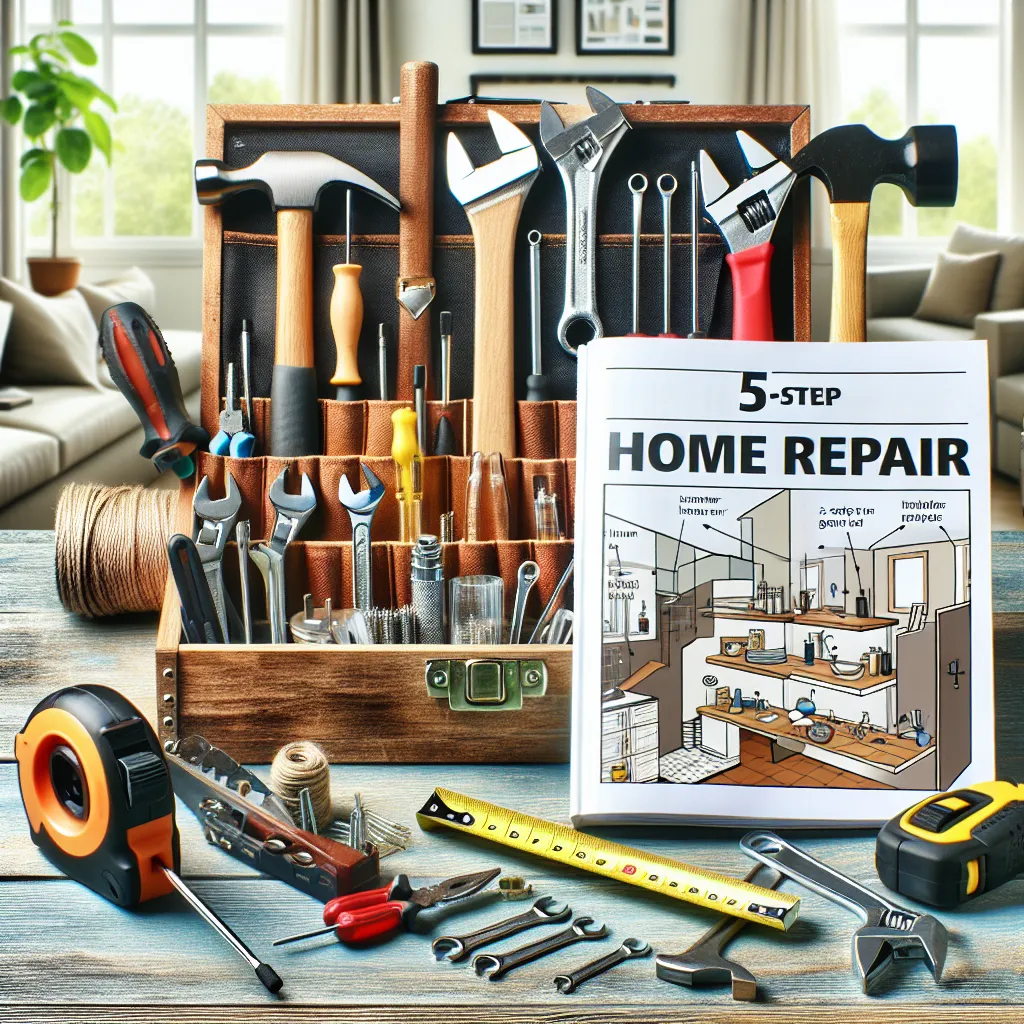
Organizing your home repair essentials can transform your DIY journey from a haphazard chase after tools to a smooth, streamlined process. Here's a guide to help you create an efficient system that will make your next home repair venture a breeze.
Step 1: Conduct an Inventory Check
Start by taking stock of all your home repair tools and materials. Gather everything in one place and sort them into categories such as hand tools, power tools, fasteners, plumbing supplies, and electrical equipment. This step is crucial in identifying what you have, what's missing, and what needs replacing.
Step 2: Prioritize Your Tools
Not all tools are equal. Determine which tools you use most frequently and ensure they are the most accessible. Commonly used tools like hammers, screwdrivers, and measuring tapes should be within easy reach, while specialized tools can be stored further away.
Step 3: Choose Appropriate Storage
The type of storage you choose can significantly impact your organization. Consider using a toolbox for your most-used tools, while pegboards and wall racks can hold items that are bulky or awkwardly shaped. For smaller items like nails and screws, small bins or compartmentalized boxes work well. Make sure to label everything clearly.
Step 4: Maintain a Repair Log
Keep a record of your repair activities. This log should include the date of repair, the issue, the solution, and any replacement parts used. Not only will this help you keep track of your home's maintenance history, but it can also guide you on what tools and materials you might need in the future.
Conclusion
Organizing your home repair essentials doesn't have to be a daunting task. By following these steps, you'll create an efficient system that makes your DIY projects more manageable and enjoyable. It's time to roll up your sleeves and transform how you handle home repairs!