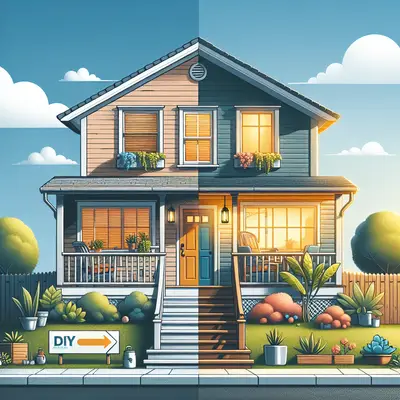
Ever wanted to give your home a fresh, new look, but didn't know where to start? Don't worry; we've got you covered. In this article, we will be sharing five simple and effective DIY painting techniques that can give any room in your home a renewed look. Whether you're a novice at home improvement or a seasoned DIYer, you'll find these tips easy to follow and highly rewarding.
Step 1: Choosing the Right Paint
Before you can start painting, you need to select the right type and color of paint. Latex paint is a popular choice due to its durability and easy clean-up, while oil-based paints offer a smoother finish but require more effort to clean. As for the color, consider the mood you want to create in the room. Light colors can make a small room seem larger, while dark colors create an intimate, cozy atmosphere.
Step 2: Preparing Your Painting Area
Once you've chosen your paint, it's time to prepare your painting area. Remove furniture from the room or cover it with drop cloths to protect it from paint splatters. Use painter's tape to cover baseboards, windows, and door frames to ensure clean lines. Don't forget to clean the walls with a damp cloth to remove dust and dirt for better paint adhesion.
Step 3: Priming Your Walls
Priming is an essential step that many people skip. A primer creates a smooth surface for the paint to adhere to and can help prevent stains and blotches. Apply a coat of primer using a roller for large areas and a brush for corners and edges. Allow the primer to dry according to the manufacturer's instructions.
Step 4: Painting Techniques
Now comes the fun part: painting! Here are a few techniques you can try:
- **Roller Painting:** This is the most common method. Simply dip your roller into the paint tray, roll it back and forth to remove excess paint, and then apply it to the wall in a "W" pattern. This helps to distribute the paint evenly.
- **Sponge Painting:** This technique creates a textured, unique look. Dab a sea sponge into the paint, blot excess on a piece of cardboard, and then press it onto the wall.
- **Stippling:** After applying a base coat, use a stippling brush to dab a contrasting color onto the wall. This creates a spotted effect.
- **Dragging:** Apply a base coat, then while it's still wet, drag a dry brush over it to create a striated look.
- **Color Washing:** Apply a base coat, then apply a glaze in a different color. While the glaze is still wet, use a brush to make X marks on the wall.
Step 5: Finishing Up
Once you've finished painting, remove the painter's tape before the paint dries to prevent peeling. Allow the paint to dry for 24 hours before moving furniture back into the room.
Conclusion
With these simple DIY painting techniques, you can completely transform the look of your home. Not only will you save money on professional painting services, but you'll also have the satisfaction of knowing you did it yourself. So roll up your sleeves, grab a paintbrush, and start creating your dream home today!


