Step 1: Assess the Damage
Before diving into the restoration process, take the time to assess the extent of the damage. Look for scratches, stains, loose joints, or any other issues. This step will help you determine what kind of repairs are needed and what materials you'll need. Remember, safety first - if the item is significantly damaged or unstable, it might be best to consult with a professional.
Step 2: Gather Your Tools
Once you've assessed the damage, gather your tools. You'll likely need items like sandpaper, wood glue, clamps, a paintbrush, and paint or varnish. Always use high-quality materials to ensure the best results. Remember, this is an investment in your furniture and, by extension, your home.
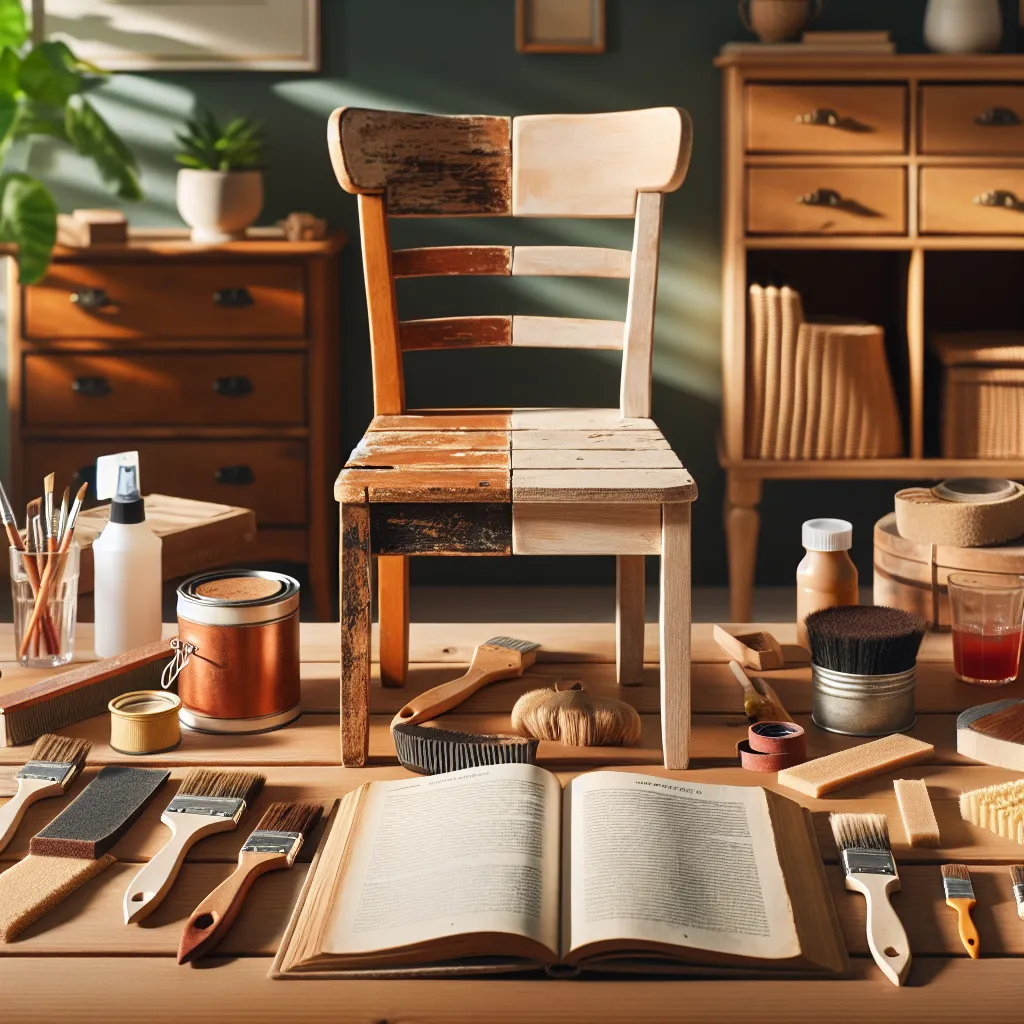
Step 3: Repair and Restore
Now comes the fun part - restoring your piece! Start by removing any old paint or varnish with sandpaper. If there are loose parts, secure them with wood glue and clamps. Fill any scratches or dents with wood filler. Take your time during this step to ensure a well-done restoration.
Step 4: Refinish Your Furniture
After repairing your piece, it's time to give it a fresh new look. Apply a coat of primer, followed by your chosen paint or varnish. If you're going for a natural look, consider staining the wood instead. Let each coat dry completely before applying the next one. This step can give your furniture a completely new and modern look or restore its original charm.
Step 5: Protect Your Piece
The last step in your furniture restoration project is to protect your hard work. Apply a sealant to ensure your furniture is resistant to damage and can stand the test of time. Now, you can sit back and admire your newly restored piece!
Conclusion
Furniture restoration not only breathes new life into your old and worn-out pieces but also adds a personal touch to your home. By following these five steps, you can turn any restoration project into a fun and rewarding DIY task. So, next time you think about throwing out that old piece of furniture, remember this guide and give restoration a shot!