Step 1: Perform a Quick Diagnosis
Before you start disassembling your appliance, it's crucial to identify the root cause of the problem. Is your washing machine not spinning, or is your fridge not cooling properly? Use online resources, such as manufacturer manuals or reliable DIY forums, to understand the common issues associated with your particular appliance and their possible solutions.
Step 2: Gather Your Tools
Once you've identified the issue, gather all the necessary tools for the repair. A basic toolkit should include a screwdriver set, wrenches, pliers, a multimeter for testing electrical components, and a flashlight for better visibility. Remember, using the right tools can make a significant difference in the ease and success of your repair.
Step 3: Safety First
Before you start tinkering with your appliance, ensure your safety. Unplug the appliance from the power source to avoid electric shock. If you're dealing with gas appliances, shut off the gas supply. Always wear protective gear like gloves and safety glasses to protect yourself from sharp edges or small debris.
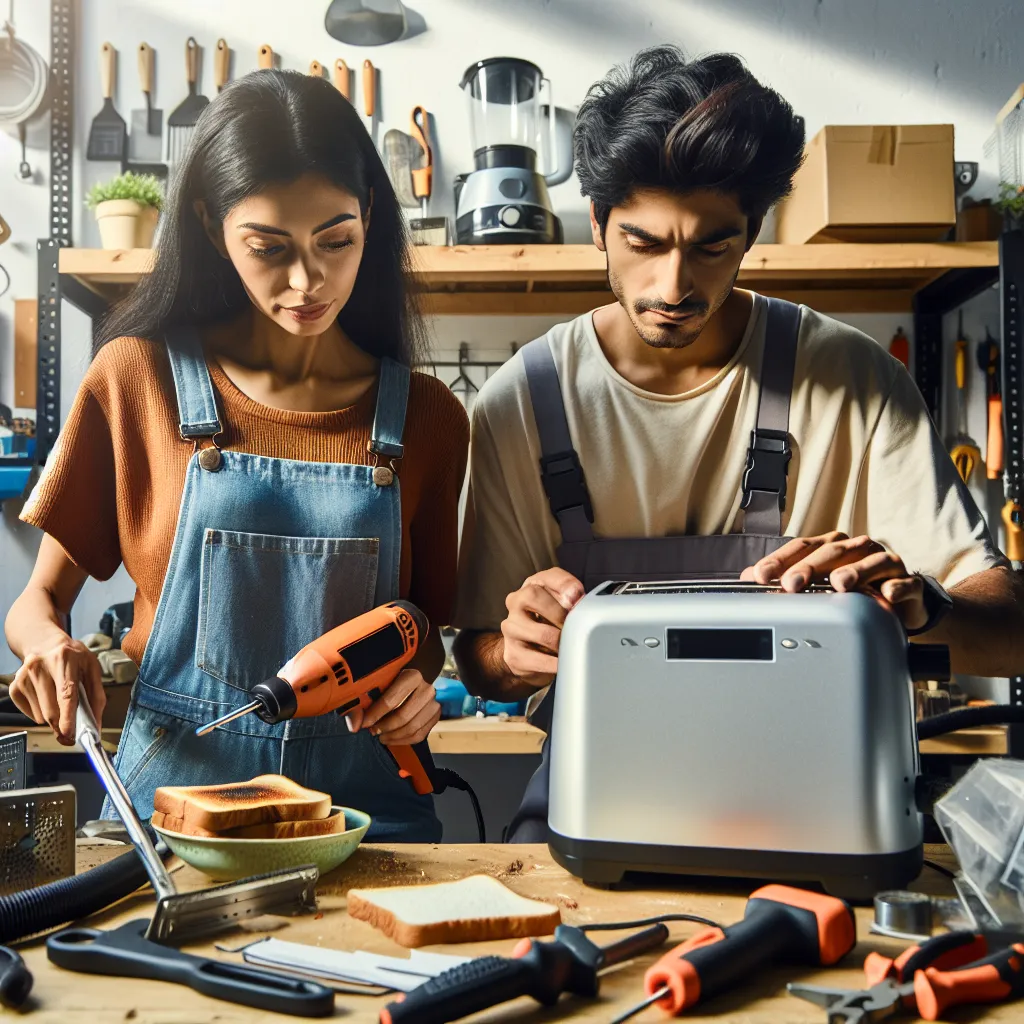
Step 4: Start the Repair
Now, carefully start your repair based on the solutions you found during your diagnosis. Take photos before disassembling any parts to have a reference when reassembling. Be patient and meticulous, especially when dealing with small, intricate parts. If you encounter resistance while disassembling, don't force it. Look for hidden screws or clips that may be holding the part in place.
Step 5: Test and Reassemble
After the repair, reconnect the appliance to the power or gas supply and test it. If it works correctly, congratulations! You've successfully repaired your appliance. If not, double-check your repair work and seek professional help if needed. Remember, sometimes, DIY repairs can temporarily fix the problem, but professional help may be necessary for a long-term solution.
Conclusion
While professional help is necessary for complex issues, simple repairs can often be done at home, saving you time and money. This guide empowers you to undertake basic appliance repairs, breathe new life into your ailing devices, and enjoy the satisfaction of a successful DIY project. Always remember, safety first, and when in doubt, don't hesitate to call a professional.