A deck can be the heart of your outdoor living space, but years of exposure to the elements can take a toll. This guide will help you restore your deck to its former glory, making it a comfortable and attractive spot for relaxation and entertainment.
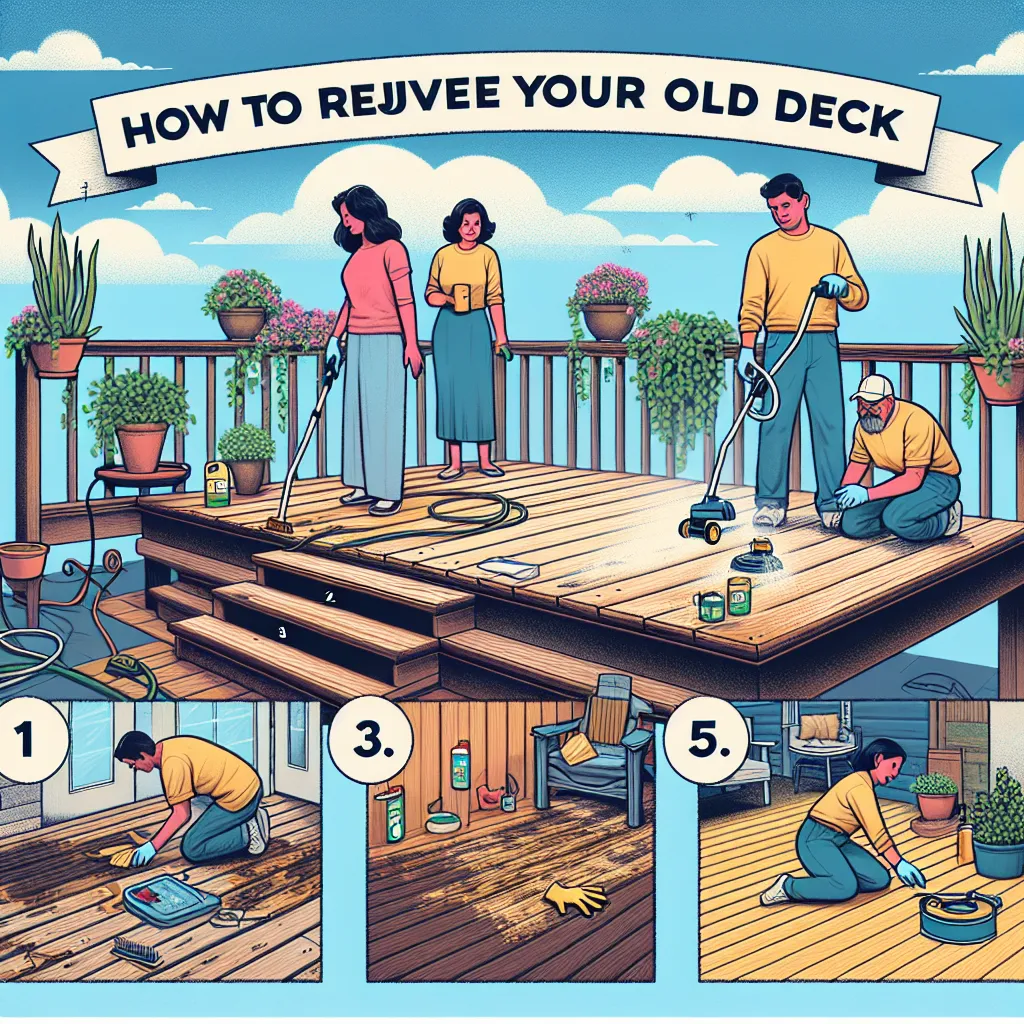
Step 1: Assess the Damage
Begin by thoroughly inspecting your deck. Look for loose nails, rotten boards, and signs of insect damage. This step will help you understand the extent of the work needed and the materials required. Remember, safety comes first. If you suspect structural damage, it's best to consult a professional.
Step 2: Clean the Deck
Over time, your deck accumulates dirt, grime, and mildew. Rent or purchase a power washer to clean the surface thoroughly. Be careful to use a low-pressure setting to avoid damaging the wood. Once done, let the deck dry for a couple of days.
Step 3: Replace Damaged Boards
Once the deck is clean and dry, it's time to replace any damaged boards. Use a pry bar to remove the old boards, and replace them with new ones that match the existing deck material. Secure the new boards with deck screws for a firm hold.
Step 4: Sand and Seal
After replacing any necessary boards, sand the entire deck to create a smooth surface. After sanding, apply a high-quality deck sealer or stain. This will protect the wood from moisture and UV damage, and enhance the deck's appearance.
Step 5: Regular Maintenance
Once your deck is restored, regular maintenance will keep it looking great and extend its lifespan. Clean your deck annually and reapply sealer as necessary, typically every 2-3 years. Regularly check for loose boards or nails and repair as needed.
Conclusion
Restoring your old deck is a manageable DIY project that can greatly improve the look and feel of your outdoor space. With some time, effort, and the right tools, you can give your deck a new lease on life, making it an inviting place for family and friends. Remember, the key to a long-lasting deck is regular maintenance and care. Happy DIYing!