Step 1: Choosing the Perfect Spot
The first step is to decide on the location of your hidden compartment. It could be anywhere from a hollowed-out book on a shelf, a wall-mounted picture with space behind, or even an under-floor compartment. The key is to choose a spot that blends naturally with the surroundings and doesn't arouse any suspicion.
Step 2: Gathering Your Tools and Materials
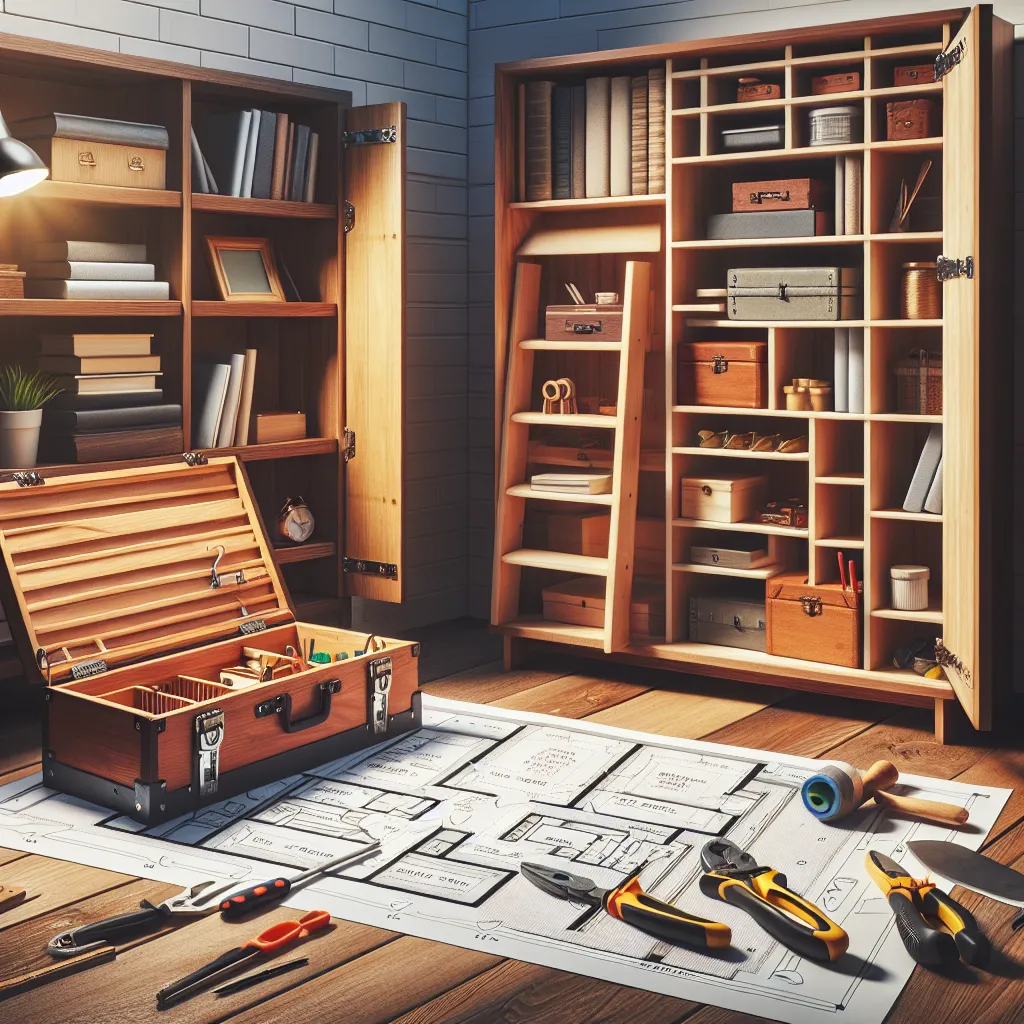
Depending on the location you've chosen, you'll need different materials. For a hollowed-out book, an old hardcover book, glue, and a box cutter will do the job. If you're opting for a wall or floor compartment, you might need a saw, plywood, hinges, and a latch. Always remember safety first - ensure you're properly equipped with protective gear before you start.
Step 3: Creating the Compartment
This step involves the actual creation of the compartment. If it's a book, cut out the inside pages, leaving a border around the edges. Apply glue to the cut edges to keep the pages together. For a wall or floor compartment, cut out the desired space, ensuring that it's not too close to any electrical wiring or plumbing.
Step 4: Installing and Concealing the Compartment
Once your compartment is ready, it's time for installation. Secure it in place using the appropriate method. For a wall compartment, you might need to screw it into the wall studs. If it's a book, simply place it back on your shelf. The last part of this step is to conceal it. Make sure it blends in with the surrounding area.
Step 5: Testing Your Hidden Compartment
Now that everything is in place, it's time to test your hidden compartment. Store something inside, close the compartment, and see how well it blends into its surroundings. Make any necessary adjustments to improve concealment or accessibility.
Conclusion
Creating your own hidden compartment can be a fun and rewarding DIY project. Not only does it offer a secure place to store your valuables, but it also adds a touch of mystery and intrigue to your home. Remember, the effectiveness of your hidden compartment relies heavily on its secrecy, so keep its location to yourself! Happy DIY-ing!


