Making your living space vibrant and fresh again doesn't always require a complete overhaul. Sometimes, all it needs is a touch of paint. Over time, wall paint can fade, making your rooms look dull and aged. But don't worry, with a few simple steps, you can salvage your faded wall paint and bring back the original spark to your home.
Step 1: Prepare Your Walls
Before you start, clean your walls thoroughly to ensure that no dust, dirt, or grease interferes with the painting process. Use a mild detergent and water, then rinse the walls with clean water and let them dry completely. If there are cracks or holes, use a filler to mend them and sand the surface for a smooth finish.
Step 2: Choose the Right Paint
Choosing the right paint is crucial. If your walls are faded due to sunlight, consider a paint with UV protection. If the fading is due to wear and tear, opt for a durable paint that can withstand activities in high-traffic areas. Don't forget to match the color with your room's theme and lighting.
Step 3: Prime Your Walls
Priming is crucial, especially if you're going for a lighter color. It helps cover the old paint, prevents stains from showing through, and gives the new paint a good surface to adhere to. Use a roller for larger areas and a brush for the edges.
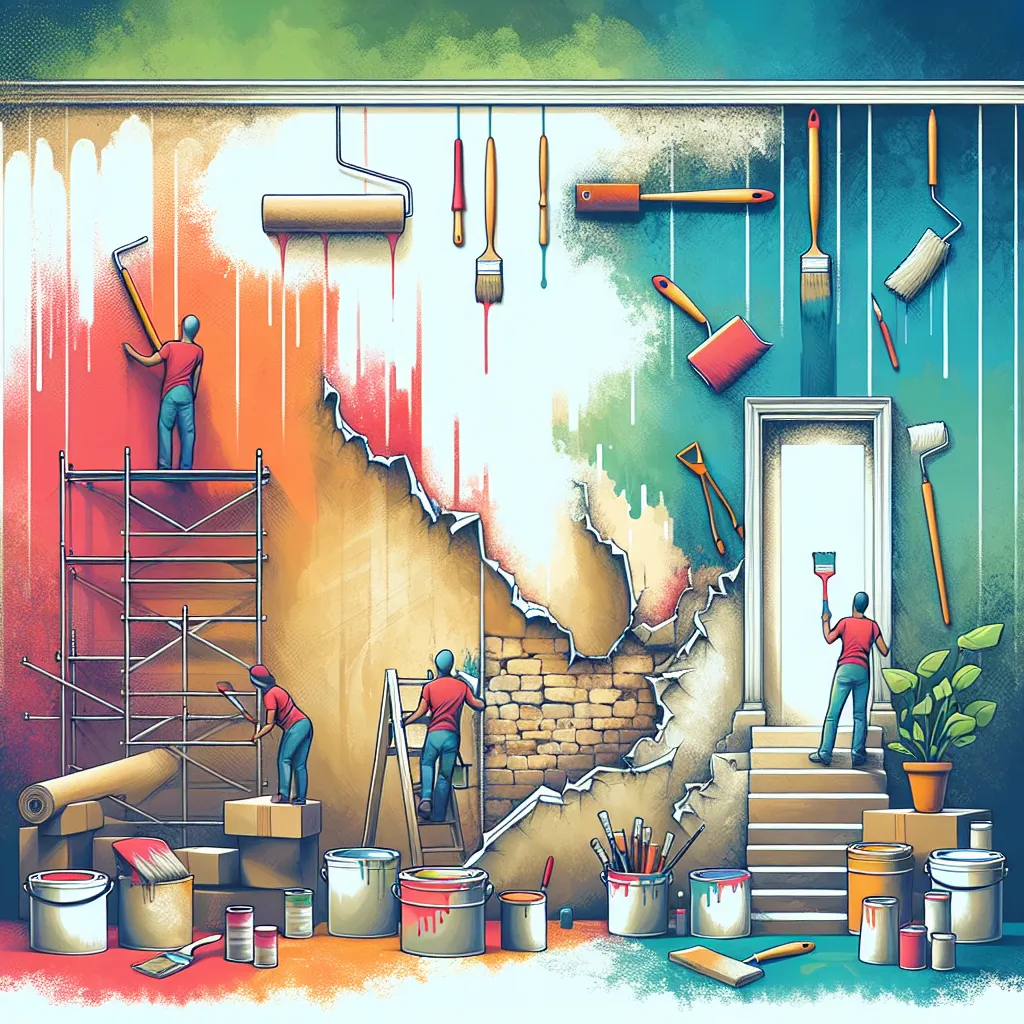
Step 4: Paint Your Walls
After the primer dries, start painting your walls. Start from the top and work your way down to avoid drip marks. Apply the paint in long, even strokes. Depending on the color and type of paint, you might need two or more coats. Allow each coat to dry before applying the next.
Step 5: Clean Up and Enjoy
Once the paint is dry, remove any painter's tape and clean your brushes. Now, sit back and enjoy the fresh look of your room. It's amazing what a new coat of paint can do!
Conclusion
Reviving faded wall paint may seem like a daunting task, but with the right tools, paint, and a bit of patience, you can easily breathe new life into your living space. So, roll up your sleeves and start your DIY paint rescue mission today!