Art is subjective, so don't worry about it being perfect. The most important thing is that it reflects your personal style and fills your home with joy.
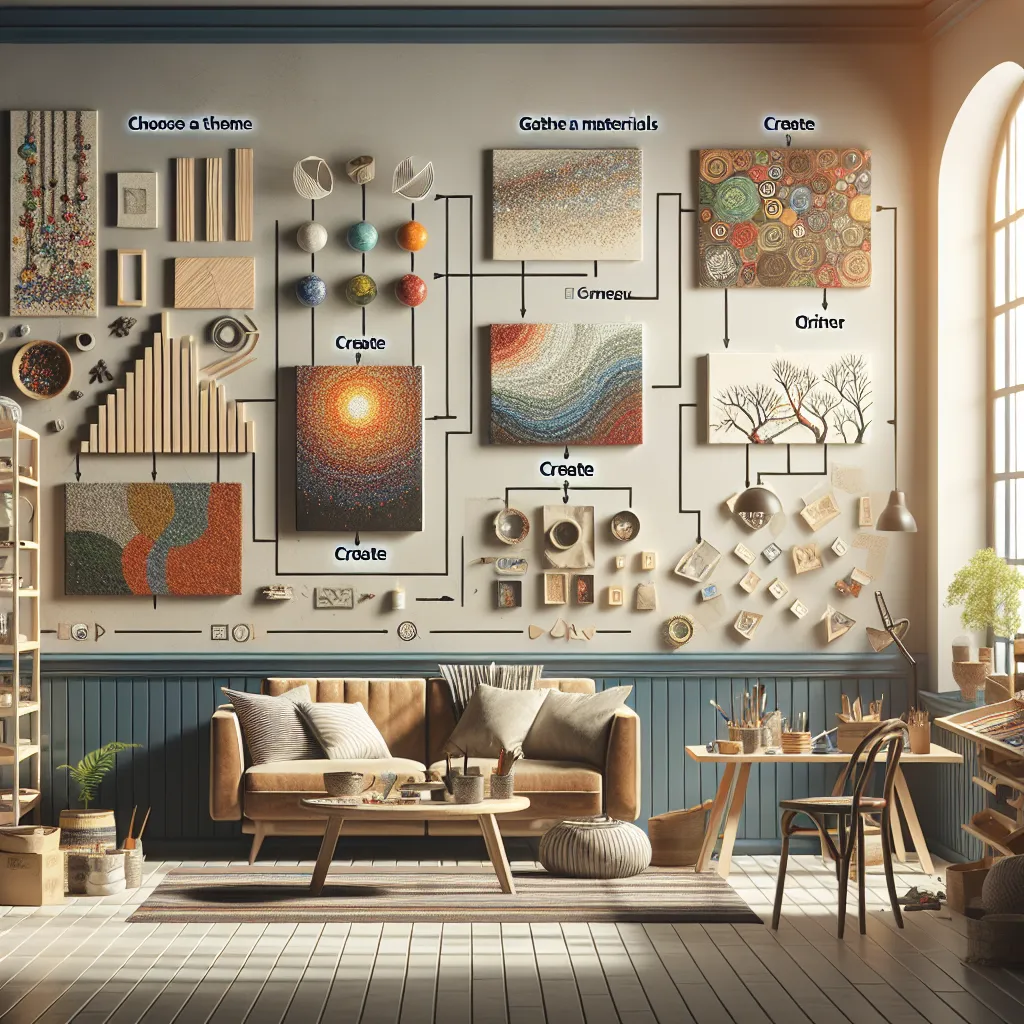
Step 1: Choose Your Art Style
Start by deciding what type of art you want to create. This could be abstract art, pop art, geometric designs, or even a simple painting. Consider the style and color scheme of your room. You want the artwork to complement your existing décor, not clash with it. Don't be afraid to experiment and mix different styles.
Step 2: Gather Your Supplies
Once you've decided on your art style, gather your art supplies. Depending on your chosen style, you might need canvas, paint, brushes, markers, colored pencils, or even digital tools. You can find these at any art supply store or online. Remember, it doesn’t have to be expensive to be good quality.
Step 3: Create Your Masterpiece
Now, it’s time to create! Don’t worry about making it perfect. The beauty of DIY art is in its uniqueness and personal touch. If you're not confident in your drawing or painting skills, you can use stencils or trace a design. The key is to have fun during the process.
Step 4: Frame Your Art
Once you've finished your artwork and it's dry, consider framing it. A frame can enhance your art piece and give it a professional look. You can buy a ready-made frame or make your own if you're feeling extra crafty.
Step 5: Hang Your Art
The final step is to hang your art. Consider the placement carefully. The middle of the artwork should be at eye level. If you’re creating a gallery wall, plan the layout on the floor first to get an idea of how it will look. Use a level to ensure your art is not crooked.
Conclusion
And there you have it! With these five steps, you've not only created a unique piece of art but also added a personal touch to your home. Remember, the goal is not to create a perfect piece of art but to have fun and enjoy the process. So, let your creativity flow and transform your space with your very own DIY wall art.