Step 1: Safety First
The first step in DIY roof repair is ensuring your safety. Roofs can be steep, slippery, and dangerous. Always use a sturdy ladder, wear non-slip shoes, and consider using a safety harness. Never attempt roof repairs in bad weather conditions, and always have a helper on the ground for support and assistance.
Step 2: Identify the Problem
Before you can fix a leak, you need to find it. Common culprits include damaged shingles, cracked flashing, or a misaligned gutter system. Look for signs of water damage in your attic, such as dark spots or mold. Then, carefully inspect your roof for visible signs of damage.
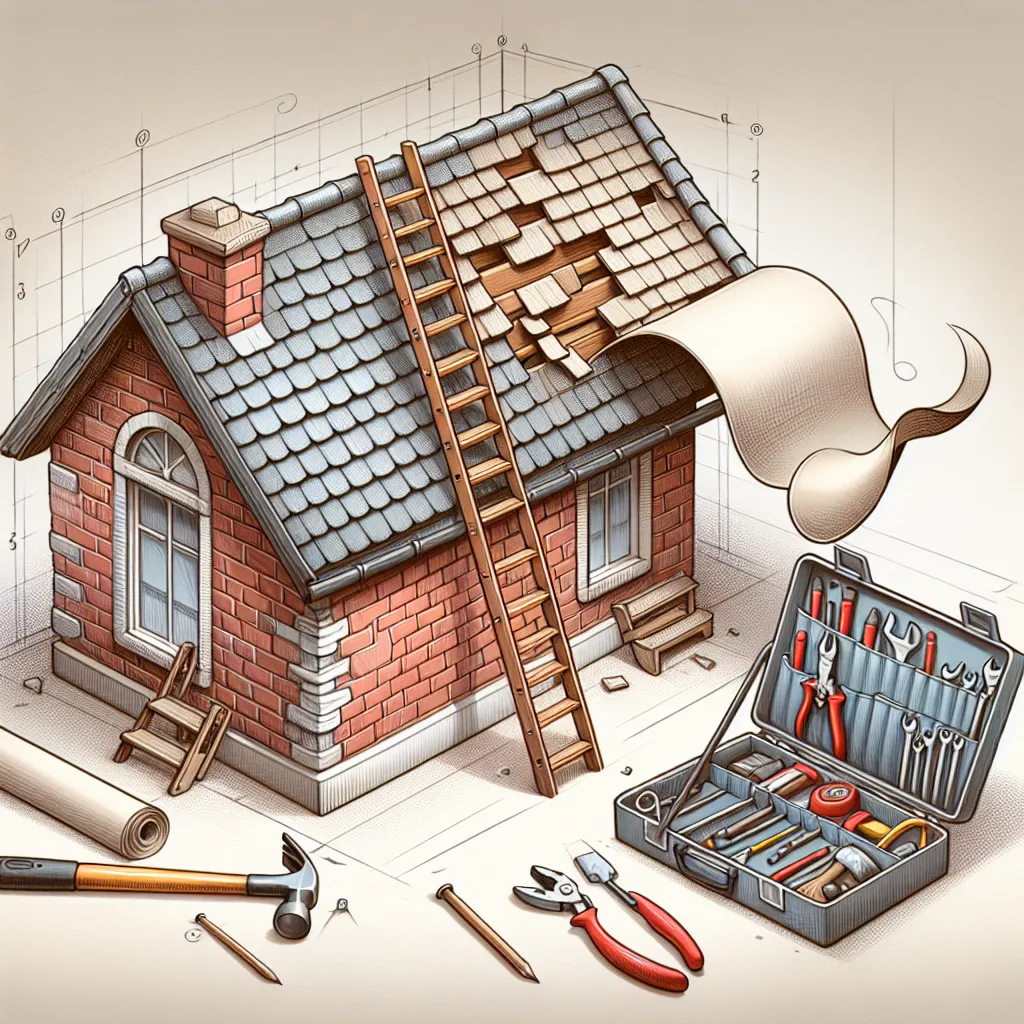
Step 3: Gather Your Tools
Depending on the nature of the problem, you'll need a variety of tools to fix your roof. Commonly used tools include a roofing hammer, roofing nails, a utility knife, and a pry bar. You may also need a tube of roofing sealant and a caulk gun for minor leaks.
Step 4: Repair the Damage
If you're dealing with damaged shingles, carefully remove the damaged piece and replace it with a new one. For minor leaks, apply a generous amount of roof sealant to the area and smooth it out with a putty knife. If your gutters are misaligned, adjust them so they properly channel water away from your house.
Step 5: Inspect and Maintain
After the repair, it's crucial to regularly inspect your roof for potential problems. Regular maintenance can prevent minor issues from becoming major problems. Clean your gutters regularly, trim overhanging tree branches, and check for signs of wear and tear.
Conclusion
DIY roof repair can seem intimidating, but with the right approach and safety measures, it's a manageable task. By following this guide, you can maintain the integrity of your roof and protect your home from the elements. Remember, for larger issues or if you're uncomfortable with the task, always hire a professional roofer.