Unwanted noises in your home aren’t just annoying—they can make it harder to sleep, concentrate, or relax. The good news: a lot of squeaks, rattles, and buzzes have simple DIY fixes that don’t require special tools or a contractor. This guide walks you through practical, step‑by‑step repairs you can do in a weekend to make your home noticeably quieter and more comfortable.
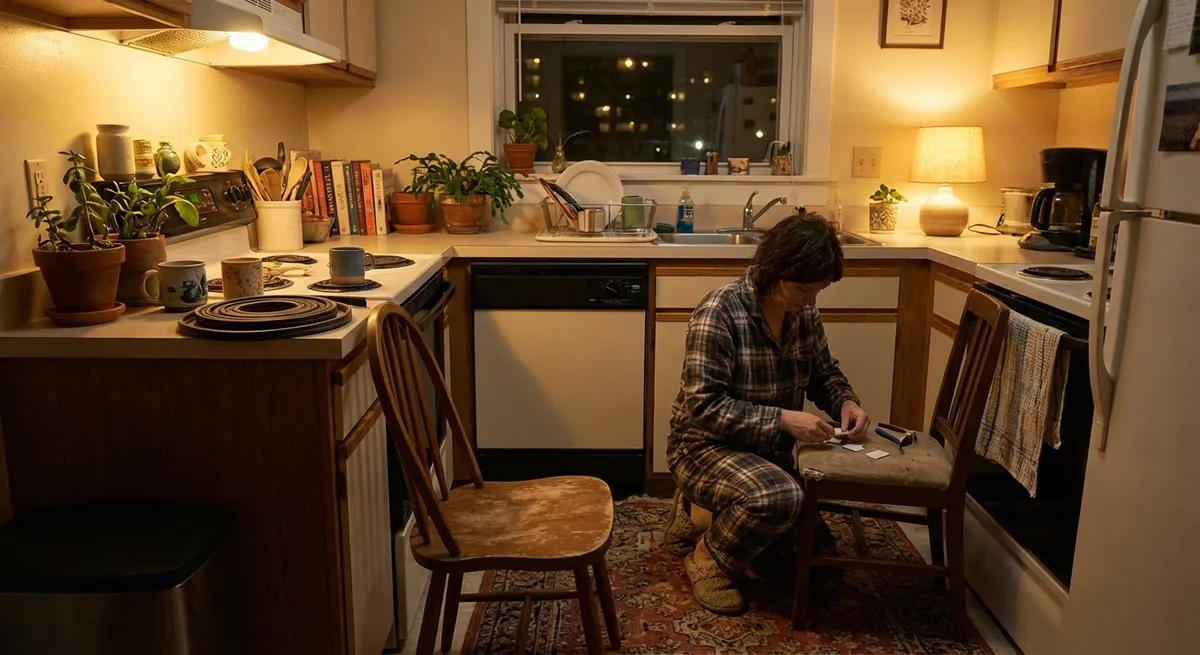
Start with a Noise Hunt: Find the Real Source
Before you start fixing things at random, you need to know what’s actually making the noise and when it happens. This quick process saves time and keeps you from chasing the wrong problem.
- Walk the house when it’s quiet. Early morning or late evening is ideal. Turn off the TV, music, and loud appliances so you can hear smaller sounds.
- Test one area at a time.
- Walk each hallway and room, especially near doors, windows, and stairs.
- Gently nudge furniture, doors, and windows to see what rattles or squeaks.
- Use “stress tests.”
- Run water in sinks and tubs, then listen under the cabinet and along the walls for vibration or humming.
- Turn major appliances (dishwasher, washer, dryer, fridge) on and off and listen around them.
- Walk slowly up and down stairs and across the worst floor areas.
- Note patterns and locations. Write down:
- Where the sound is (room, side of the room, near what fixture)
- When it happens (only with water on, only when walking, only at night)
- What it sounds like (squeak, rattle, hum, drip, ticking, knocking)
- Prioritize by impact and risk.
- Fix first: noises tied to plumbing, electrical panels, or gas appliances.
- Next: doors, floors, windows, and vents that affect daily comfort.
- Last: minor rattles from decor or furniture that are just nuisances.
This simple “noise map” will guide the rest of your repairs and make each fix more targeted.
Fix Squeaky Floors Without Pulling Up Flooring
Squeaky floors are usually caused by wood rubbing against nails, screws, or other boards. You can often quiet them from above, even through carpet, without a major renovation.
- Pinpoint the squeak.
- Have someone walk slowly over the area while you kneel and listen.
- Press with your hand or foot to find the exact spot that squeaks the most.
- Mark it lightly with painter’s tape or a pencil.
- Add dry lubrication for minor squeaks.
- For small squeaks between floorboards in hardwood, sprinkle a little powdered graphite or talcum powder into the crack.
- Work it in using a soft brush or cloth and wipe away excess; this helps reduce wood‑on‑wood friction.
- Re-test and adjust.
- Walk the area again. If the squeak moved slightly, mark and repeat for the new spot.
- Avoid over-screwing in one area; a couple of properly placed screws is usually enough.
For hardwood or laminate (exposed flooring):
- Locate the floor joist direction (usually perpendicular to the longest wall; a stud finder can help). - Drill a small pilot hole at an angle through the floorboard into the joist at the squeak point. - Drive a trim screw (not a nail) into the joist so it pulls the board down snugly. - Countersink the screw head slightly and fill with wood filler that matches your floor. Wipe off excess and let dry.
For carpeted floors (without removing carpet):
- Use a stud finder to find the joist under the squeaky area. - Drive special breakaway screws designed for squeaky floors (often sold as “squeaky floor repair kits”) through the carpet into the joist. - Use the provided tool to snap off the screw head just below the surface of the subfloor; the carpet will hide the repair.
With a few well-placed screws and some patience, you can transform a noisy walkway or bedroom into a much quieter space.
Silence Rattling Interior Doors
Rattling doors usually come down to loose hardware, misaligned latches, or gaps that let the door move in the frame. You can usually fix this with a screwdriver and a few low-cost materials.
- Tighten everything first.
- Open the door and tighten all hinge screws on both the door and the frame.
- Tighten the screws on the strike plate (the metal piece the latch clicks into).
- Check the doorknob or latch mechanism and snug up any loose screws.
- Check door alignment.
- Close the door slowly and watch how the latch meets the strike plate.
- If the latch hits too high or too low, or doesn’t fully catch, note the misalignment.
- Look at the gap around the door. Large or uneven gaps can allow rattling.
- Adjust the strike plate.
- For minor misalignment, slightly bend the strike plate’s tab (the curved part that catches the latch) inward with pliers so it holds the latch more firmly.
- For bigger issues, remove the strike plate and refill the screw holes with wooden toothpicks dipped in wood glue. Let dry.
- Reposition the strike plate slightly higher or lower as needed and reattach with screws into the repaired holes for a tighter fit.
- Add cushioning to stop movement.
- Stick small, clear rubber bumpers or felt pads on the door frame where the door contacts it (usually near the latch and opposite side).
- Close the door to check: it should close fully but rest gently against the bumpers without rattling.
- Reinforce loose hinges if needed.
- If a hinge screw spins without tightening, remove it and fill the hole with a golf tee or dowel coated in wood glue. Cut it flush once dry.
- Drill a small pilot hole and drive a new screw into the solid wood plug.
- This gives the hinge a firm grip and keeps the door from sagging and rattling.
A door that closes solidly with a soft “thunk” instead of a buzz or rattle instantly makes a room feel calmer and more finished.
Quiet Noisy Bathroom Fans and HVAC Vents
Fans and vents are common noise offenders, but many can be quieted with cleaning and simple adjustments instead of full replacement.
- Start with safety and power.
- Turn off the switch for the fan or HVAC system.
- For bathroom fans, also flip the breaker if you’ll be removing the cover and working near wiring.
- Clean bathroom fan grilles and blades.
- Remove the fan cover—usually by gently pulling down and squeezing the metal springs on each side.
- Vacuum dust from the cover and the fan housing using a brush attachment.
- Wipe blades gently with a damp cloth, being careful not to bend them. Heavy dust buildup can cause wobbling and extra noise.
- Check for loose parts and vibration.
- Gently wiggle the fan motor and housing. Tighten any loose mounting screws.
- Add self-adhesive foam weatherstripping where the fan housing meets the ceiling if there’s visible gap or movement; this reduces vibration.
- Silence rattling HVAC vent covers.
- Remove the vent cover with a screwdriver. Vacuum dust from the cover and duct opening.
- Add thin foam tape around the underside of the vent cover where it meets the wall or ceiling.
- Reinstall and tighten screws just enough to hold firmly without warping the cover.
- Evaluate if replacement is warranted.
- If a bathroom fan remains extremely loud even after cleaning and tightening, it may be an older high‑sone model. Consider a modern, quieter fan rated at a lower sone level.
- For HVAC systems, if noise is coming from the blower or ducts themselves and not the vent cover, consult a licensed HVAC professional—especially if you hear banging, whistling, or grinding from within the system.
Basic cleaning and vibration control can significantly reduce everyday fan and vent noise without major expense.
Dampen Cabinet Door Slams and Kitchen Clatter
Kitchen and bathroom cabinets are constant movement points. A few small upgrades can stop slamming doors, reduce clatter, and make the space feel calmer.
- Add soft-close bumpers.
- If your hinges aren’t soft-close, start by adding small stick‑on rubber or silicone bumpers inside each cabinet door corner.
- Clean the surface with rubbing alcohol first so they adhere well.
- Test a few doors—often two bumpers near the top and bottom on the latch side will do the job.
- Tighten and align hinges.
- Open each cabinet and tighten hinge screws both on the door and the cabinet frame.
- For European-style concealed hinges, use the small adjustment screws to bring doors up/down or left/right until they close squarely without rubbing or snapping shut.
- Upgrade to soft-close where it matters most.
- For high‑use cabinets (under‑sink, dishes, pantry), consider replacing standard hinges with soft‑close hinges or adding soft‑close adapters that clip onto existing hinges.
- Follow the manufacturer’s instructions for installation; most require just a screwdriver and a few minutes per door.
- Isolate noisy drawers.
- Pull drawers out and check slides for debris. Vacuum and wipe clean; add a light application of dry lubricant if recommended by the manufacturer.
- Add adhesive felt pads to the back corners of drawers where they meet the frame to reduce wood‑on‑wood impact.
- Soften the impact of stored items.
- Use shelf liners in cabinets where plates, pots, or glass containers clatter.
- Store metal pots and lids so they don’t rest directly on metal or bare wood—use a pan organizer or silicone pads between stacked pieces.
With a few dollars’ worth of bumpers, felt, and liners, your cabinets and drawers can close quietly instead of sounding like a mini drum set.
Conclusion
A quieter home isn’t just about luxury—it’s about comfort, focus, and peace of mind. Most everyday noises come from predictable places: floors, doors, fans, vents, and cabinets. By methodically tracking down each sound and applying these simple fixes, you can make a real difference in how your home feels without a big budget or specialized tools.
Start with the loudest, most frequent noise that bothers you the most, and work your way down the list. Step by step, you’ll turn a rattly, squeaky space into a calmer, more livable home—one practical repair at a time.
Sources
- [U.S. Department of Energy – Air Sealing Your Home](https://www.energy.gov/energysaver/weatherize/air-sealing-your-home) - Explains how gaps and leaks in building assemblies contribute to drafts and noise, and how sealing improves comfort.
- [Energy Star – Bathroom Ventilation Fans](https://www.energystar.gov/products/bathroom_ventilation_fans) - Provides information on fan noise ratings (sones) and efficiency, useful when evaluating noisy bathroom fans.
- [Family Handyman – How to Fix Squeaky Floors](https://www.familyhandyman.com/project/how-to-fix-squeaky-floors/) - Step‑by‑step guidance and visuals for repairing squeaky floors from above and below.
- [This Old House – Stop Door Squeaks and Rattles](https://www.thisoldhouse.com/doors/21015060/quick-fixes-for-sticking-doors) - Covers practical techniques for aligning doors and adjusting latches and hinges.
- [California State University, Northridge – Soundproofing Basics](https://www.csun.edu/~jac02898/Acoustics/soundproofing.html) - Explores basic acoustic principles behind noise transmission and damping in buildings.
Key Takeaway
The most important thing to remember from this article is that this information can change how you think about Home Repair.


