Every home develops rattles, squeaks, and mysterious thumps over time. Doors slam harder, floors creak louder, and pipes knock when the water turns on. Most people ignore these noises until they become impossible to live with, but many of them are simple DIY fixes you can handle in an afternoon with basic tools. This guide walks you through practical, step‑by‑step repairs to make your home feel quieter, more solid, and more comfortable—without calling a contractor.
Step 1: Silence Squeaky Floors Without Tearing Them Up
Squeaky floors usually mean wood rubbing on wood or loose fasteners. You can often fix the problem from above the floor, even with carpet.
Find the exact squeak location
Walk slowly across the area and mark squeaky spots with painter’s tape. Step with one foot, then both, then shift your weight. A helper listening below (if you have a basement or crawlspace) can help pinpoint the worst spots.
Identify what’s under the squeak
If you can access the joists from below, look for gaps between the subfloor and joists or loose nails. If you can’t see underneath (slab or finished basement ceiling), assume the squeak is between the subfloor and the joist below.
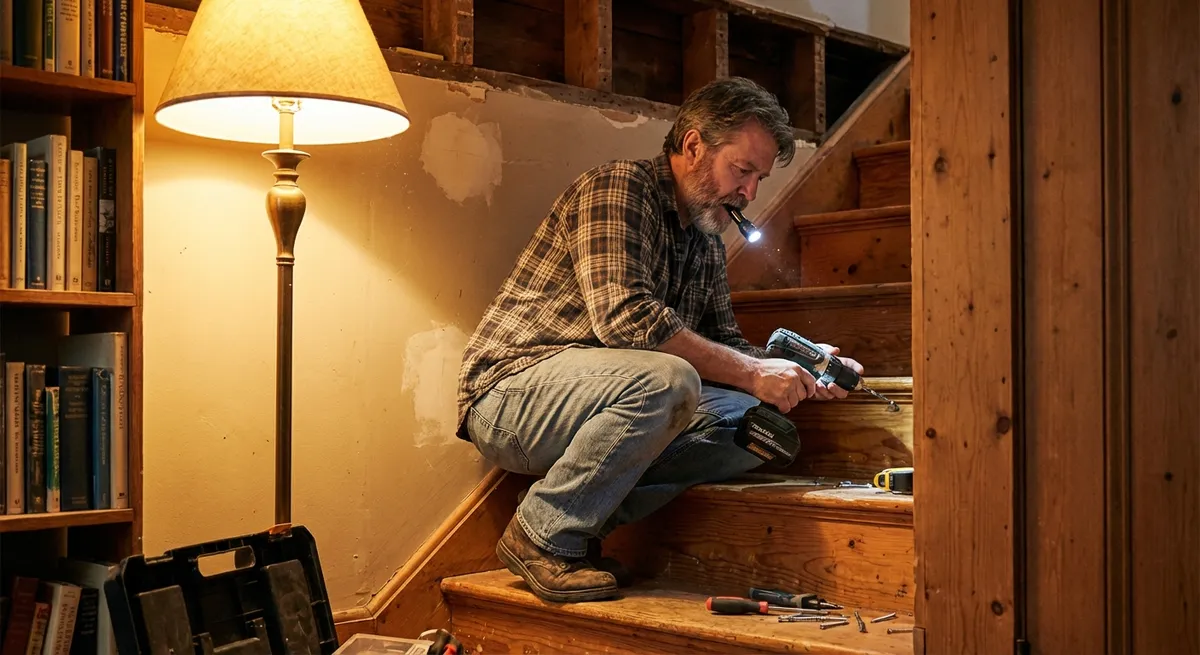
Fix squeaks in hardwood or vinyl floors
- Pre‑drill angled holes through the floor into the joist below, using a drill bit slightly smaller than your trim screw. - Drive 2–3 inch trim or decking screws (not nails) into the joist, pulling the subfloor tight. - Countersink screw heads slightly and fill with wood filler or color‑matched putty; wipe clean.
Fix squeaks under carpet
- Locate the joist by tapping (solid sound over joist, hollow between) or using a stud finder on the floor. - Use specialized squeak repair screws designed for carpet (available as “squeaky floor repair kits”). These break off below the carpet surface so they don’t show or snag. - Drive screws along the joist line through the carpet, following the kit instructions.
Recheck for movement
Walk the repaired area again. If you still hear noise, add screws a few inches away from the first ones—squeaks often span a small section, not just one point.
Pro tip: Avoid adding nails to fix squeaks. Nails can loosen again and often create new squeaks. Screws hold far more securely.
Step 2: Stop Doors From Slamming, Sticking, or Swinging on Their Own
Annoying doors are usually caused by hinge issues, humidity, or a frame slightly out of square. You can often restore smooth, quiet operation with simple adjustments.
Quiet squeaky hinges
- Close the door, then slightly lift the door by the handle to see if there’s play in the hinges. - Pull one hinge pin at a time using a nail and hammer from the bottom up. - Wipe the pin clean, apply a thin layer of petroleum jelly, white lithium grease, or silicone lubricant (avoid cooking oils), and tap it back in. - Open and close the door several times to distribute the lubricant.
Fix doors that slam shut too easily
- Stick small self‑adhesive felt pads or thin rubber bumpers near the latch side on the frame to cushion contact and reduce noise. - For very drafty doors, add weatherstripping around the frame; this softens closure and reduces the “bang.”
Correct doors that won’t latch or rub at the top
- If the top of the door rubs the frame on the handle side, slightly tighten the top hinge screws and slightly loosen the bottom ones to pull the door toward the hinges. - If the latch doesn’t catch, loosen the strike plate on the frame, shift it up/down or in/out as needed, then retighten. You can slightly enlarge the strike opening with a metal file if needed.
Fix doors that swing open or closed by themselves
- Confirm the problem: open the door to 45 degrees and see if it moves on its own. - Remove the hinge pin from the middle hinge and lay it on a firm surface. - Gently tap the center of the pin with a hammer to create a slight bend. - Reinsert the pin. The added friction helps hold the door where you leave it.
Address sticking from seasonal swelling
- Identify the tight spot by closing the door on a piece of paper and sliding the paper around the edges; where it snags is where it’s tight. - Lightly sand the edge of the door where it binds, checking the fit often. - Seal any freshly sanded bare wood with paint or clear finish so it doesn’t absorb moisture and swell again.
Pro tip: If hinge screws keep stripping out, replace them with longer 3‑inch screws that reach into the framing behind the jamb for a more permanent fix.
Step 3: Cure Rattling Windows and Drafty Frames
Window rattles and drafts waste energy and make your home feel flimsy. You can usually tighten things up without replacing the entire window.
Check for loose glass in older windows
- Gently tap the glass with your knuckle. If it rattles, the glazing (putty holding the glass) or stops may be loose. - Inspect glazing putty around the exterior edges for cracks or gaps.
Re‑secure rattling glass
- For single‑pane wood windows: carefully scrape away loose glazing putty with a putty knife. - Apply fresh window glazing compound along the edge, pressing it firmly into the gap, then smooth it with the knife at a slight angle. - Allow it to cure per manufacturer directions before painting or washing.
Tighten loose window sashes
- For double‑hung windows that rattle, add thin self‑adhesive felt or vinyl weatherstripping where the sash meets the frame sides and top. - Cut strips to fit, press firmly in place, and test operation. Trim or reposition if the window becomes too tight.
Seal drafts around window frames
- On a windy day, hold a lit incense stick or thin tissue around the window edges and frame. Watch for smoke or tissue movement to spot leaks. - Use caulk (paintable acrylic latex for interior, exterior‑grade for outside) to seal gaps between the window frame and wall trim. - For larger gaps, gently press foam backer rod into the gap first, then caulk over it.
Add a removable winter seal if needed
- For older or particularly leaky windows, apply removable rope‑style draft seal or clear plastic interior window kits in cold months. - Install according to directions, making sure surfaces are clean and dry so the adhesive doesn’t damage paint when removed.
Pro tip: Avoid sealing windows completely shut with permanent caulk if they’re intended as emergency exits (like in bedrooms). Use removable products where egress is required.
Step 4: Quiet Banging Pipes and Humming Plumbing
Noisy plumbing—hammering pipes, whistling valves, or humming lines—can be alarming but often has straightforward fixes.
Identify the type of noise
- Banging or knocking when water shuts off often indicates water hammer (sudden pressure changes). - Whistling or squealing usually comes from a partially closed or worn valve. - Constant humming or vibration may come from a loose pipe or high water pressure.
Secure accessible loose pipes
- Check exposed piping in basements, crawlspaces, and under sinks while someone turns faucets on and off. - If you see pipes moving or hitting framing, add foam pipe insulation or rubber‑lined pipe clamps where they contact wood or metal. - Avoid over‑tightening metal clamps, which can stress the pipe.
Reduce water hammer with simple solutions
- Start by slowly closing faucets instead of snapping them shut to see if the noise improves. - If your home has water hammer arrestors already (small devices near appliances), they may be waterlogged or failing and need replacement. - For persistent or severe water hammer, consider having a plumber install or replace arrestors at key locations like near the washing machine or dishwasher.
Fix whistling fixtures and valves
- Turn the problem faucet or valve fully open and fully closed to see if the noise changes. Partially open valves can whistle. - Clean faucet aerators (unscrew the tip, rinse out debris, soak in vinegar if clogged with mineral deposits). - If a specific shutoff valve (like under a sink) is noisy, it may be worn inside and need replacement.
Check and adjust water pressure if possible
- If you hear vibration throughout the home, excessive water pressure could be the cause. - Look for a pressure reducing valve (PRV) near where the main line enters your home; many have an adjustment screw. - If you’re not comfortable adjusting it, or if you don’t have one, a licensed plumber can test pressure and install/adjust a PRV to bring pressure into a safer, quieter range (commonly around 50–60 psi for homes).
Pro tip: If you ever hear a loud, new noise and also notice damp spots, stains, or drops in water pressure, shut off the water supply and call a professional immediately—those can be signs of an active leak, not just a noise issue.
Step 5: Eliminate Cabinet Clatter and Drawer Slams
Kitchen and bathroom storage gets heavy use and often becomes a major source of daily noise and frustration. Small hardware upgrades can make a big difference.
Add soft‑close to existing cabinet doors
- For frameless cabinets: install clip‑on soft‑close adapters on the hinge arm. - For framed cabinets: use small soft‑close dampers that screw into the cabinet frame near the hinge side. - Adjust the damper position so the door closes fully but slows down right before it meets the frame.
Stop doors from banging into each other or walls
- Add self‑adhesive rubber bumpers where the door meets the frame to absorb shock and reduce noise. - If doors hit walls, install a doorstop on the baseboard or hinge pin to protect both the door and the wall.
Quiet rattling drawer slides
- Remove the drawer and vacuum dirt, crumbs, and debris from the slides and cabinet tracks. - Wipe slides clean, then lightly lubricate metal tracks with a silicone‑based spray or dry lubricant (avoid heavy oils that attract dust). - Reinstall and test. If the drawer still rocks or grinds, check for bent tracks or loose mounting screws and correct them.
Upgrade to soft‑close drawer slides (when needed)
- Measure existing drawer slides length and style (side‑mount, bottom‑mount, or undermount). - Replace worn or noisy slides with soft‑close versions rated for at least the load you expect (often 75–100 lb in kitchens). - Follow the manufacturer’s instructions carefully; correct alignment is critical for smooth, quiet operation.
Tighten loose knobs and pulls
- Remove each handle or knob one at a time, check for stripped screws, and replace any that don’t tighten securely. - Add a tiny dab of clear nail polish or thread‑locking compound to the screws before reinstalling to keep them from loosening over time. - Wipe off any excess immediately so it doesn’t bond to the cabinet finish.
Pro tip: While you’re at it, check for misaligned doors—most concealed hinges have small screws that let you move the door up/down, left/right, and in/out for perfect alignment and quieter operation.
Conclusion
A loud, rattly house doesn’t always mean you need major repairs or expensive replacements. Many of the most irritating noises—squeaky floors, slamming doors, rattling windows, banging pipes, and clattering cabinets—come from small issues that you can tackle yourself with basic tools and a bit of patience. By working through these quiet‑fix projects step by step, you’ll make your home feel more solid, more comfortable, and more refined every time you walk through it.
If you’re ever unsure whether a noise is harmless or a sign of something serious (like structural movement or a hidden leak), start with visual checks and simple fixes—and don’t hesitate to bring in a pro for anything that seems beyond your comfort zone. Fixing what you can, and knowing when to call for help, is how you keep your home ready for real life.
Sources
- [U.S. Department of Energy – Air Sealing Your Home](https://www.energy.gov/energysaver/weatherize/air-sealing-your-home) - Explains how to locate and seal air leaks around windows and doors for comfort and efficiency
- [Family Handyman – How to Fix Squeaky Floors](https://www.familyhandyman.com/project/how-to-fix-squeaky-floors/) - Practical walkthroughs for silencing squeaky floors from above and below
- [This Old House – How to Fix a Squeaky Door](https://www.thisoldhouse.com/doors/21015183/how-to-fix-a-squeaky-door) - Step‑by‑step instructions for hinge lubrication and door alignment
- [International Association of Certified Home Inspectors – Plumbing Noises](https://www.nachi.org/plumbing-noises.htm) - Overview of common plumbing sounds, causes, and when they may indicate problems
- [University of Minnesota Extension – Home Water System Basics](https://extension.umn.edu/pressure-and-water-systems/home-water-system-basics) - Background on residential water systems and pressure, useful for understanding noisy plumbing issues
Key Takeaway
The most important thing to remember from this article is that following these steps can lead to great results.


