Water is one of the most damaging things that can sneak into a house—and it often starts with small, easy-to-miss issues. A tiny drip under the sink, a slow stain on the ceiling, a damp spot in the basement: ignore them, and they turn into expensive repairs. Tackle them early, and you can usually fix them with basic tools and a little patience. This guide walks you through practical, step-by-step repairs for common minor leaks so you can protect your home before problems grow.
Know Where Water Likes to Cause Trouble
Before grabbing tools, it helps to understand where leaks usually start and what they look like. Many “big” water problems began as small, simple repairs that were put off too long.
Check these common areas regularly:
- Under every sink: kitchen, bathrooms, laundry room, utility sink
- Around toilets: at the base, behind the tank, and the supply line
- Around tubs and showers: especially caulk lines and corners
- Around appliances: dishwasher, washing machine, refrigerator with ice maker
- At ceilings below bathrooms or roofs: stains, bubbling paint, or soft drywall
- In basements and crawlspaces: damp spots on walls or floors, musty smell
Warning signs to watch for:
- Brown or yellow ceiling spots
- Soft, swollen, or warped baseboards or flooring
- Peeling or bubbling paint
- Musty odors, even if you don’t see moisture
- Water meter moving when no fixtures are running (possible hidden leak)
When you catch these issues early, most fixes are well within DIY range. The steps below focus on five common small leak problems and how to handle them safely.
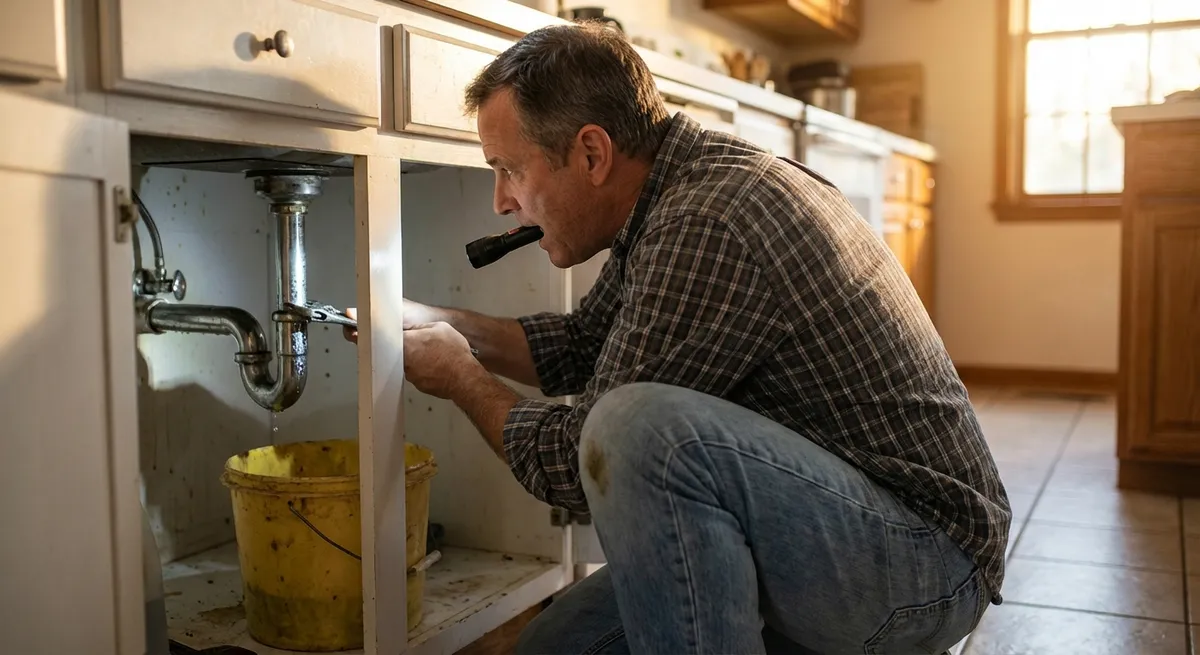
Step 1: Fix a Dripping Sink P-Trap or Drain Connection
A drip under the sink can usually be traced to loose or worn connections in the drain assembly. Most of these are PVC or ABS plastic and designed to be serviceable without specialized tools.
Locate the exact leak point
Dry everything off with a towel. Place a dry paper towel under the pipes and run water. Watch carefully: - Drip from the curved pipe (P-trap): likely a loose slip nut or worn washer - Drip from a straight section or joint: possible crack or misaligned connection - Drip from the stopper assembly or sink flange: may be a different issue
Prepare the area and tools
Remove items from under the sink. You’ll usually need: - A small bucket or bowl - Adjustable pliers or channel-lock pliers - Replacement slip joint washers (matching your pipe size, often 1 1/4" or 1 1/2") - Teflon (PTFE) tape if the connection has threaded metal parts
Tighten and test first
Place a bucket under the trap. Gently tighten the slip nuts by hand, then a small extra turn with pliers. Don’t over-tighten—plastic threads can crack. Run water and check again. If the drip stops, monitor for a day or two.
Replace worn washers if needed
If tightening doesn’t work: - Loosen the slip nuts and remove the P-trap - Inspect the beveled washers; if they’re flattened, cracked, or stiff, replace them - Make sure the beveled side faces the correct direction (toward the joint) - Reassemble, hand-tighten, then snug with pliers
Check for cracks and misalignment
If it still leaks: - Inspect pipes for hairline cracks or splits; replace damaged sections - Make sure pipes line up naturally; forcing misaligned pipes leads to leaks - Once aligned and tightened, run water for a few minutes and check all joints
Tip: Keep a small kit of common trap parts on hand. They’re inexpensive and save a trip when a drip appears.
Step 2: Stop a Leaky Faucet at the Source
A dripping faucet wastes water, annoys everyone, and can stain sinks. Most basic faucets can be repaired by replacing a cartridge, washer, or O-ring instead of changing the whole fixture.
Turn off water and plug the drain
Close the shutoff valves under the sink (turn clockwise). If there are no local valves, turn off the main water supply. Put a sink plug or rag in the drain so you don’t lose small parts.
Identify your faucet type
Common types include: - Cartridge faucet (single or double handle) - Compression faucet (older style, you feel it “screw down” to shut off) - Ball or ceramic disk faucet Look up the brand/model if possible (often under the handle or on the faucet body) so you can buy the correct repair kit.
Disassemble in a controlled way
- Carefully pry off decorative caps on handles - Remove handle screws and lift handles off - Take clear photos at each step so you know how to reassemble - Remove the cartridge, stem, or ball assembly per the manufacturer’s design
Inspect and replace wear parts
Look for: - Cracked or stiff O-rings - Worn rubber seats or springs - Mineral buildup on cartridges or seals Clean mineral deposits with white vinegar (if recommended for your parts) and a soft brush, or replace all rubber parts and the cartridge if an exact match is available.
Reassemble and flush
Rebuild the faucet in reverse order using your photos as a guide. Turn the water back on slowly. Open the faucet to flush any loosened debris, then close and check for drips.
Tip: If the faucet is very old and parts are hard to find, compare the cost and time of repair versus replacing the entire faucet with a newer, efficient model.
Step 3: Reseal Around a Tub or Shower to Prevent Wall Damage
Gaps or cracked caulk around tubs and showers allow water to sneak behind walls and under floors. Resealing is one of the most effective, low-cost ways to prevent serious moisture damage.
Remove old caulk completely
Use a plastic caulk scraper or utility knife (carefully) to cut away old caulk. Avoid gouging the tub or tile. A caulk remover gel can soften stubborn silicone. Wipe or vacuum away crumbs and residue.
Clean and dry the area thoroughly
Scrub the joint with a mild cleaner or a mix of water and a small amount of dish soap. Rinse well. If there’s visible mildew, use a mildew remover or a diluted bleach solution (follow label directions, ventilate well). Let everything dry fully—ideally several hours or overnight.
Choose the right caulk
- Use a 100% silicone or siliconized acrylic caulk labeled for bath and kitchen (mold- and mildew-resistant). - Avoid generic “all-purpose” caulk not rated for wet areas. - A caulk gun tube is easier for larger projects; squeeze tubes work for small sections.
Apply a steady, controlled bead
- Cut the caulk tube tip at a 45° angle with a small opening - Hold the gun at a consistent angle and move smoothly along the joint - Aim for enough caulk to fill the gap without big ridges or blobs
Tool the joint and let it cure
- Use a damp finger or caulk tool to smooth the bead, pressing it into the joint - Wipe away excess on a damp rag as you go - Follow curing time on the label—often 24 hours before exposing to water
Tip: Don’t fill the joint where the tub meets the wall if your manufacturer specifically calls for a flexible, open expansion gap. Check installation instructions for your tub or shower if available.
Step 4: Seal a Small Basement Wall Leak from Minor Seepage
Slow seepage through foundation walls often shows up as damp patches or thin trickles during heavy rain. While serious structural or major water intrusion needs a pro, you can usually handle minor seepage on your own.
Identify the leak pattern
Note exactly where water appears and when: - Only after heavy rain or snowmelt? - Constant dampness, or just occasionally? Use painter’s tape to mark damp spots and see if they grow over time.
Clean and prep the wall
- Brush off loose paint, efflorescence (white powder), and debris with a stiff brush - Wash the area with a mild detergent solution and rinse - Let the wall dry as much as possible; use fans or a dehumidifier if needed
Patch obvious cracks or holes
For small cracks or pinholes: - Use a hydraulic cement or masonry crack filler specifically rated for stopping active leaks - Mix and apply according to the product instructions (hydraulic cement sets quickly; work fast and in small batches) - Press it firmly into cracks and smooth the surface
Apply a masonry waterproofing coating
Once patches have cured: - Use a brush or roller to apply a masonry waterproofing paint/coating designed for basement walls - Work it into pores and textured areas; a stiff brush works well - Apply the recommended number of coats, allowing proper drying time between layers
Manage moisture and monitor results
Even with sealing: - Keep gutters clean and direct downspouts well away from the foundation - Ensure the ground slopes away from your home - Use a dehumidifier in damp seasons Check the previously marked spots during the next few storms to confirm improvement.
Important: If you see large cracks, bowing walls, rapid water flow, or recurring flooding, contact a foundation or waterproofing professional. Those are beyond DIY scope.
Step 5: Patch a Small Ceiling Stain and Address the Source
A ceiling stain tells you water has been there—even if it’s dry now. Before you repair the cosmetic damage, you must confirm the leak is fixed.
Find and fix the source first
Common sources: - Bathroom above: leaking toilet seal, shower, or plumbing - Roof above: damaged shingles, flashing, or vents - Condensation from HVAC ducts in attics If you’re not fully confident the source is fixed (or you can’t access it), bring in a qualified pro—patching the ceiling without stopping the leak just hides the warning sign.
Let the area dry completely
Use fans, ventilation, and, if safe, access from the attic to help drying. Never close up wet drywall; that invites mold and future sagging.
Assess drywall condition
- If it’s just stained and still firm: you can likely clean, seal, and repaint - If it’s soft, crumbly, or sagging: cut out the damaged section and patch with new drywall Turn off power to the area if you’re working near light fixtures.
Seal stains before painting
Once dry and stable: - Lightly sand flaking paint - Apply a stain-blocking primer (oil-based or shellac-based often work best for water stains) - Let it dry fully; if the stain still shows through, apply a second coat
Blend your paint repair
- Use ceiling paint in the same sheen (usually flat) - Feather the new paint slightly beyond the primed area to blend - On textured ceilings, use a texture patch product that matches your existing finish before painting
Tip: Take photos and note the date of the stain. If it reappears or grows, you’ll know the leak source wasn’t fully resolved.
Conclusion
Most water-related home headaches start small: a drip, a hairline crack, a minor stain. With basic tools and a calm, step-by-step approach, you can stop many of these issues before they spread and become expensive repairs. Focus on finding the true source, using the right materials, and giving every repair time to dry and cure properly. When you run into signs of structural damage, major flooding, or anything you’re not comfortable handling, that’s the time to call in a professional—ideally before things get worse. Staying alert and acting early is one of the most powerful home repair habits you can build.
Sources
- [U.S. Environmental Protection Agency – Fix a Leak](https://www.epa.gov/watersense/fix-leak-week) - Practical guidance on finding and fixing common household leaks and the impact of water waste
- [International Association of Certified Home Inspectors – Water Intrusion in Homes](https://www.nachi.org/water-intrusion.htm) - Overview of how water enters homes, common problem areas, and prevention strategies
- [Energy.gov – Air Sealing and Moisture Control](https://www.energy.gov/energysaver/air-sealing-your-home) - Explains the relationship between air leaks, moisture, and building durability
- [Family Handyman – How to Fix a Leaking Sink Drain](https://www.familyhandyman.com/project/how-to-fix-a-leaking-sink-drain/) - Step-by-step example of diagnosing and repairing under-sink drain leaks
- [This Old House – How to Fix a Leaking Faucet](https://www.thisoldhouse.com/plumbing/21015119/how-to-fix-a-leaky-faucet) - Detailed faucet repair walkthroughs for different faucet types
Key Takeaway
The most important thing to remember from this article is that this information can change how you think about Home Repair.


