Small problems in a house rarely stay small. A tiny leak, hairline crack, or barely-there draft can quietly turn into expensive damage. The good news: most of these issues are fixable with basic tools, a bit of time, and a solid plan. This guide walks you through five practical, step-by-step fixes DIY homeowners can tackle before they become bigger headaches.
Step 1: Track Down and Seal Drafty Windows and Doors
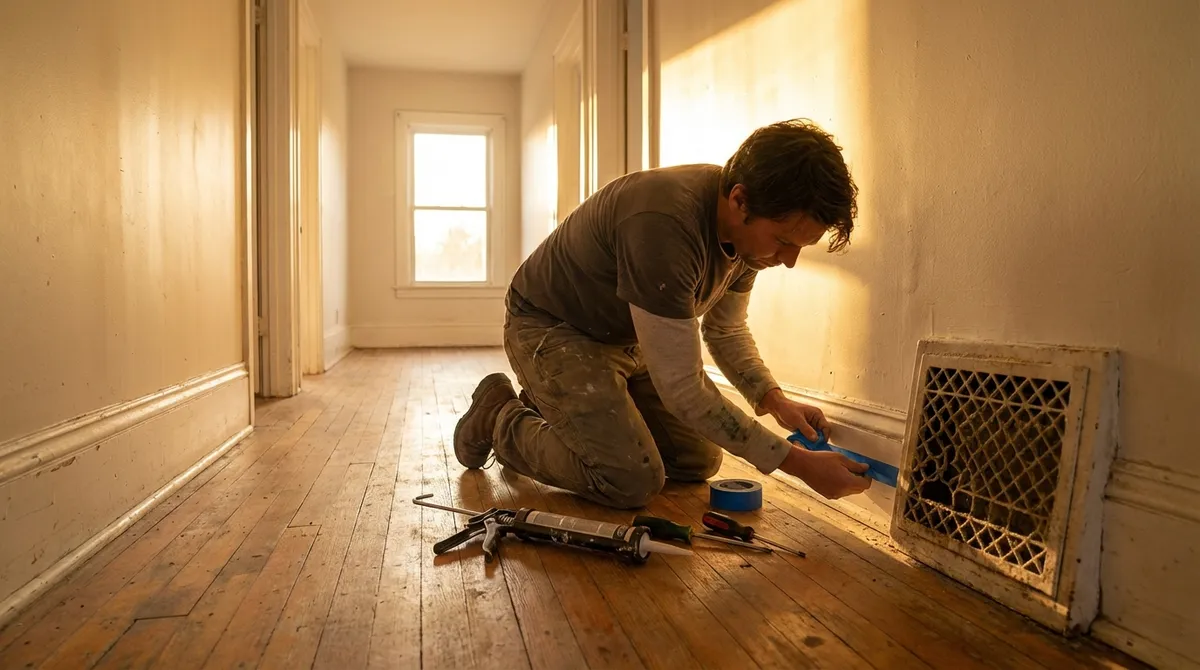
Drafts waste energy and make your home less comfortable. Before you add space heaters or crank the thermostat, plug the leaks.
Find the draft
On a cool or windy day, close all windows and exterior doors. Turn on bathroom/kitchen exhaust fans to create slight negative pressure. Slowly move your hand around window and door frames, outlets on exterior walls, and baseboards. You can also use a lit incense stick or candle (carefully) and watch for flickering or smoke movement.
Inspect weatherstripping and caulk
Look for cracked, brittle, or missing rubber strips around doors. Check window frames for gaps between the trim and wall, or between the frame and glass. Note all problem areas so you can fix them in one go.
Replace worn weatherstripping
Remove old material with a putty knife or screwdriver. Clean the surface with mild soap and water; let it dry fully. Measure and cut new adhesive-backed weatherstripping to size. Press it firmly into place around the door or window where the sash meets the frame, making sure doors still close and latch properly.
Caulk gaps around frames
Use paintable latex caulk for interior trim and exterior-grade silicone or polyurethane caulk outside. Cut the caulk tube tip at a 45° angle with a small opening. Apply a steady bead into gaps (typically smaller than 1/4"). Smooth with a damp finger or caulk tool to seal edges. Wipe away excess with a damp rag before it skins over.
Add a door sweep if needed
If light or air comes through under an exterior door, install an adjustable door sweep. Measure the door width, cut the sweep to size, and screw it to the interior side at the bottom, leaving just enough clearance so it barely touches the threshold when closed.
Practical tip: Focus first on the biggest leaks—exterior doors and large windows. These give you the fastest comfort and energy improvement for your effort.
Step 2: Fix a Dripping Faucet Before It Wrecks Your Sink
A slow drip is more than an annoyance. It stains sinks, wastes water, and can lead to moisture damage in cabinets if ignored.
Shut off the water
Look under the sink for two shutoff valves (hot and cold). Turn them clockwise until they stop. Open the faucet to confirm the water is off. If there are no local shutoffs, use the main water shutoff for the house.
Identify your faucet type
Common types: compression (separate hot/cold knobs), cartridge, ball, and ceramic disc. Search the brand and model (often under the handle or on the faucet base) to find a parts diagram. This helps you order the right replacement cartridge or seals.
Disassemble the handle carefully
Cover the drain with a rag or stopper so you don’t lose screws or small parts. Pry off decorative caps with a flat screwdriver, then remove the handle screw using a Phillips or Allen wrench. Lift off the handle. Take photos as you go so you remember the order of parts.
Replace worn parts
For compression faucets, replace the rubber washer and O-ring on the stem. For cartridge or ceramic disc faucets, swap in a new cartridge or seal kit that matches your model. Clean any mineral buildup with white vinegar and a soft brush before reassembly.
Reassemble and test
Put everything back in reverse order. Slowly turn on the shutoff valves while watching for leaks under the sink. Turn the faucet on and off a few times. A properly fixed faucet should stop dripping within a few seconds of closing.
Practical tip: Bring the old cartridge, stem, or washers with you to the hardware store. Matching them in person prevents multiple trips and wrong parts.
Step 3: Patch Nail Holes and Small Wall Dents So They Disappear
Old picture hooks, door handle dings, and random wall scars make a room look tired. With the right patch and sanding, you can make them invisible under fresh paint.
Prep the damaged area
Use a putty knife or utility blade to remove loose paint, flaking drywall paper, or lifted edges around the hole or dent. Wipe dust away with a dry cloth. For glossy walls, lightly scuff the area with fine-grit sandpaper so patching compound sticks better.
Choose the right filler
- Tiny nail holes: Lightweight spackle - Small dents/holes (up to ~1/2"): Standard spackle or pre-mixed joint compound - Deeper damage: Use joint compound in two or more layers, drying between coats
Apply compound smoothly
Load a small amount of compound on the edge of your putty knife. Press it into the hole or dent, then scrape it flush with the wall, feathering the edges wider than the damaged spot. It’s better to apply a little extra and sand flat than to underfill and need multiple re-do’s.
Sand and check your work
After the compound is completely dry (follow the package time), sand lightly with 120–220 grit sandpaper until smooth and level with the surrounding wall. Close your eyes and run your hand over it—any bumps or edges will show after painting.
Prime, then paint
Spot-prime the patched area with a stain-blocking or drywall primer to keep the patch from flashing (looking shinier or duller than the rest of the wall). Once dry, touch up with the original wall paint. If the color match is questionable, paint from corner to corner on a full wall instead of just the patch area.
Practical tip: Keep a small “wall repair kit” at home: a 4" putty knife, a tub of lightweight spackle, a sanding sponge, and a mini roller. You’ll fix small damage before it has a chance to spread or collect grime.
Step 4: Silence a Squeaky Floor Without Tearing Up the Room
Squeaks often come from wood rubbing on nails, screws, or other boards. You don’t need to rebuild the floor to quiet most of them.
Find the exact squeak spot
Have one person walk slowly over the area while another listens from below (in a basement or crawlspace) if possible. Mark the squeaky spots with painter’s tape or a pencil both above and below.
Fix from below when you can
From the basement or crawlspace, look for gaps between the subfloor and floor joists. Slide a thin wood shim coated lightly with construction adhesive into small gaps to tighten contact. For bouncier areas, drive 2 1/2" wood screws at an angle up through the joist into the subfloor (not through the finished floor above).
Use special screws from above on carpeted floors
If you can’t access from below, consider a “squeak repair” screw kit designed to go through carpet and break off below the surface. Follow the kit instructions: locate joists with a stud finder, drive screws through the carpet where squeaks occur, then snap them off at the designated depth.
Secure loose floorboards on hardwood
On finished hardwood, avoid standard screws that leave visible heads. Instead, use trim-head screws or flooring screws and countersink them in inconspicuous spots (like along existing seams). Fill tiny holes with matching wood filler or wax.
Test and repeat as needed
Walk the area again. Some squeaks need tightening in two or three locations around the noise. Address each one systematically until the floor feels solid and quiet.
Practical tip: Don’t overdrive screws. If you pull the subfloor down too far, you can create a dip that becomes noticeable over time.
Step 5: Stop a Running Toilet and Protect Your Floor
A constantly running toilet wastes water and can eventually lead to condensation, leaks, or floor damage around the base.
Lift the tank lid and observe
Watch what happens after you flush. Common issues: water flowing into the overflow tube, a flapper that doesn’t seal, or a fill valve that never fully shuts off. Listen for hissing or trickling.
Check and adjust the float
If water rises too high and spills into the overflow tube, lower the water level. For a ball float, bend the float arm slightly downward. For a cup-style float on the fill valve, adjust the clip or screw to set the water level about 1" below the top of the overflow tube.
Inspect and replace the flapper
Turn off the water supply valve behind the toilet and flush to empty most of the tank. Examine the rubber flapper at the bottom—if it’s warped, cracked, or slimy, it won’t seal. Unclip the old one and take it to the store to match size and style. Install the new flapper, reconnect the chain with a slight slack (but not so long that it tangles).
Clean or replace the fill valve if needed
If adjusting the float doesn’t help and the valve still won’t shut off, debris or wear may be the problem. Many modern fill valves twist out without tools. Follow manufacturer instructions to remove, clean, or replace. When installing a new fill valve, set the height according to the tank’s water line marking.
Check for base leaks while you’re at it
Flush a few times and watch around the toilet base. If water seeps out, the wax ring may be failing—a bigger job, but one you should plan soon to protect the floor. If everything stays dry and the tank stops filling properly, you’re done.
Practical tip: Add a few drops of food coloring to the tank water and leave it for 20–30 minutes without flushing. If color appears in the bowl, your flapper is leaking even if you don’t hear it.
Conclusion
Staying ahead of small home repairs doesn’t require a truck full of tools or a contractor’s license—just a willingness to learn, a bit of patience, and a methodical approach. Sealing drafts, fixing drips, patching walls, quieting floors, and stopping running toilets are all high-impact projects that protect your home and your budget.
Tackle them one at a time, build your confidence, and document what you do (photos and notes) so the next fix is easier. Over time, you’ll turn “I hope this doesn’t get worse” into “I know exactly how to deal with that”—and that’s the real payoff of DIY home repair.
Sources
- [U.S. Department of Energy – Air Sealing Your Home](https://www.energy.gov/energysaver/air-sealing-your-home) - Explains how and why to seal air leaks around windows, doors, and other areas
- [Environmental Protection Agency – WaterSense: Fix a Leak](https://www.epa.gov/watersense/fix-leak-week) - Covers common household leaks including faucets and toilets, with water-saving tips
- [Family Handyman – How to Fix a Leaky Faucet](https://www.familyhandyman.com/project/how-to-fix-a-leaky-faucet/) - Step-by-step walkthroughs for different faucet types
- [This Old House – How to Fix a Running Toilet](https://www.thisoldhouse.com/plumbing/21015015/how-to-fix-a-running-toilet) - Visual guide to diagnosing and repairing a constantly running toilet
- [Lowe’s – How to Repair Drywall](https://www.lowes.com/n/how-to/repair-drywall) - Detailed instructions for patching holes and dents in walls
Key Takeaway
The most important thing to remember from this article is that this information can change how you think about Home Repair.


