Little problems rarely stay little in a house. A slow drip turns into water damage, a loose outlet becomes a safety hazard, and a sticky door eventually rips its hinges out of the frame. The good news: you can prevent most of this with a few basic tools, a bit of know‑how, and 20–30 minutes at a time.
This guide walks through five practical, step‑by‑step home repair tasks that DIYers can handle safely and confidently. Each one targets a common “small” issue that, if ignored, gets expensive fast.
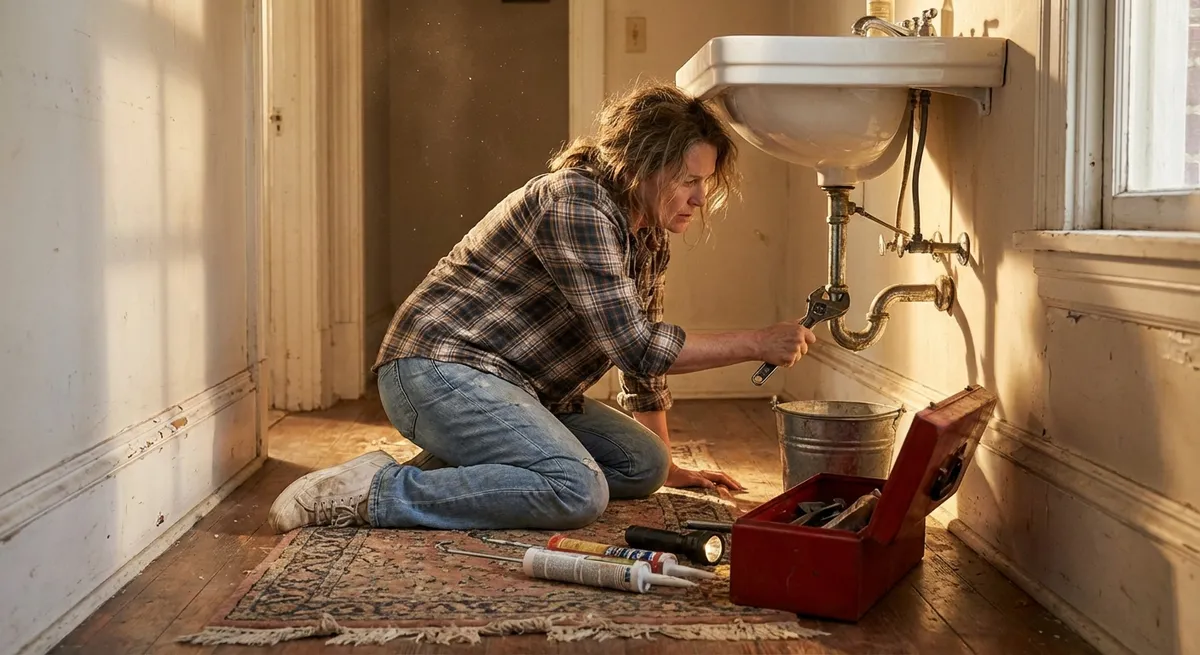
Step 1: Fix a Dripping Faucet Before It Wastes Money and Water
A dripping faucet can waste gallons of water a day and drive up your bill. Most drips come from a worn internal part—usually a cartridge, O‑ring, or washer—that’s simple to replace once you know the layout of your faucet.
What you’ll need
- Adjustable wrench or basin wrench
- Screwdrivers (Phillips and flathead)
- Replacement cartridge or washer kit (matched to your faucet brand/model)
- Allen key set (often needed for handle screws)
- Plumber’s grease
- Small towel or rag
How to do it
- Shut off the water supply.
Look under the sink for two shutoff valves (hot and cold). Turn them clockwise until they stop. Open the faucet to release pressure and confirm water flow has stopped.
- Disassemble the faucet handle.
Pop off any decorative cap (often marked H/C) with a flat screwdriver. Remove the screw underneath (Phillips or Allen) and lift off the handle. Place parts on a towel in the order you remove them.
- Remove the cartridge or stem.
Depending on your faucet type:
- Cartridge faucet: You’ll see a cartridge held in by a nut or clip. Remove the retaining nut with a wrench or pull the clip with pliers, then pull the cartridge straight up.
- Compression faucet: You’ll see a stem assembly. Loosen and remove it with a wrench.
- Match and replace the worn parts.
Take the old cartridge/stem (or washers/O‑rings) to a hardware store to get identical replacements. Install the new parts in the same orientation as the old ones. Lightly coat O‑rings with plumber’s grease so they seat smoothly.
- Reassemble and test.
Reinstall the retaining nut or clip, then the handle and screws. Turn on the shutoff valves slowly, then test the faucet. If you still see a drip, snug the retaining nut slightly—but don’t overtighten, or you’ll damage the new parts.
Tip: If your supply valves under the sink don’t fully shut off, stop and call a plumber. Forcing old valves can cause leaks in the wall.
Step 2: Silence Squeaky Doors Without Replacing Hardware
A squeaky door is usually a hinge issue: friction, lack of lubrication, or slight misalignment. Fixing it is quick, but doing it right prevents sagging doors and stripped screws later.
What you’ll need
- Hammer and small nail or hinge pin removal tool
- Rag or paper towels
- Lubricant (silicone spray, dry Teflon, or white lithium grease)
- Optional: drill/driver and matching screws
How to do it
- Identify the noisy hinge.
Slowly open and close the door, listening for the squeak. Watch which hinge moves the most. Often, the middle hinge takes the most stress and makes the most noise.
- Remove one hinge pin at a time.
Place a nail at the bottom of the hinge pin and tap upward with a hammer until the pin pops up enough to pull it out by hand. Never remove all hinge pins at once—the door can fall.
- Clean the hinge pin and barrel.
Wipe the pin thoroughly with a rag to remove old dirt and rust. If it’s heavily corroded, sand it lightly with fine sandpaper or steel wool. Wipe inside the hinge barrel as well.
- Lubricate properly.
Apply a light coat of lubricant to the pin and inside the barrel. Avoid using cooking oils—they gum up and attract dust. For interior doors, a silicone or dry Teflon lube works well and doesn’t drip.
- Reinstall and align.
Slide the hinge pin back in from the top, tapping gently with a hammer until it’s fully seated. Open and close the door several times to distribute the lubricant. Repeat hinge by hinge as needed. If the door still rubs, you may need to slightly tighten or loosen hinge screws to realign the door in the frame.
Tip: If hinge screws are stripped or won’t tighten, replace them with slightly longer screws (e.g., 3" into the framing) to pull a sagging door back into alignment.
Step 3: Secure a Loose Electrical Outlet Safely
A wobbly outlet isn’t just annoying; it can stress wiring and crack the faceplate. Securing it correctly restores safety and makes the wall look cleaner. If at any point the wiring looks damaged or you’re unsure, stop and call an electrician.
What you’ll need
- Flathead and Phillips screwdrivers
- Non‑contact voltage tester
- Outlet spacers (plastic shims) or #6‑32 extra‑long screws
- New outlet cover plate (if old one is cracked)
How to do it
- Turn off power at the breaker.
Locate your electrical panel and flip off the breaker labeled for that room or outlet circuit. Don’t rely on switching the outlet off—always use the breaker.
- Verify it’s really off.
Plug in a lamp or phone charger and confirm it doesn’t power on. Then use a non‑contact voltage tester near the outlet slots to make sure no voltage is present.
- Remove the cover plate and inspect.
Unscrew the cover plate and gently pull it off. Look at how far the outlet sticks out from the electrical box. Most loose outlets are “floating” forward because the box is set too deep or the mounting ears aren’t tight.
- Add spacers or adjust mounting screws.
- If the outlet is too far forward, use plastic outlet spacers (or cut pieces of plastic shim) between the outlet ears and the box ears to bring it flush with the wall.
- If it’s just slightly loose, tighten the two screws that hold the outlet to the box until it’s snug—but not bending.
- Reinstall the cover and test.
Put on the cover plate, tighten the center screw just until snug (don’t crack the plate), then restore power at the breaker. Plug something in and gently wiggle the plug. The outlet should feel firm and solid.
Tip: If the electrical box itself is loose in the wall, or you see damaged/burned wiring, stop and bring in a licensed electrician—this is beyond a simple DIY tighten‑up.
Step 4: Patch a Small Drywall Hole So It Disappears, Not Just “Looks OK”
Door handles, furniture corners, and careless moves often leave small drywall holes. A quick patch done right won’t flash through paint or crack later.
What you’ll need
- Putty knife (2"–4")
- Sanding sponge or 120–220 grit sandpaper
- Lightweight joint compound or spackle
- Self‑adhesive mesh patch (for holes bigger than a nail pop)
- Primer and matching paint
- Damp sponge or cloth
How to do it
- Assess the size of the damage.
- Nail pops / tiny dents: spackle alone is fine.
- Holes up to about 2": use a self‑adhesive mesh patch.
- Larger than 2": consider a drywall repair panel (this is more advanced).
- Prep the area.
Scrape any loose drywall paper or crumbling edges with a putty knife. Lightly sand around the hole to create a clean surface. Wipe dust off with a damp cloth.
- Apply mesh patch if needed.
For holes up to 2": center the adhesive mesh patch over the hole and stick it firmly. Smooth it down to avoid bubbles.
- Spread joint compound in thin layers.
Load a small amount of compound on your putty knife. Apply it over the hole or patch, feathering the edges a few inches out so you don’t get a visible hump. Let it dry as directed (often 12–24 hours).
- Sand, touch up, and prime.
Lightly sand until smooth and level with the wall. If you can still see edges, do a second thin coat and repeat. Once smooth, spot‑prime the repair to seal the compound, then paint with your wall color.
Tip: Always do two or three thin coats instead of one thick one. Thick mud shrinks and cracks; thin layers blend and stay invisible.
Step 5: Reseal a Leaky Bathroom Caulk Line to Prevent Hidden Damage
Cracked or moldy caulk around tubs, showers, and sinks lets water seep into walls and floors. Replacing that bead of caulk is a small job that prevents big water problems.
What you’ll need
- Utility knife or caulk removal tool
- Painter’s tape
- Bathroom‑grade silicone or siliconized acrylic caulk (mold/mildew resistant)
- Caulk gun (for standard tubes)
- Rubbing alcohol or bathroom cleaner
- Paper towels or rags
How to do it
- Remove all the old caulk.
Use a caulk removal tool or utility knife to carefully cut and scrape away the old bead. Get as much as possible out of corners and joints. Don’t just caulk over it—old caulk is a weak base.
- Clean and dry the joint thoroughly.
Scrub the area with a bathroom cleaner to remove soap scum and residue, then rinse and dry. Wipe down with rubbing alcohol to remove any remaining film. Let the area dry completely (fans help).
- Tape your caulk lines.
Run painter’s tape on both sides of the joint, leaving a gap for the caulk bead. This gives you crisp edges and keeps smears off tile or fixtures.
- Apply a smooth, continuous bead.
Cut the caulk tube tip at a 45° angle, small enough to match the joint width. With steady pressure on the caulk gun, pull the tip along the joint while squeezing, aiming for a consistent, slightly domed bead.
- Tool the bead and remove tape.
Wet a finger or use a caulk‑smoothing tool to gently press and smooth the bead into the joint, pushing out air pockets. Pull the painter’s tape off at a 45° angle while the caulk is still wet. Let it cure as directed on the tube (often 24 hours) before getting it wet.
Tip: For beginners, siliconized acrylic is easier to smooth and clean up with water. Pure silicone is more durable but less forgiving during application.
Conclusion
Strong homes stay that way because small problems get handled early. Tightening a loose outlet, silencing a squeaky door, patching a tiny wall hole, stopping a drip, and renewing failing caulk all take modest effort—but they protect your house from bigger, pricier repairs.
Work methodically, use the right materials, and don’t rush drying or curing times. When something feels beyond your comfort zone—especially with plumbing inside walls or anything electrical—pause and bring in a pro. The more of these basic tasks you master, the more control you’ll have over your home’s condition and repair costs.
Sources
- [U.S. Environmental Protection Agency – WaterSense: Fix a Leak](https://www.epa.gov/watersense/fix-leak-week) - Explains how small plumbing leaks waste water and offers guidance on common leak fixes
- [Family Handyman – How to Fix a Leaky Faucet](https://www.familyhandyman.com/project/how-to-repair-a-compression-faucet/) - Step‑by‑step faucet repair techniques for common faucet types
- [U.S. Consumer Product Safety Commission – Home Electrical Safety Checklist](https://www.cpsc.gov/safety-education/safety-guides/electrical-safety/home-electrical-safety-checklist) - Outlines safe practices around outlets, wiring, and circuits
- [University of Missouri Extension – Repairing Drywall](https://extension.missouri.edu/publications/gh1623) - In‑depth guidance on patching and finishing drywall for different damage sizes
- [Centers for Disease Control and Prevention – Mold Prevention Strategies](https://www.cdc.gov/mold/prevention-strategies.html) - Discusses moisture control and sealing to prevent mold growth in homes
Key Takeaway
The most important thing to remember from this article is that following these steps can lead to great results.


