You’ve probably seen those viral posts where people pull up a floorboard or open a wall and discover something wild inside—old coins, forgotten letters… or, less charming, mystery wiring and hidden mold. Stories like the recent “unexpected finds” compilations racing around social media aren’t just entertaining; they’re a wake‑up call for homeowners. If strangers are uncovering dangerous surprises in their houses, there’s a good chance your place is hiding a few, too.
Inspired by those real “look what I found in my house” posts, this guide walks you through practical, fix‑ready checks you can do now—before a hidden issue becomes an emergency. No treasure maps required, just basic tools, a bit of patience, and a focus on safety.
1. Track Down Hidden Water Leaks Before They Wreck Your Walls
Those “unexpected discovery” stories often start with a soft spot in the floor or a stain on the ceiling. Behind the drama is something very ordinary: a slow, ignored leak that turned into major damage. Catching leaks early is one of the highest‑value DIY checks you can do.
Step‑by‑step:
- Do a whole‑house “stain scan.”
Walk each room and look at ceilings, corners, and baseboards. Note any brown, yellow, or grayish stains, bubbling paint, or warped trim—especially under bathrooms, around chimneys, and near exterior doors and windows.
- Check around plumbing fixtures.
Open the cabinet under every sink. Run the faucet while you feel around supply lines and drain traps with dry paper towels. Look for dampness, mineral buildup, or corrosion on shutoff valves and fittings.
- Inspect toilets for silent leaks.
Add a few drops of food coloring to the toilet tank (not the bowl). Wait 15–20 minutes without flushing. If color shows up in the bowl, the flapper is leaking and should be replaced. It’s a cheap, simple fix that can prevent long‑term moisture issues.
- Look outside for siding and gutter clues.
During a light rain (or using a hose), walk your home’s exterior. Watch where water runs and where it lingers. Overflowing gutters, missing caulk around windows, or soggy soil against the foundation often point to water going where it shouldn’t.
- Use a basic moisture meter in “risk” areas.
In basements, under windows, and along exterior walls, a budget moisture meter can tell you if the surface is holding more moisture than it should. Elevated readings mean it’s time to dig deeper or bring in a pro before you end up with hidden mold or rot.
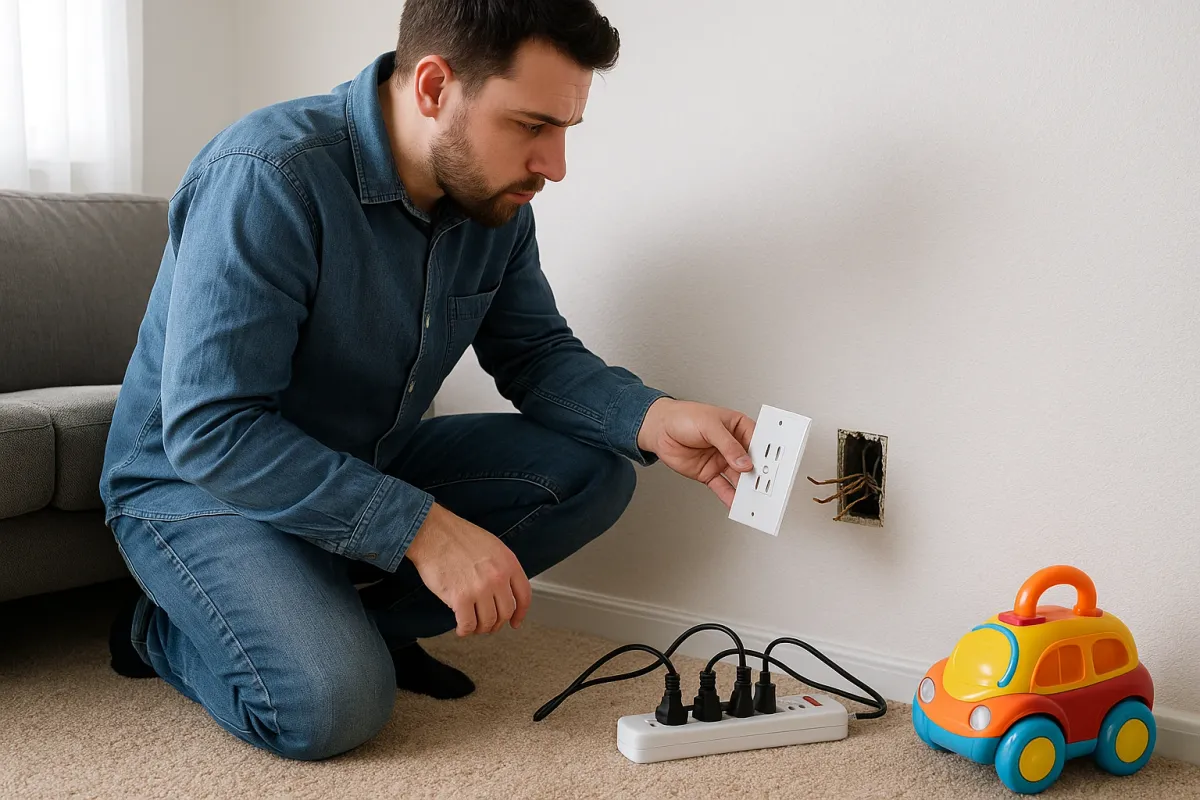
2. Open Up Your Outlets: Finding Scary Wiring Before It Finds You
Many viral “wait… what?” home posts involve electrical nightmares: wire nuts missing, random live wires in walls, or old DIY “upgrades” that would make any inspector cringe. While complex electrical work should be left to licensed pros, basic safety checks are well within DIY territory.
Step‑by‑step:
- Test outlets with a plug‑in outlet tester.
Pick up a simple tester at a home center. Plug it into every accessible outlet. The pattern of lights will tell you if you’ve got open grounds, reversed polarity, or other wiring issues that need attention.
- Check for heat and buzzing.
With the lights on and common devices running, lightly touch outlet and switch covers. Warm is okay; hot is not. Listen for faint buzzing or crackling when flipping switches—that’s a red flag for loose connections.
- Look behind cover plates (safely).
Turn off the breaker to the circuit first—always verify power is off with a non‑contact voltage tester. Remove the cover plate and visually inspect: wires should be secured with wire nuts or proper connectors, not taped together or just twisted and left bare.
- Inspect extension cord “solutions.”
If you find permanent appliances (TVs, space heaters, refrigerators, tools) relying on power strips or extension cords, that’s a clue your home’s outlets aren’t laid out safely. Plan to add properly wired outlets rather than stacking power strips—this is where pros earn their keep.
- Make a written “electrical punch list.”
As you spot issues—loose outlets, missing covers, flickering lights—write them down room by room. Handle simple fixes (like replacing broken cover plates) yourself and reserve everything else for a licensed electrician. That list will save time, money, and guesswork.
3. Investigate Your Attic: Where Moisture, Mold, and Pests Like to Hide
A lot of the most unsettling “house discovery” photos come from attics: improvised wiring draped over insulation, rodent nests, or sheathing blackened by mold. You don’t need to turn your attic into a finished space, but you should know what’s happening up there.
Step‑by‑step:
- Gear up and pick the right time.
Wear a dust mask or respirator, long sleeves, and gloves. Use a sturdy flashlight or headlamp. Choose a cool, dry day—attics can reach dangerous temperatures in warm weather.
- Check for signs of roof leaks.
Look at the underside of the roof sheathing (the boards or plywood). Darkened areas, water stains, or mold patches are signs of active or past leaks. Pay extra attention around chimneys, vent pipes, skylights, and roof valleys.
- Inspect insulation coverage and condition.
Insulation should be even, fluffy, and dry. Bare spots, compressed areas, or obvious tunnels can indicate pest activity or air leaks. Wet or matted insulation suggests moisture problems that need to be solved at the source, not just re‑insulated.
- Look for daylight where it shouldn’t be.
A little light at soffit vents is normal—daylight shining through roof boards or along chimneys is not. Mark those spots so you can seal them from the outside or with appropriate flashing and sealants.
- Check for DIY add‑ons around bathroom fans.
Bathroom exhaust fans should vent outside, not dump moist air into the attic. Follow the duct from each fan. If it just ends in the attic space, you’ve found a hidden mold risk. Plan to extend and properly vent it through a roof or gable outlet.
4. Probe Your Floors and Stairs: Catch Soft Spots and Structural Issues Early
Some of the most dramatic “unexpected home finds” involve pulling up old flooring and discovering rot, missing joists, or improvised supports. You don’t have to rip everything up to spot early warning signs.
Step‑by‑step:
- Walk every room slowly and deliberately.
Pay attention to how the floor feels under your feet. Note any soft spots, squeaks, or “spongy” areas—especially near sinks, tubs, exterior doors, and along walls.
- Use a screwdriver test near suspicious areas.
In basements and crawl spaces, gently press a screwdriver into exposed wood around the base of stair stringers, posts, and sill plates. Wood should resist. If it crumbles or punctures easily, you may have rot or termite damage that needs prompt attention.
- Examine stairs from both sides.
Inside, check for loose treads, wobbly handrails, or gaps where treads meet stringers. From underneath (in basements or crawl spaces), look for cracked or split stringers and makeshift supports like stacked blocks or random boards holding up stairs.
- Look for gaps between baseboards and floors.
Small, even gaps from seasonal movement are normal. Uneven, widening gaps in a specific area, especially near exterior walls, can indicate settling, moisture issues, or structural movement worth investigating further.
- Document changes over time.
Place a small piece of masking tape near any suspicious crack or gap and mark today’s date and the current width. Recheck monthly. Rapid change is a bigger concern than a stable flaw that’s been there for years.
5. Audit Your Basement or Crawl Space: The Source of Many “What Did I Just Find?” Moments
Basements and crawl spaces are where people most often uncover those “I can’t believe this is under my house” finds—old plumbing, abandoned oil tanks, random holes, or forgotten repairs. Regular, methodical checks can keep surprises to a minimum.
Step‑by‑step:
- Start with the perimeter walls.
Look for horizontal cracks, bulging, or areas where mortar is crumbling. Hairline vertical cracks are common; wider than a credit card or noticeably shifting cracks deserve professional inspection.
- Check for standing water and salt deposits.
Puddles, damp corners, and white, powdery residue (efflorescence) on concrete tell you where water is entering. Note low spots on the floor and areas where walls meet the slab—these are common leak points.
- Inspect support posts and beams.
Metal posts should be straight, not leaning. Wood posts and beams should be free of deep cracks, heavy rot, or suspicious “patches” using scrap lumber. Pay attention to any posts resting on bare dirt instead of proper concrete footings.
- Look at mechanicals for DIY “repairs.”
Scan plumbing lines for odd couplings, duct tape over joints, flexible dryer vent hoses run too far, or unsealed duct connections. These quick fixes often show where a more durable repair is needed.
- Improve ventilation and access.
Ensure crawl space vents (if present) aren’t blocked by soil or debris. Clear a safe, dry path so you can inspect regularly. Better access means you can spot small issues—like slow leaks, pest entry points, or sagging insulation—before they turn into headline‑worthy disasters.
Conclusion
The viral posts about people finding unexpected things in their homes are entertaining, but they’re also a reminder: every house has secrets. The difference between a fun story and an expensive emergency is how early you go looking.
By doing simple, focused inspections—hunting for hidden leaks, unsafe wiring, attic and basement problems, and early signs of rot—you turn your home from a mystery box into a space you truly understand and control. It doesn’t take fancy tools or a full renovation, just a willingness to look a little closer and fix what you find.
If you uncover something that feels bigger than a weekend project—major wiring issues, structural movement, or large areas of mold—treat that discovery as a win. You’ve found the problem before it found you. Then call in the right pro and get your home fix‑ready for whatever comes next.
Key Takeaway
The most important thing to remember from this article is that this information can change how you think about Home Repair.


