More people are working from home than ever, and today’s trending piece about Budget Direct’s 3D renders of home offices inspired by iconic directors like Wes Anderson and David Lynch hits on something big: everyone wants a workspace that looks amazing and works even better. But most of us don’t have the budget (or time) to rebuild a room from scratch.
The good news: you don’t need a full renovation or a Hollywood set designer to upgrade your home office. With a few focused repairs and smart fixes, you can turn a tired spare room, dining nook, or corner of the bedroom into a workspace that’s actually comfortable, functional, and camera‑ready on your next video call.
Below is a practical, step‑by‑step guide to improving your home office using real‑world fixes you can tackle in a weekend.
Step 1: Fix the Power Problem Before You Add One More Gadget
Before you copy any stylish “director-inspired” office setup, you need safe, reliable power. Extra monitors, ring lights, printers, and chargers add up fast, and older homes weren’t wired with remote work in mind.
1. Map what’s on your current circuit.
Turn on everything you normally use in your office (lights, PC, AC, heater, etc.). Then plug in one extra high‑draw item (like a space heater). If the breaker trips, you’re probably close to or at the circuit’s limit.
2. Inspect outlets for wear and heat.
Unplug everything. Check each outlet you use for:
- Loose plugs that fall out easily
- Burn marks or discoloration on the faceplate
- Warm or hot faceplates after use
Any of these are red flags—stop using that outlet and plan to replace it.
3. Replace worn outlets (basic DIY level).
If you’re comfortable turning off power at the breaker and using a voltage tester, standard outlet replacement is straightforward:
- Turn off the correct breaker and test the outlet for power—never skip this.
- Remove the cover plate and outlet.
- Note which wire goes where (take a quick photo).
- Install a new tamper‑resistant, properly grounded outlet.
If the box is cracked, the wiring is aluminum, or anything looks “off,” stop and call an electrician.
4. Add surge protection the right way.
Instead of daisy‑chaining cheap power strips:
- Use one quality surge protector (with Joule rating listed, ideally 2,000+).
- Plug high‑draw items like heaters or AC units into a dedicated outlet, not the same strip as your computer.
5. Know when to bring in a pro.
If you regularly trip breakers, your office is in a converted attic/garage, or you’re using lots of extension cords permanently, ask a licensed electrician about:
- Adding a dedicated office circuit
- Installing extra outlets where you actually need them
A safe power setup is the foundation of every “dream office” you see online—even if the photos never show it.
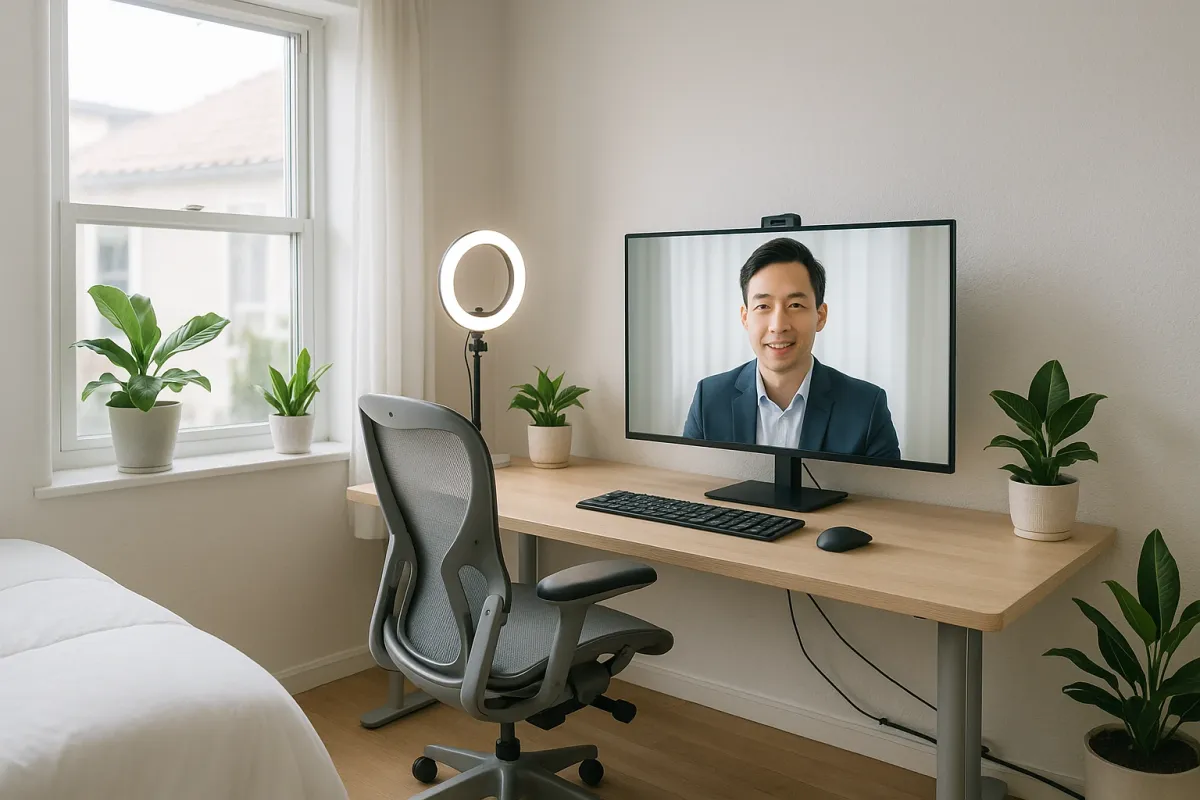
Step 2: Upgrade Your Lighting So Your Space Looks Good On and Off Camera
Those cinematic director‑inspired offices trending online all have one thing in common: carefully layered lighting. Most home offices? One harsh overhead bulb and maybe a desk lamp.
1. Start by fixing what’s flickering or dim.
If your existing ceiling fixture:
- Flickers with new LED bulbs
- Buzzes
- Takes a long time to come on
- Make sure bulbs are fully seated
- Check for mismatched bulb types (e.g., dimmable bulbs on a non‑dimmer or vice versa)
…then remove the globe/cover and:
If the fixture is old or cracked, replacing it with a basic, modern LED fixture is often easier than troubleshooting.
2. Replace a dated fixture (simple handyman‑level task).
With the power off at the breaker:
- Remove the old fixture.
- Check that the ceiling box is secure and metal or rated for fixtures.
- Connect wires: black to black (hot), white to white (neutral), ground to green screw or bare copper.
- Mount your new light and test.
Choose a fixture with a wide beam spread—flush or semi‑flush mounts work well in low ceilings.
3. Choose the right bulb color and brightness.
For offices:
- Color temperature: 3,000–4,000K (warm to neutral white) is easiest on eyes and looks good on camera.
- Brightness: Aim for around 3,000–4,000 lumens total for a small office, spread across multiple light sources.
Avoid very blue (5,000K+) bulbs unless you’re going for a studio effect.
4. Add layered lighting: ambient + task + accent.
- Ambient: Overhead ceiling fixture or floor lamp with a white shade.
- Task: Adjustable desk lamp aimed at your work surface, not your eyes.
- Accent: A small lamp or LED strip behind a monitor or on a shelf to soften contrast on video calls.
This layered approach is what makes those “director-designed” offices feel rich and intentional.
5. Fix common lighting mistakes.
- Don’t put a bright window directly behind you in video calls—your face will be in shadow. Use curtains or blinds and add a desk lamp in front of you.
- Don’t rely on only a single ring light; it’s meant to fill light, not replace all other lighting.
- Avoid bare bulbs in your direct line of sight—they cause eye strain. Use shades or diffusers.
Step 3: Soundproof the Smart Way (Without Rebuilding Walls)
Film directors obsess over sound—and for good reason. For your home office, you don’t need studio‑grade silence, but you do need to cut echo and muffle household noise.
1. Diagnose your problem: echo vs. outside noise.
- Echo / “roomy” sound on calls: Caused by hard surfaces (bare walls, floors, windows).
- Noise from kids, traffic, neighbors: Air gaps, thin doors, and single‑pane windows.
Knowing which you’re dealing with changes what you fix.
2. Fix echo with “soft” repairs.
These are simple, renter‑friendly changes that make a big difference:
- Add a thick rug or carpet under your chair and desk.
- Hang curtains (heavier is better) over windows—and even over a blank wall if you can.
- Put bookshelves, storage cubes, or fabric pinboards on bare walls.
You don’t need trendy hex foam panels all over; a few soft, large surfaces do more.
3. Upgrade a hollow office door.
Most interior doors are hollow core and leak sound:
- First, install a weatherstrip kit around the frame to seal gaps.
- Add a door sweep at the bottom to block sound and drafts.
- If the door is very flimsy and you own the place, consider replacing it with a solid core door for significantly better noise blocking.
All three are simple jobs with basic tools.
4. Seal sound leaks like you’d seal drafts.
- Use adhesive foam tape to seal the large gap between the door and frame if light shines through.
- Check the window frame for visible gaps; seal hairline cracks with paintable caulk (not silicone if you want to paint later).
You’re not building a studio—you’re just reducing the “easy paths” sound takes into your space.
5. Fix noisy floors and chairs.
- Add felt pads under chair and table legs to cut scraping noise.
- For squeaky floorboards you can access from above: identify the squeak, then use trim screws driven at an angle through the board into the joist, and hide the holes with wood filler.
Better acoustics make your office feel calmer and help you sound more “professional” on calls without expensive gear.
Step 4: Repair and Refinish Your Desk Area Instead of Replacing It
Those director-themed office renders show perfectly coordinated desks and work surfaces. In real homes, you’re probably working on a hand‑me‑down table, a scratched desk, or something shoved into a corner. Before you buy new, see what you can fix.
1. Stabilize a wobbly desk or table.
- Flip it or carefully tilt it to access the underside.
- Tighten all visible bolts and screws.
- If legs are loose where they meet the top, add metal corner brackets for reinforcement.
- Shim short legs with adhesive furniture levelers instead of stacking random cardboard.
A stable surface makes typing, writing, and video meetings feel instantly better.
2. Repair chips and scratches on wood surfaces.
For wood or wood‑veneer desks:
- Light scratches: Use a matching furniture touch‑up marker; blend, then buff lightly.
- Deeper gouges: Fill with wood filler or a colored wax repair stick, let set, and sand gently with fine sandpaper before touching up with stain or marker.
- Water rings: Lightly rub with a paste of baking soda and water or a bit of non‑gel toothpaste on a soft cloth—test in a hidden spot first.
You’re aiming for “clean and presentable,” not museum perfect.
3. Tame cable chaos without cutting walls.
Directors’ sets hide cables; you should, too—for safety and sanity:
- Mount a cable tray or wire basket under the desk to hold power strips and adapters.
- Use adhesive cable clips along the back edge to guide monitor and charger cables.
- Label each plug with masking tape so you don’t yank the wrong one mid‑call.
This is a low‑skill fix that makes your office look instantly more polished.
4. Add a simple, ergonomic monitor and keyboard setup.
Ergonomics is “repairing” how your body interacts with the space:
- Raise your monitor so the top is at or slightly below eye level; use a stand, stacked books, or a VESA arm.
- Slide your keyboard so your elbows stay near 90 degrees when typing.
- If your chair is too low or high, add a seat cushion or a simple footrest.
Small, inexpensive changes can prevent neck and back pain from long days.
5. Refresh the surface instead of replacing the desk.
If the top is badly stained or dated:
- Lightly sand the surface with fine sandpaper to scuff the finish.
- Wipe away dust with a damp cloth.
- Apply a water‑based polyurethane (clear) or a tinted furniture paint for a new look.
Let it cure completely before putting your equipment back—rushing this is how you get tacky, damaged finishes.
Step 5: Patch, Paint, and Frame Your “On‑Camera Wall”
Those movie‑inspired renders shared by Budget Direct work because every frame is intentional. Your coworkers mostly see one thing: the wall behind you on camera. Fixing that wall is one of the easiest high‑impact repairs you can do.
1. Patch nail holes and minor wall damage.
- For small holes: Use lightweight spackle and a putty knife; fill, scrape smooth, let dry, then lightly sand.
- For larger dents or anchor holes: Use patch repair kits with mesh, then spackle over.
- For hairline cracks: Open the crack slightly with a utility knife, then fill with flexible, paintable caulk or patching compound.
Clean, smooth walls instantly make any color look better.
2. Fix baseboard gaps and ugly caulk lines.
- Re‑caulk where baseboards meet the wall if the old caulk is cracked or missing.
- Use paintable caulk, smooth it with a damp finger or caulk tool, and wipe excess with a damp cloth.
This detail shows up more than you think in the background of video calls.
3. Choose a wall color that flatters you and the room.
For an office backdrop:
- Stick to soft neutrals: warm white, light gray, pale greige, or muted blues/greens.
- Avoid intense pure white (can blow out on camera) and very dark colors unless you have strong lighting.
Paint just the wall behind you as an “accent” if you don’t want to repaint the whole room.
4. Use the “eye‑height” rule for artwork and shelves.
- Center artwork roughly at eye level (about 57–60 inches from the floor to the center of the piece for most adults).
- On camera, keep the composition simple: 1–3 pieces instead of a cluttered gallery wall.
- Use screws and proper anchors for anything heavy; don’t rely on tiny nails in drywall.
You’re building a background that looks intentional, not busy.
5. Hide problem spots creatively if you can’t fully repair.
If you’re renting or constrained:
- Place a tall plant in front of a scarred section of wall.
- Use a fabric wall hanging or large corkboard over damaged areas.
- Use peel‑and‑stick panels or wallpaper as a removable “set piece” behind your chair.
These aren’t a substitute for real repair long‑term, but they’re effective when you need your office camera‑ready now.
Conclusion
The buzz around those director-inspired home office renders taps into what a lot of us are feeling right now: we want workspaces that feel intentional, not improvised. You don’t need a film studio budget or a full remodel to get there.
By fixing power and outlets, upgrading lighting, improving sound, repairing and refreshing your desk area, and dialing in the wall behind you, you can transform almost any room into a professional, comfortable home office—one that works as well in real life as it looks on camera.
Tackle one step per weekend, take before‑and‑after photos, and you’ll have a share‑worthy workspace that actually supports how you live and work right now.
Key Takeaway
The most important thing to remember from this article is that this information can change how you think about Home Repair.


