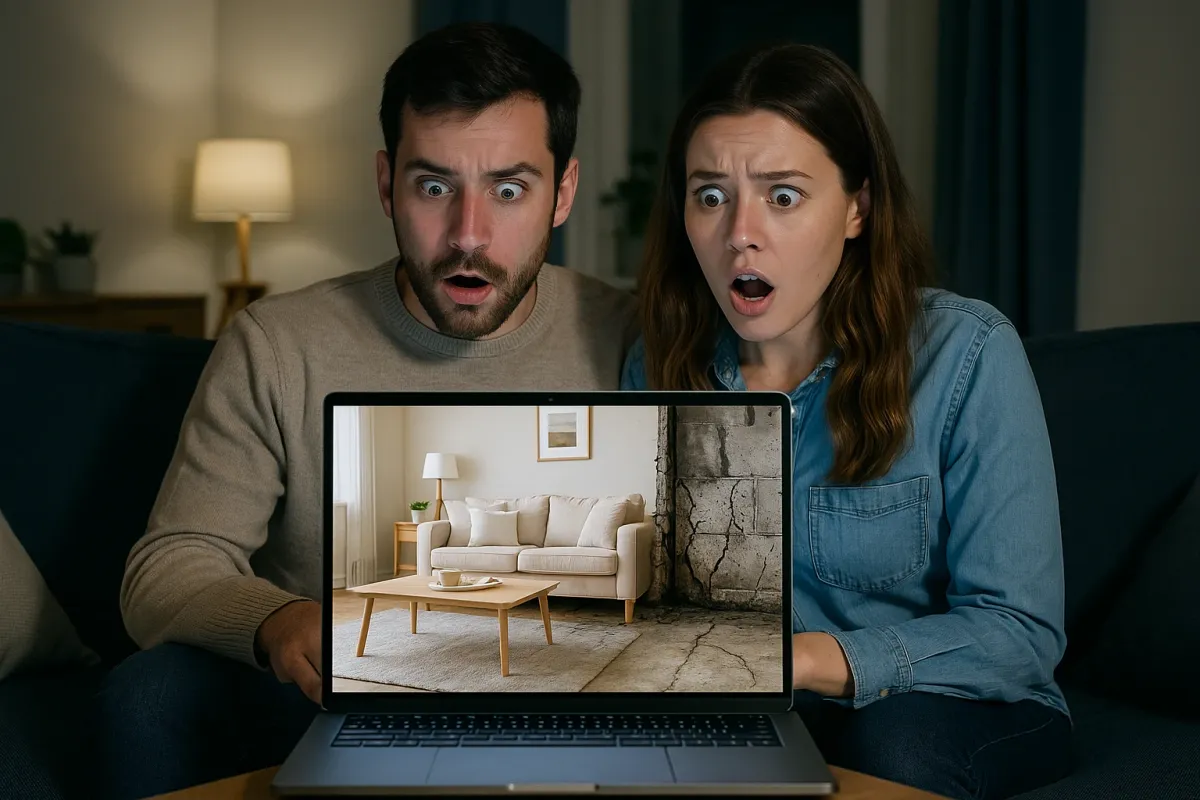
If you’ve seen those viral “real estate listings from hell” making the rounds online—featuring crumbling walls, mystery stains, and DIY jobs gone tragically wrong—you already know: bad houses photograph loudly. Bored Panda’s recent roundup of the “25 Worst” listings shows what happens when neglect, corner‑cutting, and chaos collide in one property photo.
But here’s the part those viral posts don’t cover: most of those disasters started as small ignored repairs or sloppy weekend projects. The good news? You can catch and fix a lot of those problems long before your home ends up as meme material.
Below is a practical, step‑by‑step guide to tackling the kinds of issues that often show up in those nightmare listings—so your house never becomes internet-famous for the wrong reasons.
Step 1: Track Down and Fix Hidden Moisture Before It Becomes “That Wall Photo”
Water damage is one of the fastest ways a decent home turns into a horror listing. Peeling paint, brown ceiling rings, sagging drywall—these are the exact images people screenshot and share.
How to inspect and fix it:
- Do a monthly “moisture walk.” Check under sinks, around toilets, tub/shower surrounds, exterior doors, and windows. Look for bubbling paint, soft drywall, musty smells, or dark spots on ceilings.
- Use a cheap moisture meter. Basic pin‑style meters are affordable and can tell you if a suspicious spot is actually wet behind the surface, especially around tubs, showers, and basement walls.
- Address active leaks immediately. For visible plumbing leaks (drips from traps, shutoff valves, or supply lines), shut off the water, replace failing washers, traps, or braided supply lines, and re‑test under full flow for at least a minute.
- Seal the envelope, don’t just repaint it. If exterior water is entering around windows/doors, remove failed caulk, clean the joint, and apply high‑quality exterior sealant. Only repaint after surfaces dry and the source is fixed.
- Cut out and replace ruined drywall when needed. Stained or sagging drywall that’s been wet should be cut back to sound material. Replace with new drywall, tape, mud, sand, and prime with a stain‑blocking primer before painting.
This is how you avoid “ceiling stain from 2012” becoming the photo everyone shares in a listing thread.
Step 2: Fix “Cursed” Layout Choices That Make Rooms Feel Like a Maze
The viral “listings from hell” aren’t just about dirt—they often feature baffling layout choices: doors that hit each other, random steps, or half‑finished walls. You may not be moving walls today, but you can correct smaller layout sins that make a home feel wrong.
How to clean up weird layouts:
- Identify the worst offenders. Walk the house with a critical eye. Note doors that can’t open fully, light switches behind doors, or furniture forced into walking paths because of bad placement or trim.
- Re‑hang problem doors. If two doors clash, consider:
- Switching the hinge side so the door swings the other way.
- Converting to a pocket, barn, or bifold door in tight spots like laundry or closets.
- Fix awkward transitions. Trip‑hazard thresholds between rooms are listing‑photo gold (for the wrong reasons). Replace multi‑height transition strips with low‑profile, properly sized reducers or T‑moldings screwed into anchors, not just glued.
- Move switches and controls smartly. If you often reach behind a door to turn on a light, relocate the switch to the latch side of the opening. It’s a simple electrical project for many DIYers, or a low‑cost job for an electrician that majorly improves function.
- Undo “lazy” past DIY work. Random exposed pipes or surface‑run cables can often be:
- Routed through walls/ceilings properly.
- Trunked neatly in paintable raceway.
- Hidden in simple drywall chases with access panels where needed.
Simple layout corrections stop your home from looking like a puzzle someone rage‑quit halfway through.
Step 3: Repair Failed Caulk and Grout Before Your Bathroom Goes Viral
Many of the worst listing photos online are bathrooms: blackened caulk lines, cracked tile, and moldy corners. It looks like neglect, but it usually starts with something small—failed caulk or missing grout.
How to refresh and repair like a pro:
- Strip out all failed caulk. Use a caulk removal tool or utility knife to cut out old, moldy, or loose caulk around tubs, showers, and sinks. Don’t just smear new caulk on top—it will fail again quickly.
- Clean thoroughly and let it dry. Scrub joints with a bathroom cleaner or diluted bleach (if mold is present). Rinse, dry with a towel, and ideally let the area air‑dry for several hours or overnight.
- Choose the right product. Use 100% silicone or a high‑quality tub/shower caulk labeled mold‑ and mildew‑resistant for wet areas. For gaps between tiles, use grout, not caulk.
- Re‑grout where needed. If you have missing or crumbling grout:
- Use a grout saw or oscillating tool to remove loose material.
- Vacuum dust.
- Mix new grout to peanut‑butter consistency, press it in with a rubber float, and wipe the surface clean with a damp sponge.
- Apply smooth, continuous caulk beads. Tape off edges if needed, run a steady bead, then tool it with a wet finger or caulk tool. Remove tape immediately and let it cure fully (often 24 hours) before getting it wet.
This one weekend project can change your bathroom from “instant nope” listing photo to “actually looks taken care of.”
Step 4: Tame “Visual Chaos” So Rooms Photograph (and Feel) Better
In the Bored Panda “real estate from hell” set, the mess is often as bad as the damage. Clutter, random furniture placement, and exposed junk can make buyers assume deeper problems—even when the structure is fine.
You don’t need a full makeover. You just need to manage what the eye sees.
How to reduce chaos and improve every room:
- Start with surfaces and floors. Clear counters, table tops, and visible floors first. These are the areas that read strongest in photos and in person.
- Consolidate necessary items. Use baskets, bins, or simple shelving to group tools, cleaning supplies, and hobby gear. Label them clearly so they stay organized.
- Fix small but loud damage. Patch nail pops, small holes, or chipped trim that screams “no one maintains this place.”
- Patch nail holes with lightweight spackle.
- Sand flush once dry.
- Touch up with matching paint.
- Address lighting that makes everything worse. Dim, yellow, or mismatched light bulbs make rooms feel dingier than they are.
- Use warm‑white (2700–3000K) LEDs in living areas.
- Use bright, neutral‑white (3500–4000K) in kitchens and baths.
- Create clear pathways. Rearrange furniture so you can walk through a room without zigzagging. This instantly makes spaces feel larger and more intentional in photos.
Even if you’re not selling, a “photo‑ready” standard keeps your home away from the next “look at this disaster” compilation.
Step 5: Make DIY Look Intentional, Not Like a Half‑Finished Experiment
Many of the worst listings online feature enthusiastic but unfinished DIY: exposed studs where a wall “was going to be opened up,” unpainted patches, and floating fixtures with no trim. Ambition isn’t the problem—stopping halfway is.
How to finish like a pro (or close enough):
- Audit your half‑done projects. Walk through with a notepad and write down every visible unfinished item:
- Unpainted patches or test colors
- Missing baseboards or casing
- Loose outlet covers
- Visible joint compound lines
- Prioritize what people see first. Entryway, living room, and kitchen get top priority. These spaces make or break first impressions—and they’re the ones that end up in online listing threads.
- Finish drywall properly. Those ridged, lumpy seams are a dead giveaway of rushed DIY:
- Apply multiple thin coats of joint compound rather than one thick one.
- Feather edges wider each time.
- Sand between coats with a sanding sponge and good dust control.
- Install and caulk trim cleanly. Gaps between baseboard and wall are small but glaring:
- Cut trim with tight mitered corners.
- Nail into studs where possible.
- Fill nail holes with wood filler, sand, then apply paintable caulk along the top edge before painting.
- Paint all the way to “done.” Don’t leave edges, tape lines, or “I’ll touch that up later” spots:
- Cut in carefully along ceilings and trim.
- Use a quality roller, maintain a wet edge, and roll in consistent sections.
- Apply at least two coats for even coverage, especially over patched areas.
A home with finished DIY reads as cared‑for, not chaotic—even if the upgrades are modest.
Conclusion
Those “real estate listings from hell” are entertaining to scroll through, but they’re also a genuine warning: neglect and sloppy shortcuts show up louder than you think. The homes in that viral Bored Panda feature didn’t become disasters overnight—they got there one ignored leak, one bad grout line, and one half‑finished project at a time.
You don’t need a full renovation to keep your place off the internet’s wall of shame. If you:
- Hunt down and fix moisture early
- Correct small layout and safety issues
- Maintain caulk and grout in wet areas
- Reduce visual chaos
- And fully finish the DIY you start
…your home will look the opposite of those nightmare listings: solid, cared‑for, and easy to live in.
If you’d like, tell me what part of your home worries you most right now (bathroom, basement, kitchen, etc.), and I can walk you through a focused repair plan step by step.
Key Takeaway
The most important thing to remember from this article is that following these steps can lead to great results.


